Wednesday, 8 April 2020

SHC - Hugs ....

.... Hi! How's everyone coping with staying in their homes? I find it's wonderful to have us all together, but at times can be quite stressful. I have two ways to cope - I go out for a daily walk and I play in my craft room. It's fun making cards and I love mixing products from different companies. I'm here today with a couple of cards for my Seven Hills Craft blog post:


Stamps: Hero Arts - Zest Wishes; Waffle Flower - Simply Said 1
Inks: Versafine - Onyx Black; Gina K - Wild Wisteria
Dies: Waffle Flower - Simply Said 1 Die
Accessories: White Card; Stampin' Up! Card - Black, Highland Heather; Clear Embossing Powder, Copic Markers; Sakura Stardust Pens; Nuvo - Clear Aquashimmer Brush

I'm playing along with Perfectly CAS - PCAS#07 where they want us to use die cuts, and with Time Out Challenge - TOC#158 where they want lots or a little purple, I have a little purple.


I stamped the lemon and flower images on white card, coloured them with Copic markers, restamped with Versafine Onyx Black and heat embossed with clear powder. I used Sakura Stardust pens to add lots of sparkly dots to the background. I also used a clear aqua shimmer brush to add sparkle to the lemons. I adhered the panel to the bottom third of the card and added a thin strip of black card. I stamped the word hugs in wisteria ink and used the matching die to cut it out. I also die cut three plain hugs, adhered the stamped word on top of the others to create dimension. On the inside, I cut a strip of lilac card and on the white panel added a greeting and a little flower.


My next card is very clean and simple, in fact I made it for the current challenge at Less is More - LIM#416 where they want a one layer card with no sentiment. I'd finished the card and then got black ink on the edges, so not playing along with them this week!! However, I liked the image and decided to cut it out and mount it on a clean white card:


Stamps: Altenew - Botanical Garden, Geo Frames
Inks: Gina K - Black Amalgam; Versafine - Onyx Black
Accessories: White Card; Copic Markers; Nuvo - Clear Aquashimmer Brush; Clear Embossing Powder

I stamped the frame in the centre of the card. I masked off the bottom edge of the frame and then stamped the flower and butterfly inside the frame. I coloured the iamges with Copic markers, restamped and heat embossed with clear powder. I added a touch of sparkle and called it done. Then I got ink on the card. So I cut out the panel and adhered it to a new card base. I used the colours from the current Cupcake Inspirations Challenge - CIC#490. I left the inside of the card blank for my own message.


It's lots of fun mixing up stamps from different companies. Why not pop over to Seven Hills Craft shop to check out what they have in store? That's all from me today, see you soon.

signature photo Signature.png

Tuesday, 7 April 2020

Day-by-Day Dyalog Project ....

.... Morning! I think many of you know that I really like Dyan Revealey and her completely off the wall stamps and quotes. Well, like the rest of the world, Dyan is under "house arrest" and she started a Day-by-Day Dyalog project for the month of April. You can find full details on the Facebook group Dylusions Dyalog & Creative Dyary. It's a private group, but if you're interested you can ask to join.

I thought I'd share some of the work that I've done in my dyalog - some of it is totally mine, but a lot is based on Dyan's videos. I picked three warm colours - Rose Quartz, Pure Sunshine, and Cherry Pie, along with three cool colours - Mushy Peas, Polished Jade, and London Blue. I'm using these colours throughout the dyalog.


This is my month of April - totally based on Dyan's video. Apart from a few stamps, all the images are Dyan's stamps.


My introduction page is the quote that Dyan used. I think it sums up the whole "stay at home" thing perfectly!


The pictures above are for 2nd and 3rd April - my take on Dyan's videos. I had so much fun doing these pages. You might notice that there are some bits from Dina here too.


These are just a few of the pages that I have ready in my dyalog for the rest of the month. I may well add more colours or stencils, but it's all a work in progress.

I'd like to thank Dyan for taking the time to do daily videos for us all to play along wit. Not only are the videos good fun, but they are really helping me feel much less anxious or worried. That's all for today. Do drop by tomorrow for my regular weekly post for Seven Hills Craft blog. See you soon.

signature photo Signature.png

Monday, 6 April 2020

Coffee, Craft, Repeat ....

... Good afternoon! It was a gorgeous day yesterday. Started off a bit grey, but by the afternoon we had temperatures in excess of 20ΒΊC, not typical for early April. I was able to go out for my walk and enjoy the sun and birds - it was lovely. In the morning I spent some time working on my Day-by-Day Dyalog - photos to come soon. This morning I tidied my craft space - so nice to see a clear desk, rather then all the stash covering it. Here's the card I made:


Stamps: Altenew - Coffee Love, Coffee Talk, Coffee Ring
Inks: Kaleidacolor - Cappuccino Delight
Dies: Die-namics - Cross-stitched Circle Stax #2 and #3
Accessories: White Card; SU Card and DP - Early Espresso

I've got lots of coffee themed stamp sets (well, I love coffee) so I thought it would be good to play along with the new Caffeine Fueled Paper Play - CLC#04, and I've used the sketch from this week's Freshly Made Sketches - FMS#429.


I started by creating my own background paper using lots of little coffee themed images, and stamping in the appropriately names, cappuccino delight ink! I cut a piece to size and adhered it to the front of my card. I added a thin strip of dark brown card to finish it. I used dies to cut two patterned circles from early espresso design paper and stamped a fun sentiment on the white circle. I adhered the two patterned panels flat to the card and used dimensional pads to attach the middle circle. I finished the front by adding a fun sentiment which continues inside the card with the word "coffee" πŸ˜€πŸ˜πŸ˜€ I also stamped a coffee ring and layered the white panel on more of the brown design paper.


That's all from me today - hope to see you again soon. Stay home, keep safe.

signature photo Signature.png

Sunday, 5 April 2020

MM - Still Kind of a Mess ....

.... Hi! As well as making cards, I like to play about in my art journals. In February I joined in with the Dylusions Facebook Challenge and I was lucky enough to be picked to be a Guest Designer for the April challenge. This is the page I made:


Stamps: Dylusions - Down in the Woods, Glorious Blooms, The Cat & I, Fish Face, Ocean Backgrounds
Inks: Dylusions Sprays - Crushed Grape, Bubblegum Pink, Cherry Pie; Versafine Clair - Monarch; Dylusions Paints - Black Marble
Accessories: Dylusions Large Journal; Dylusions Stencils - Squares, Luscious Leaves, A Stitch in Time; Copic Markers; Nuvo - Clear Aquashimmer Brush; Sakura Stardust Pens; Dylusions - Bigger Back Chat Set 2

I found the page already inked and ghosted in my journal. I simply added some background stamping, outlined some of the ghosted images and added a border all round. When our daughter was born she ended up with the nickname "Fishface" - no idea why, but she did. So, when Dyan released the set Fish Face I had to get it, and it's been a favourite of mine ever since. I use the fish head image often, and I like to colour the scales like a rainbow - it always reminds me of the story "The Rainbow Fish, by Marcus Pfister" I used to read to Kat. On this page I've put the head on the body from The Cat & I - love the long body! I used Copic markers to colour all the images and added sparkle to several area with either Sakura Stardust pens or a clear aquashimmer brush. I finished the page by adding some words taken from Bigger Back Chat Set 2.

The page was created about the same time as I did my Covid-19 spread, so the words sort of continue the theme. I guess that many of us are experiencing varying degrees of stress and anxiety, so I worked out some of mine on this page. I took a close-up photo of Fish Face and her jacket where you can see the shimmer and sparkle.


I'm submitting this page to Love to Craft Challenge Blog - LTCCB#45, where it's Anything Goes.

That's all from me today - bye for now!

signature photo Signature.png

Saturday, 4 April 2020

Fly High ....

.... Morning! I hope everyone is well. I've been out this morning for the weekly shop - very orderly queue outside Asda. Everyone seemed in good spirits. Got pretty much everything I need and now back home in my craft room. I've made a clean simple card today:


Stamps: Visible Image - Learn to Fly Again
Inks: Distress Oxides - Shabby Shutters, Crushed Olive, Mowed Lawn; Versafine Clair - Nocturne
Accessories: White Card; Taylor Expressions - Oval Masking Stencil; Visible Image Stencil - Cosmic Skies

I've made this card for several challenges:


I made this card in about 10 minutes - took longer than that to come up with the idea, but the actual production, 10 minutes. I used my oval mask and placed the cosmic skies stencil over the top, then inked over with three shades of green distress oxide. This gave a lovely crisp oval stencilled background. I then stamped the feather image in dark pigment ink - I realise now the stencil ink shows through, but I kind of like it. On the inside, I kept it simple, adding a verse and another little feather.


This card is for Ben - I'll be posting it later today when I go out for my walk.

I've been having a fun week - Dyan Reaveley has launched a Day-by Day project on her Dyalog Facebook group to keep us occupied during this stay-at-home period. It's a private group, but if you like Dyan's work, it's a great way to keep occupied. I'll be sharing my dyalog soon. That's all from me today - take care, be safe.


signature photo Signature.png

Thursday, 2 April 2020

Happy Anniversary ...

.... Morning! It's a beautiful morning today with bright sunshine, but still a chill wind. We had some much needed rain last night and hopefully tonight too - Mum's garden needs all the water it can get!! I've made an anniversary card today - my uncle and aunt celebrate 55 years this weekend. So, mum wanted me to do her a card to send:


Stamps: Michael Powell - Church; Stampin' Up! - Teeny Tiny Wishes; Uniko - All Occasions Sentiments #1
Inks: Versafine - Onyx Black; Versafine Clair - Nocturne
Dies: Die-namics - Stitched Trad Tags Stax #6, Trad Tags Stax #7
Accessories: White Card; SU Card - Strawberry Slush; Copic Markers; Clear Embossing Powder

I'm submitting this card to Colour Throwdown - CTD#587 and to MFT Wednesday Sketch Club - MFTWSC#483.


I've had this stamp for years - it's based on a counted cross stitch design by Michael Powell, sadly both are long discontinued. However, I think it's perfect for an anniversary card. I stamped the image on white card, coloured it with Copic markers, stamped and heat embossed with clear powder. I used a stitch edged tag to cut out the image and used the matching plain tags to cut out a coloured mat layer. I finished the front by adding a simple sentiment. On the inside, I cut another mat layer of pink card and added a bold greeting - loads of space for mum's message. The card is in the post and on its way.


That's all for today - see you soon.

signature photo Signature.png

Wednesday, 1 April 2020

SHC - Happy Christmas ...

... Hello again! It's one of those days when design teams posts clash. Today I have both a Seven Hills Craft Blog and Christmas 24 Challenge post, so I decided to continue with a Christmas theme. In fact, I used the same stamp set for my cards. Here's the first:


Stamps: Colorado Craft Company - Big & Bold Winter Wishes Snowflake
Inks: Distress Oxide - Squeezed Lemonade, Twisted Citron, Broken China; Versmark; Delicata - Silvery Shimmer
Accessories: White Card; SU Card - Black; Detail White Embossing Powder; Sheer Shimmer Spray - Frost

I'm playing along with The Holly & Ivy Christmas Challenge - H&ICC#68 where it's Anything Christmas Goes.


I stamped the snowflake and greeting in Versamark and heat embossed with detail white powder. Using my blending brushes I created an ombre background with yellow, green and blue distress oxide inks. I love the soft velvety finish these inks give. I made sure to wipe of any excess ink from the images. Then I added some sparkle with a frost shimmer spray. I layered the finished panel on black card and adhered it to the front of the card. It's a large 5" × 7" card - perfect to show off the snowflake. On the inside, I cut another mat layer of black card and on the white panel I stamped the snowflake in silver and added another greeting from the set. I used the three inks to create an ombre greeting.


My next two cards are one layer cards with a clean, simple finish:


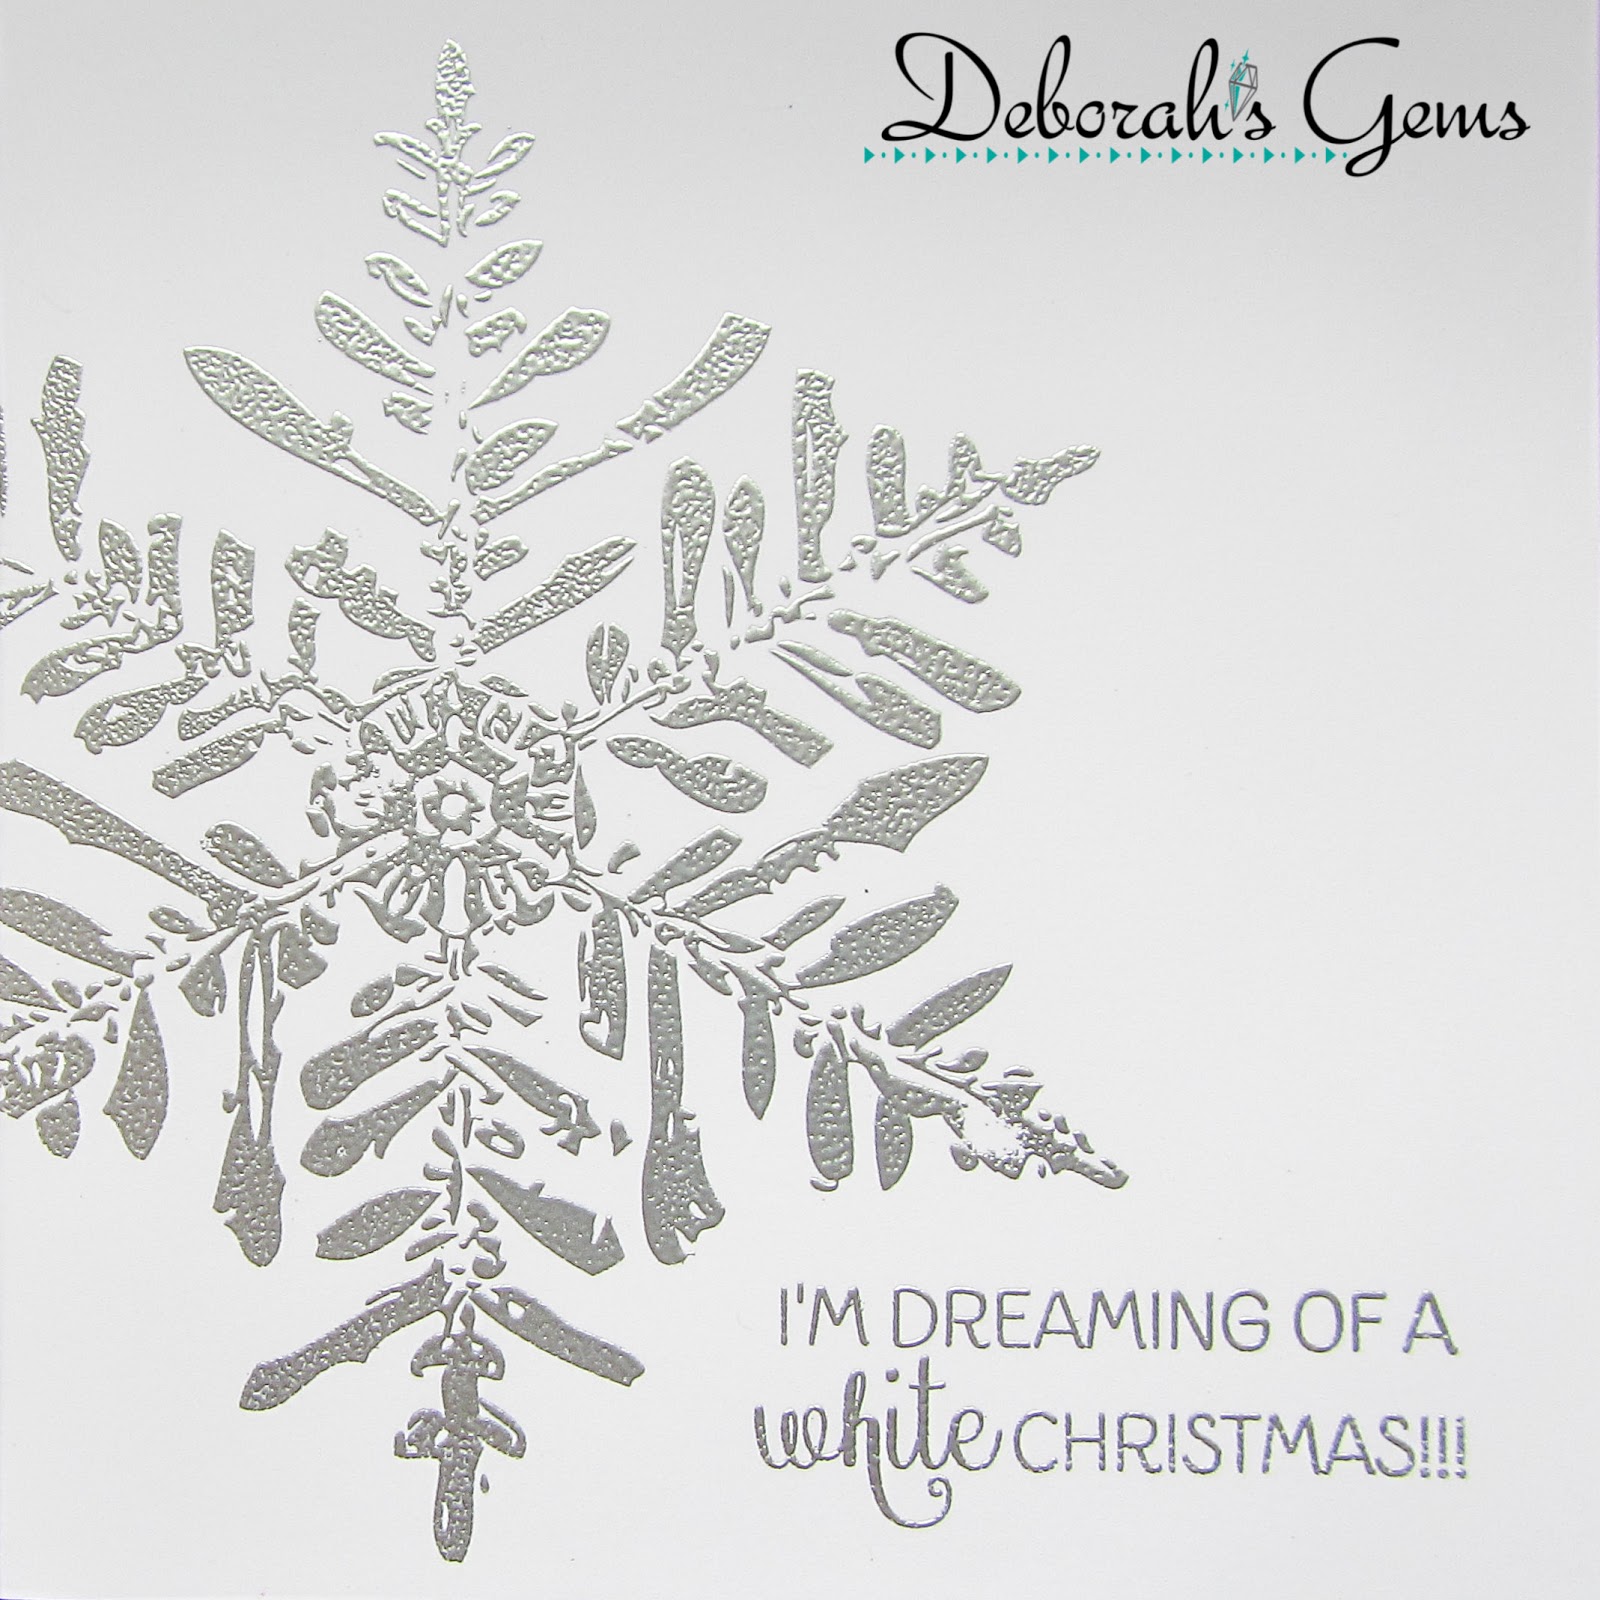
The square card is embossed with plain silver and the other 5" × 7" card is embossed with silver tinsel.  The sentiment on this card didn't work perfectly, so I restamped the sentiment, slightly offset to create a shadow effect. On the inside of each card I restamped the snowflake and added another greeting.


I really like this set. The snowflake is stunning and the fonts used in the sentiments are just lovely. Why not visit Seven Hills Craft shop to check it out?

I hope that everyone is coping okay with having to stay in their homes. It's a very difficult time for us all, but the main thing is to be safe. That's all from me today. See you again soon.

signature photo Signature.png

C24C - White Christmas ....

.... Hello! I'm here this morning with my card for Christmas 24 Challenge - C24C#07 where we have a sketch for you. I've been pretty faithful to the sketch, but I don't do bows!!


Stamps: Colorado Crafts Company - Big & Bold Winter Wishes Snowflake
Inks: Distress Oxides - Tumbled Glass, Broken China, Salty Ocean, Blueprint Sketch; Versamark; Delicata - Silvery Shimmer
Accessories: White Card; Dylusions Shimmer Spray - White Linen; Sheer Shimmer Spray - Frost; Silver Embossing Powder


I started by masking off a rectangle on the square card. I used several shades of blue Distress Oxide to create an ombre background. I added some shimmer with White Linen Dylusions and Frost sprays. Once dry I used my antistatic bag and then stamped the large snowflake and sentiment in Versamark and heat embossed with silver powder. I cut the panel to 5½" square and adhered it to a 5¾" square card. On the inside, I cut a mat panel of black card and a smaller white panel on which I stamped the snowflake again in silver and added a sentiment using two shades of blue ink.


Thanks so much for playing along with our last challenge - I had fun visiting your cards. Don't forget to visit our blog - Christmas 24 Challenge - to see what the rest of the team have created with the sketch. See you soon.

signature photo Signature.png
Related Posts Plugin for WordPress, Blogger...