Showing posts with label GK - On the Inside. Show all posts

Friday, 18 October 2024

Happy Birthday Mum

.... Good morning!! Well, it's been a while - again! I'm here this morning with the card I've made for my Mum's birthday. Mum is 85 years young today. We're going into town so that Mum can have her hair done and then a quick trip to the shops. Here's Mum's card:


Stamps: Gina K - Delicate Flowers, On the Inside - Birthday
Inks: Gina K - Red Hot, Red Velvet, Stormy Sky, Jelly Bean Green; Versafine Clair - Nocturne
Dies: Gina K - Master Layout 1, Delicate Flowers, Single Stitched Oval #2, Double Stitched Oval #2
Accessories: White & Black Card; Gina K Stencils - Delicate Flowers, Twirl-it Checks; Copic Markers; Gems

I'm submitting this card to three challenges. First to Never-Before-Used-Schtuff - NBUS#67 - first time of using all these items. Second to Addicted to Stamps and More! - ATSM#479 - where it's Any Occasion. Finally to The Flower Challenge - TFC#96 - where we have to add a stencil.


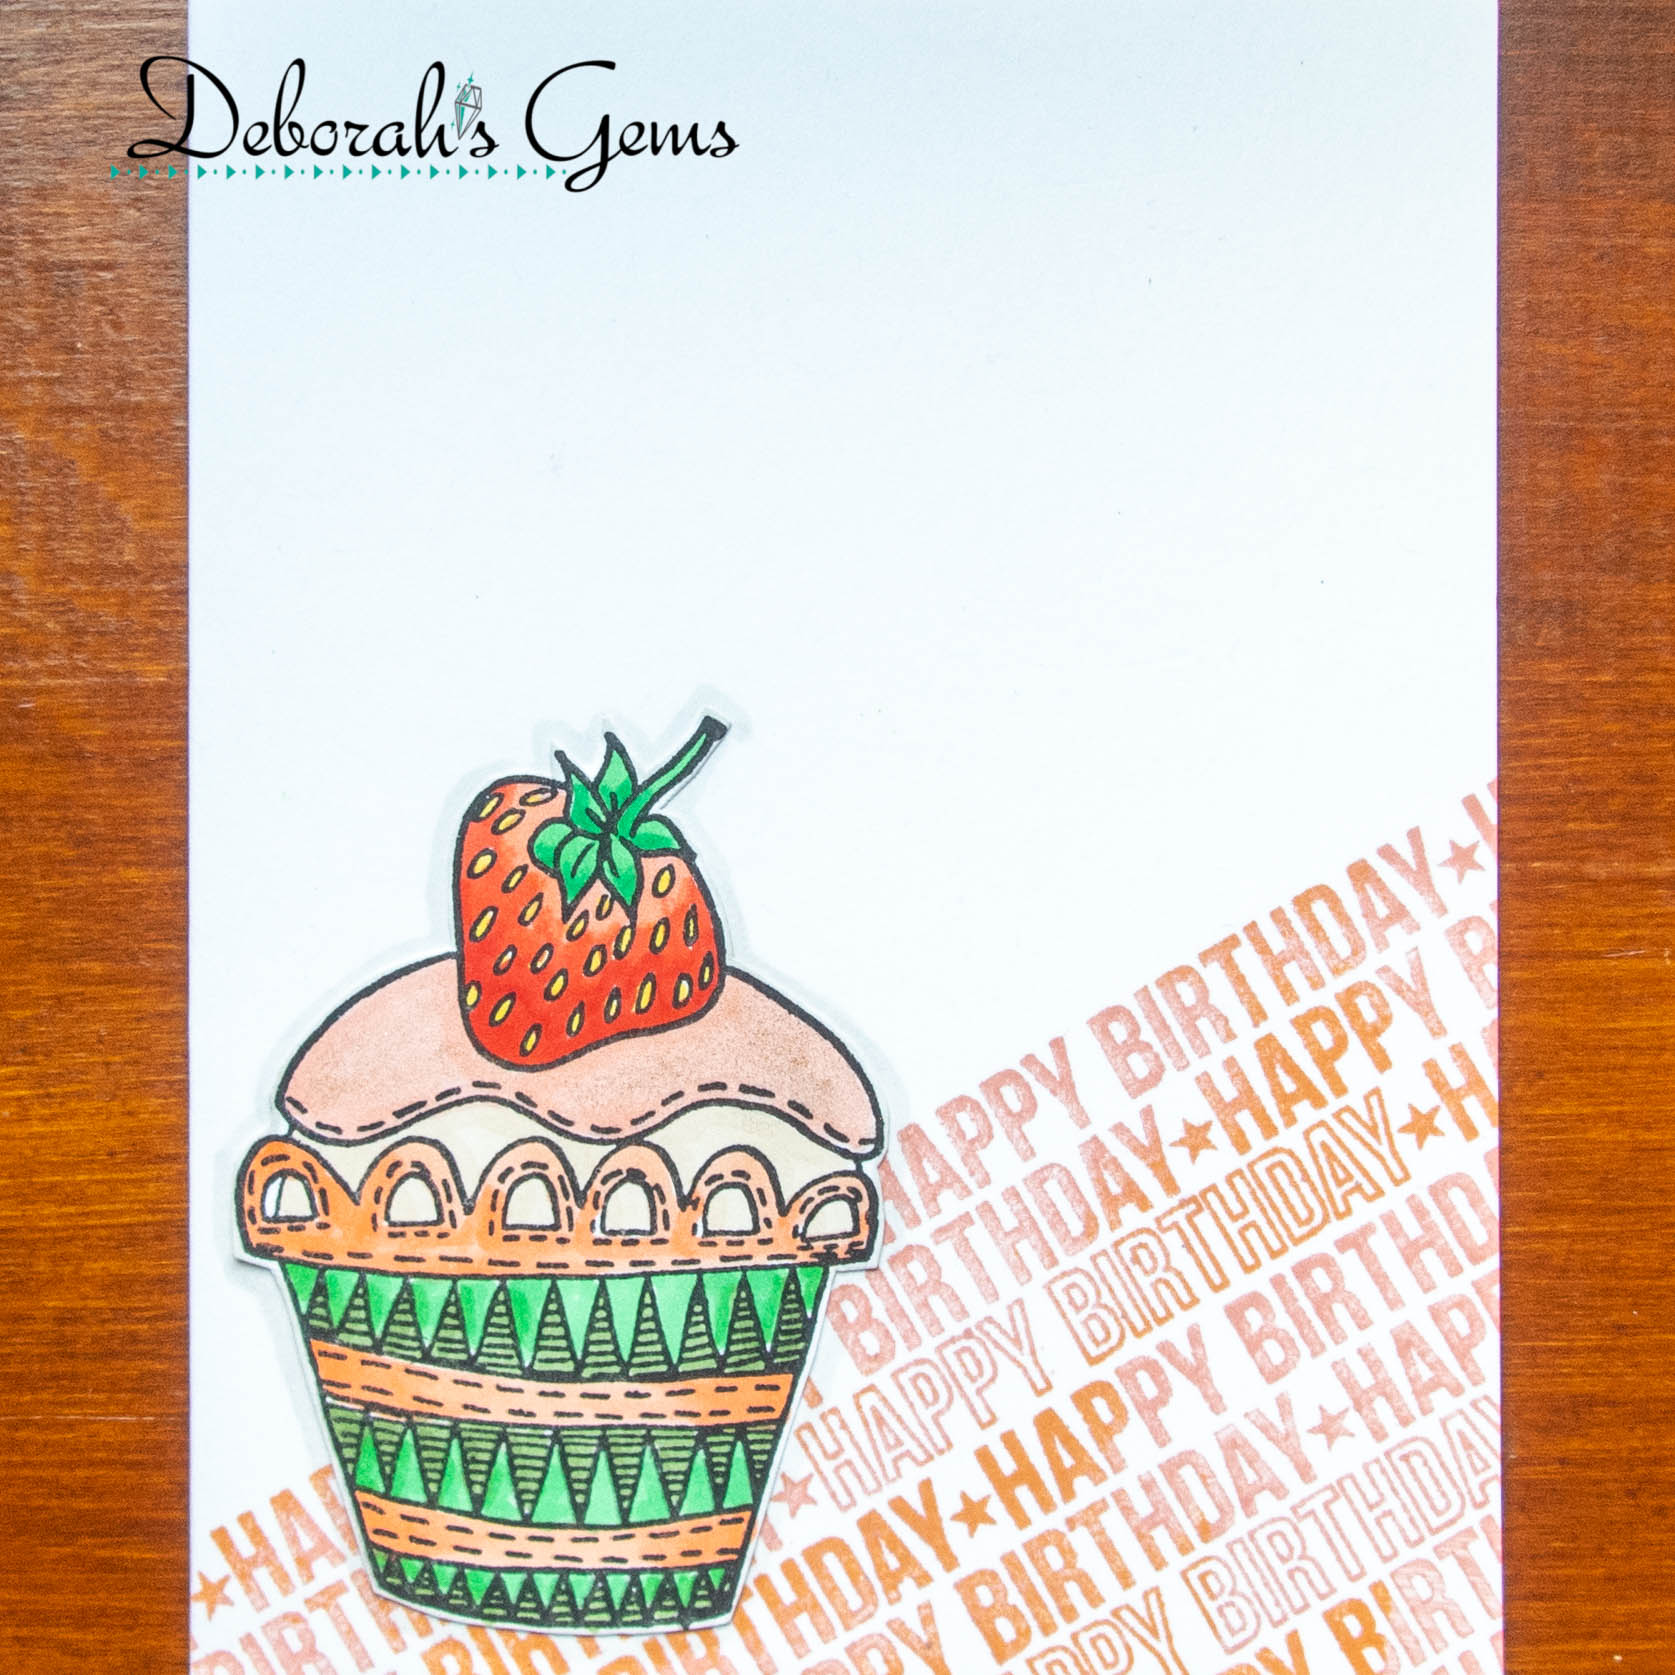
Mum's favourite colour is red and so I used shades of red to make her card. I stencilled the check background with one red ink - first using a very light touch, and then, after shifting the stencil, adding a second layer of colour with a heavier hand. I used dies to cut out the stencilled panel and a mat black panet and added them to the front of an A2 white note card. I stamped the floral images on white card, used the matching stencils to add colour, and cut them out with the co-ordinating dies. I cut an oval panel in white card and layered it on black. I stamped a simple birthday greeting in black ink and added to the card. I adhered the two floral images above and below the oval, and finished the front by adding a few crystal gems. On the inside, I cut a mat layer of black card and on the white panel I stamped a birthday greeting and added a row of candles which I coloured to match the front of the card.


I had so much fun making this card - I haven't made any cards since the ones I made for Kat's birthday. I think I might be busy this weekend though - I need to make some Halloween cards for the kids, and then I must make a start on my Christmas cards!!


That's all for today. Thank you for stopping by - I appreciate all comments left. Have a super day.

signature photo Signature.png

Monday, 1 April 2024

Shaking it all about with AAA Birthday

... Good morning!! I am delighted to say that I'm Guest Designer at AAA Birthday for their April challenge. The challenge this month is 'Shaker', and I have to admit that this caused me some concern. You don't see many shaker cards on my blog - and there's a reason for that. So, I spent a few weeks watching various tutorials, and this is the card I made:


Stamps: Gina K - On the Inside, Sweet Sentiments
Inks: Versafine Claire - Nocturne; Gina K - Bubblegum Pink, Passionate Pink
Dies: MFT Die-namics - Happy Birthday Block; Lil' Inkers - Stitched Squares #7
Accessories: White Card; Acetate; Brutus Monroe DP - Galaxy; Sequins & Gems from stash


I thought this would be a breeze. It was mostly. I cut some design paper to fit on a 5¼" square white card. I die cut the Happy Birthday block in white card and adhered some acetate to the back of the die cut. I then carefully went around the edge with dimensional tape. At this point I realised I needed to add some dimensional tape to the edge of some of the letters, otherwise the whole lot would collapse. Once I completed that, I filled the inside with a mixture of sequins and gems and added the card to the shaker panel. And I'm delighted it turned out so well.


I kept the inside, quite simple. I cut another piece of the design paper to make the mat layer and on the white panel added a birthday greeting along with some pink flowers.


I do hope you get time to join in with this month's challenge. I'm very much looking forward to seeing what the design team make and to visiting you all this month. I may even have another go - it was fun. I'd like to thank the DT for inviting me to join them this month. Bye for now.

signature photo Signature.png

Sunday, 17 December 2023

Ornamental Trees

... Hello again! I'm on something of a roll and am enjoying sharing my Christmas Cards. So, Day 5 of my Christmas Cards reveal, and I have two sets of 4 - all based on the same theme:


Stamps: Gina K - Snow Much Love, Under the Mistletoe, Graphic Tree, On the Inside - Christmas
Inks: Gina K - Key Lime, Jelly Bean Green, Blue Raspberry, Ocean Mist, Blue Denim; Memento - Cottage Ivy; Versafine Clair - Blue Belle, Green Oasis, Nocturne
Dies: Gina K - Ornamental Trees, Master Layout 2
Accessories: White Card; Blue & Green Mirri Card; Crystal Glitter

I'm submitting these cards to Happy Little Stampers Anything Goes with Dies - HLSAGD#12, to Happy Little Stampers Christmas Challenge - HLSCC#12 (skipping the option), and to The Holly & Ivy Christmas Challenge - H&ICC#153 - where it's always anything Christmas goes.


I used my MISTI to layout the snowflake stamps and then, using greens and blues, stamped directly onto white A2 notecards. I cut out eight different Ornamental trees in green and blue mirri card, put them through my Xyron machine to make them self-adhesive and put each tree on a die cut panel. I stamped a greeting and layered the panels onto green or blue mirri card mat layers. As there was some adhesive in the spaces on the trees, I added fine crystal glitter, burnished it in and dusted off the excess. For the inside, I cut white card inserts, stamped on a Christmas greeting in black along with some matching snowflakes.


Thank you for stopping by and your comments - always gratefully received. I have two more posts to come - and that'll be the end of my 52 Christmas cards this year!! See you soon.

signature photo Signature.png

Friday, 15 December 2023

Pastel Winter Wonderlands

..... Hello! Day 3 of my Christmas Card run through. Today, I've a set of four pastel Christmas cards - all like a winter wonderland:


Stamps: Gina K - Graphic Tree, Festive Phrases, On the Inside - Christmas
Inks: Gina K - Ocean Mist, Lovely Lavender, Bubblegum Pink, Blue Lagoon, Wild Lilac, Passionate Pink, Blue Denim; Memento - Summer Sky; Versafine Clair - Nocture
Dies: Gina K - Master Layout 4, Graphic Tree
Accessories: White Card; GK/ThermoWeb - Stars & Snow Stencil; Sakura Pens

I'm submitting this set of cards to Cupcake Inspirations Challenge - CIC#584 where the theme is Winter Wonderland, and to Happy Little Stampers Stencil Challenge - HLSSC#12 - where it's Anything Goes.


I cut four pieces of white card and then stencil the starry/snowy background in soft pastel colours, and used a scalloped stitched rectangle to cut out the background pieces. I stamped the Christmas tree onto white card using the same inks and then cut them out with the matching die. I also cut out a number of extra trees. I layered the trees to give stability and dimension. I inked the edges of white A2 notecards with the same pastel shades to give the illusion of coloured notecards. I stamped the bold Christmas greeting in darker/brighter co-ordinating inks and adhered them to the matching notecards. I added the Christmas trees. To finish the trees, I added some sparkle and shine with Sakura pens. Inside the card, I added a sentiment panel.


I really like the Christmas tree stamp - it has endless possibilities - I think next year, I might add gems and/or buttons!! That's it for today. See you again tomorrow.

signature photo Signature.png

Thursday, 14 December 2023

Stencilled Snowflakes

... Hello again!! Day 2 of this year's Christmas cards. I have two sets this time - both using the same products, but in greens and then blues:


Stamps: Gina K - Festive Phrases, On the Inside - Christmas; ThermoWeb - Penguin Pals
Inks: Gina K - Blue Raspberry, Blue Denim, Applemint, Lucky Clover; Memento - Summer Sky, Cottage Ivy; Versafine Clair - Nocturne
Dies: Gina K - Master Layout 2
Accessories: White Card; Gina K Stencil - Heartfelt Layering Snowflake; Blue & Green Mirri Card; Posca - White Pen

I'm submitting these cards to Happy Little Stampers Stencil Challenge - HLSSC#12 - where it's Anything Goes, and to The Holly & Ivy Christmas Challenge - H&ICC#153 - where it's Anything Christmas Goes.


I used a 4-for-1 stencil technique that I learnt from Jennifer McGuire to create the backgrounds. I used the layering Heartfelt Snowflake to  make the images. I used Master Layout 2 to cut the mat layers in blue and green mirri card, and to cut the stitched panels. I used a Posca white paint pen to add some white highlights on the image, and finished the panels by stamping bold Christmas greetings in black ink. Before adding the stamped panel to the mirri card mat layer, I used a smaller die to cut out a rectangle from the centre of each piece. On the inside, I added a white panel stamped with a Christmas verse and added some snowflakes.


That's all for today. Thank you for stopping by my little piece of blogland!! See you all again soon.

signature photo Signature.png

Tuesday, 18 April 2023

Birthday Card for my Aunt

.... Good afternoon! I've been busy working on my monthly dyalogs and not making any cards. However, it's my aunt's birthday on Thursday and I had to make a card for her. In August 2020 I made a number of birthday cards using the Spotlight Sentiments stamp set - a good set for basic cards. I found one of the cards in my stash and dressed it up a bit. Here's the card:


Stamps: Dylusions - Eat Me; MFT - Spotlight Sentiments; Gina K - Hexagon Fun, On the Inside
Inks: Kaleidacolor - Desert Heat; Versafine Clair - Nocturne
Accessories: White Card; Copic Markers; Nuvo - Midas Aquashimmer Brush

I'm submitting this to Addicted to Stamps and More! - ATSM#443 where the theme is birthdays, and to Happy Little Stampers Birthday Challenge - HLSBC#04 where it's anything goes.


This was so easy to make as the note card had already been stamped and I got the cupcake image from my stash of Dylusions images that I have already cut out for use. I coloured the cupcake with Copic markers to match the stamped background. I added some shimmer to the frosting with a gold tone aquashimmer brush. On the inside of the card I added a birthday greeting a row of tiny cupcakes.


That's all from me today - hopefully, I'll be posting again soon. 

signature photo Signature.png
Related Posts Plugin for WordPress, Blogger...