Showing posts with label ME - Mixed Wishes Greetings. Show all posts

Monday, 11 March 2024

Starry Birthday

... Good afternoon! It's another dull, dismal day here in Northop Hall, so I've spent the morning making a birthday card for my great-nephew. Here's the card:


Stamps: My Favorite Things - Stars Above, Bitty Birthday Wishes, Distressed Patterns; ME - Mixed Wishes Greetings
Inks: Gina K - Soft Stone; Versafine Clair - Nocturne
Dies: MFT Die-namics - Stars Above; Altenew - Featured Sentiments Dies
Accessories: White Card; Copic Markers

I'm submitting this card to Just Us Girls - JUGS#717 to use green and one other colour - I picked blue. I'm also playing along with AAA Cards - AAA#260 - a sketch, and to AAABirthday - AAAB#59 to use geometrics.


This is for Xander, my great-nephew, who will be 12 years old on Friday. I love making cards for guys and these geometric patterned stars are perfect for guys and tweens! The challenge at JUGS is to use green/lime green/one other colour - I picked blue for a boy. I used my MISTI to stamp the stars onto plain white white, took the card out and coloured the patterns with Copic markers. I returned the images to the MISTI and re-stamped with Versafine Clair black ink - this gives such a dark black line. I then used the matching dies to cut out the stars. I also cut out a number of plain white stars. I stamped a soft grey distressed panel down the side of an A2 white note card and adhered the stars. I adhered some stars flat and layered some stars to give depth. I finished the front with a simple birthday greeting in black ink, and edged the panel with green ink.


For the inside of the card, I cut two pieces of white card. I edged the larger panel with a green marker. On the other white panel I stamped a fun birthday greeting in black ink and stamped a couple more stars, which I coloured with Copic markers.


That's all for today - see you again soon.

signature photo Signature.png

Tuesday, 5 March 2024

Rainbow Postage Birthday Card

.... Hello!! It's been a few days and somehow we're in March already! I'm here to share a birthday card that I've made:


Stamps: Waffle Flower - Postage Collage, Postage Collage Fall; Mama Elephant - Birthday Messages, Mixed Wishes Greetings; Lawn Fawn - Rain or Shine Before 'n' Afters; The Stamping Village - Birthday
Inks: Gina K - Red Hot, Tangerine Twist, Wild Dandelion, Lucky Clover, Ocean Mist, Blue Raspberry, Medium Lilac, Passionate Pink; Versafine Clair - Nocturne
Dies: Waffle Flower - Postage Collage Die A2
Accessories: White & Black Card; Waffle Flower Stencil - Postage Collage Colouring Stencil; Copic Markers; Glitter

I'm submitting this card to AAA Colourful - AAAC#01 where we can use the rainbow of colours - this is a new challenge and one I'm delighted to join. I'm also playing along with Seize the Birthday - STB#278 - I've skipping the colour and just joining the anything birthday goes.


The postage stamp style card is so popular and I just love it - it can be made to suit any and all themes. This is a rainbow birthday card. I used a mix of stamps and stencils and Copic markers to add colour to the candles and rainbow. I've also added glitter to the flames, the cake and the end of the rainbow. I layered the finished panel on black card and added the whole lot to the front of an A2 note card. 


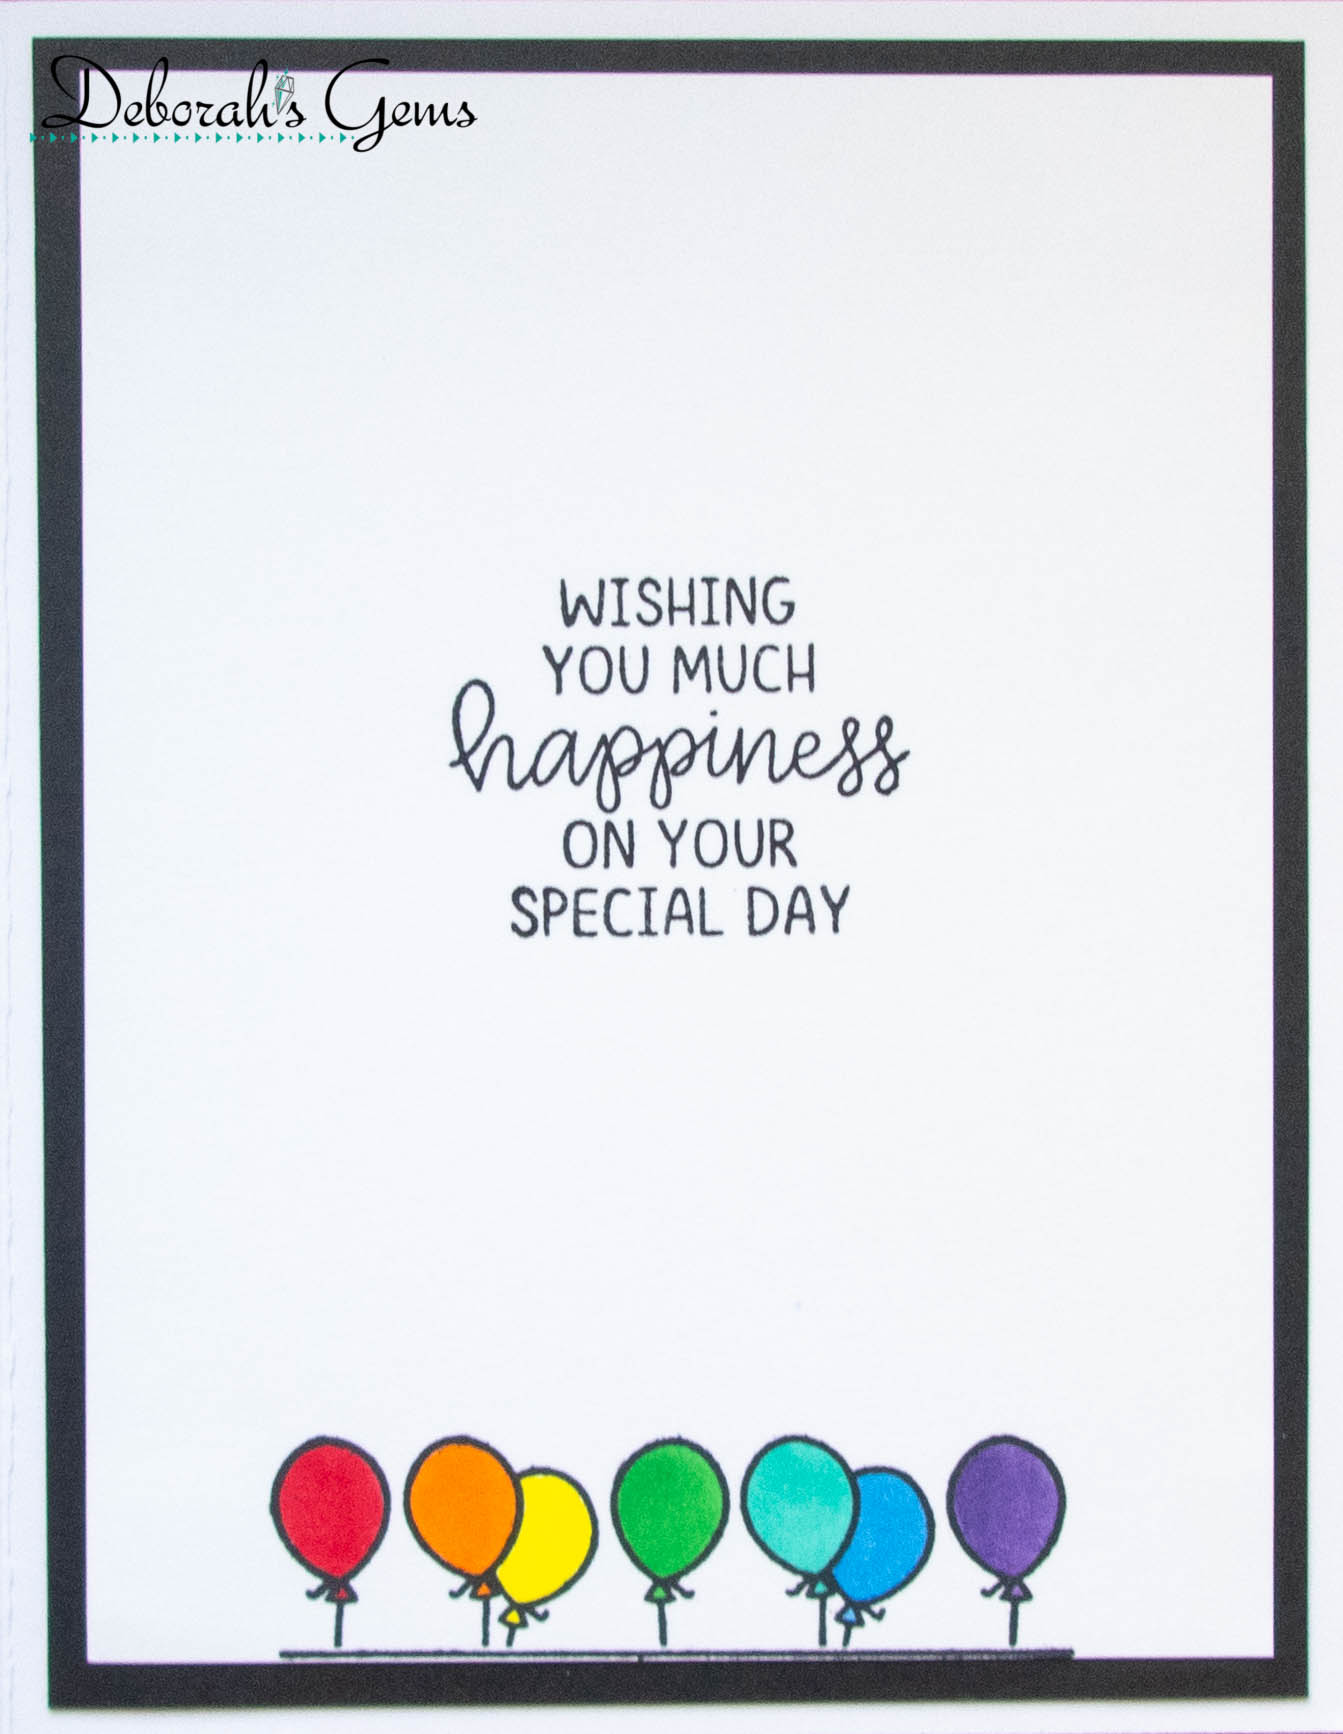
Inside the card, I cut a mat layer of black card. On the white panel, I added a fun birthday greeting along with a row of party balloons - coloured rainbow fashion.


This card is for my niece, Catherine, she has her birthday on Saturday - I'm getting it in the post today to make sure it arrives on time. That's all for today - see you again soon.

signature photo Signature.png

Monday, 19 February 2024

Great-Nephew's Birthday

..... Good morning!! It's been a while - February is flying by. I'm here today to share the card that I've made for my great-nephew, he'll be 5 years old tomorrow.


Stamps: My Mind's Eye - Boy Crazy; Lawn Fawn - Happy Happy Happy; Mama Elephant - Mixed Wishes Greetings
Inks: Gina K - Red Hot, Blue Raspberry, Wild Dandelion; Versafine - Onyx Black; Versafine Clair - Nocturne
Accessories: White Card; The Greetery - Pinwheel Party Stencils; Copics; Clear Embossing Powder; Lakeland - Foil Number

I'm submitting this card to the following challenges: CAS Colours & Sketches - CASC&S#530, Time Out Challenge - TOC#257, and CAS on Friday - CASOF#277 where the theme is male/boy.


I had such fun making this card. I started by stencilling the red and blue pinwheels directly onto the A2 note card. I used my MISTI to stamp the robot onto white card. I removed the image, coloured it with Copic markers, returned it to the MISTI and stamped with Versafine ink and heat embossed with clear powder. I then carefully fussy cut out the robot and edged the image with a black marker. I added a simple birthday greeting and a large bright yellow '5' at the top of the card.


I cut a piece of white card for the inside - I lightly brushed on red ink around the edge. I stamped the robot at the bottom left and added a simple birthday verse along with some yellow elements.


I'm heading to the local post box shortly to get this card in the post - I had thought that Elijah's birthday was next Tuesday, but in fact it's tomorrow!!! I hope he likes the cute robot - it's a favourite of mine for kids cards. That's all for now - see you soon. 

signature photo Signature.png

Wednesday, 26 January 2022

SHC - Masculine Birthday Cards

... Morning! It's time for my weekly Seven Hills Craft blog post. This week I have a couple of masculine themed cards to share with you. Here's the first:


Stamps: Altenew - Just a Number; Mama Elephant - Easy Sentiments
Inks: Kaleidacolor - Blue Breeze
Dies: Altenew - Just a Number
Accessories: A6 Grey Notecard; Altenew - Geo Diamonds 3D Embossing Folder

I'm submitting this to Love to Craft Challenge Blog - LTCCB#66 where it is always Anything Goes. I'm also submitting this to Seize the Birthday - STB#230 where they want to see embossing!


This card was so quick and easy to make. I placed a piece of white card into the 3D embossing folder and ran it through my Big Shot. I love the simplicity of the design. I trimmed the panel to fit on the front of a UK A6 grey notecard. To finish the front I stamped the 'happy birthday' greeting onto white card and used the matching die to cut out the words. I layered them onto plain white die cuts and added them to the card. This is a simple masculine CAS card. Inside, I cut a piece of white card slightly smaller than the notecard and added several birthday greetings in blue ink.


My next card is also quite clean and simple:


Stamps: Altenew - Birthday Builder; Mama Elephant - Mixed Wishes Greetings; C&9 - Playful Patterns
Inks: Gina K - Blue Lagoon, Blue Denim, Christmas Pine, Wild Lilac; Versafine Clair - Nocturne
Accessories: White & Kraft Card; Altenew Block Stencil; Copic Markers

I used Stencil 2 from the Block stencil pack to create the pattern on kraft card. It is not quite perfect, but I like it. I cut a piece of white card to 3" x 4¼" to allow some of the background to show around the edge. I added an outline birthday greeting and coloured the letters with Copic markers. I added a dotty pattern and lightly ink blended around the white card. Inside, the card I cut a mat layer of kraft card and on the white panel I stamped a birthday greeting and some more dots.


Well, that's all the cards for January made. I don't need quite so many for Februay, but those that I do are for special birthdays! That's it for today. See you soon.

signature photo Signature.png

Monday, 10 January 2022

Free Spirit Birthday ....

..... Morning! I've got a birthday card to share with you today. This one is for our son, Ben:


Stamps: Waltzing Mouse Stamps - Free Spirit Boy; The Greetery - Birthday Sentiment Suite; Mama Elephant - Mixed Wishes Greetings
Inks: Gina K - Keylime, Blue Lagoon, Blue Raspberry; Versafine Clair - Nocturne
Accessories: White & Black Card; Taylored Expressions - Ovals Masking Stencils

I'm submitting this card to The Male Room - TMR#158 to make a card for a teenager, Just Us Girls - JUGS#614 - Trend week to make an inked background, and to Seize the Birthday - STB#229 - I've gone for the Anything Goes option.


I placed the oval mask on a side opening A2 note card. I used three inks to shade the background - I love how Gina K inks blend so well. I removed the mask and stamped the abstract circles image in black ink. This image is from Waltzing Mouse Stamps (now sadly closed), but it is one of my all time favourite stamps for making masculine birthday cards. I used it many times in the past for cards for Ben, and while he's not a teenager anymore, it is perfect for this card. I finished the front by adding a simple birthday greeting. Inside the card, I cut a mat layer of black card. On the white card, I stamped the circle image again this time blending together the green, teal and blue inks. I finished with a fun verse. This card is already in the post and on its way to Ben.


That's all for now with cards. 

I'm feeling very tired now and need to have a nap. Some of you may have seen my recent Facebook posts. I had a lumpectomy last week for breast cancer. I'm only telling you this because it's important not to ignore any lumps or bumps you might find. I found a lump in early November, saw my GP who immediately referred me to a specialist. I saw him in December and had a shedload of tests. And then I was told I had breast cancer. I really hadn't been expecting that at all. Christmas and New Year have been a bit quite. However, the good thing is that I had surgery last week and will be followed up shortly to find out next steps. Apart from feeling absolutely shattered, I'm okay. So, don't ignore lumps you might find and get them followed up. I'm so thankful for our wonderful National Health Service.

That's really is all for now. See you again soon.

signature photo Signature.png

Wednesday, 5 January 2022

SHC - A Rabble of Butterflies ...

.... Morning! My second post of 2022!! I'm here with my weekly Seven Hills Craft blog post. I have lots of pretty butterflies on my cards. I'll start with a birthday card:


Stamps: Concord & 9th - Fluttering By Turnabout; The Greetery - Birthday Blooms; Altenew - Just a Number
Inks: Gina K - Lipstick, Cherry Red, Lovely Lavender, Wild Lilac; VFC - Nocturne
Dies: The Greetery - Birthday Blooms
Accessories: White Card; SU Card - Raspberry Ripple

I'm submitting this card to Color Hues - CH#32 where they want to see Red and Purple.


You all know that I love the Concord & 9th turnabout stamps - they are great for making pretty, and quick, backgrounds. I used shades of purple and red to make this butterfly filled background. I added the body and trail details with black ink. I stamped the word 'happy' directly on the card, and layered the panel on a red mat layer and added to a white square card. I finished the front with the lovely scripty die cut word 'birthday'. It's still flat enough to go through the post. Inside the card, I cut a mat layer of red card. On the white panel I stamped a fun greeting - I know my aunt will appreciate the fun - and added a couple of butterflies.


Next up is another birthday card - this one is for my sister-in-law who will be celebrating her 50th tomorrow:


Stamps: Concord & 9th - Fluttering By Turnabout; The Greetery - Birthday Blooms; Mama Elephant - Mixed Wishes Greetings
Inks: Gina K - Keylime, Blue Raspberry, Passionate Pink, Tangerine Twist; Versafine Clair - Nocturne
Dies: The Greetery - Birthday Blooms
Accessories: White Card; SU Card - Pacific Point; Silver Holographic Card

I'm submitting this card to Never-Before-Used-Schtuff - NBUS#34 - first time I've used both the turnabout stamp and Birthday Blooms, won't be the last!!


This time I made a US A2 size card. I cut the stamped panel to fit on the front and above it I added a strip of blue card, along with a thin silver holographic strip for some sparkle. I finished the front by stamping a sentiment and adding the die cut word 'celebrate'. Inside, I cut a mat layer of blue card. On the white panel I stamped a birthday greeting and added a couple more butterflies.


My final card has lots of sparkle:


Stamps: Concord & 9th - Fluttering By Turnabout; Mama Elephant - Easy Sentiments
Inks: Gina K - Wild Dandelion, Sweet Mango, Prickly Pear, Tomato Soup
Dies: C&9 - Everyday Sayings
Accessories: White Card; SU Card - Early Espresso; C&9 - Summer Glitter Paper Pack

I'm submitting this card to The Paper Players - PP#572 where the theme is to make it sparkle.


I made a top folding A2 card from brown cardstock. I trimmed the stamped panel to size and layered it onto some copper glitter paper. Before adhering the stamped panel, I die cut the word 'hi' from the middle of the glitter paper - a great way to economise!! Once the stamped panel was added on top - you would know. I finished the front of the card by adhering the sparkly word 'hi'. Inside, I simply cut a piece of white card. I added a few fun sentiments to the bottom of the panel with space for my own message.


That's all from me today. Keep safe and see you again soon.

signature photo Signature.png

Wednesday, 9 June 2021

SHC - Books Galore ....

.... Morning! I'm here with my weekly Seven Hills Craft blog post. I was lucky enough to get a super new stamp for my birthday - thanks so much Tara. I had to play with it.


Stamps: Hero Arts - Bookcase Peek a Boo; Concord & 9th - Tiny Tagalong; Mama Elephant - Mixed Wishes Greetings
Inks: Versafine - Onyx Black; Versafine Claire - Nocturne; Gina K - Soft Stone, Stormy Sky
Dies: MFT - A2 Rectangle Stax Set 1 #11
Accessories: White & Black Card; Copic Markers; Clear Embossing Powder; Sakura Stardust Pen

I'm submitting this card to Never-Before-Used-Schtuff - NBUS#27 - the stamp is brand new!!!


I started by stamping the large bookcase image onto white card. I removed it from my MISTI and coloured, in rainbow order, with Copic markers. I returned the image to the MISTI, stamped in Versafine black ink and heat embossed with clear powder. I used a die to cut it out, edged it with a black marker and adhered it to the front of an A2 notecard. I stamped this fun message in dark grey ink and used the matching banner stamp in pale grey. I carefully cut out the banner, leaving a white edge around. I used dimensional pads to adhere it to the card. Inside, I cut a mat layer of black card. On the white panel I stamped a lovely greeting from another new set and added a bit of the bookcase image in the corner. This card can be used for a birthday or just because!


After stamping and mixed media and making cards, reading is my favourite hobby. I have a an old and much loved bookmark that I use in my books. It was made for me in 2012 by Vicky Hayes - I used to get my Stampin' Up! goodies from her. And, when I went to the States she made me the bookmark as a farewell gift. Here's a photo - it's a bit dog eared, but the paper is soft and smooth and it feels wonderful.


As this bookmark is getting a bit old and fragile, I decided to make some new bookmarks using the Bookcase Peek a Boo stamp. I based the design of my bookmarks on the one Vicky made for me. I didn't take my bookmark apart, I worked out how to do it. Here are the bookmarks:


Stamps: Hero Arts - Bookcase Peek a Boo
Inks: Versafine - Onyx Black; Versafine Claire - Nocturne
Accessories: White, Black, Red, Green, Teal, Orange and Yellow Card; Copic Markers; Clear Embossing Powder; Ribbons and Brads from my stash

I'm submitting the bookmarks to Love to Craft Challenge Blog - LTCCB#59 - where it is Anything Goes.


I stamped the image on white card and coloured each row shades of one colour. I stamped and embossed it and then cut it out. I layered the coloured panels on black card. I cut two strips of card measuring 1½" x 6" in each colour. I adhered the coloured image at the bottom of one strip and stamped some words at the top. On the reverse of this strip of card I adhered some super tacky adhesive tape down the centre and around the edges. Next I cut some ribbon and folded it in half and adhered it to the centre strip of adhesive tape. I then added a brad at the top of the strip, making sure that it went through the ribbon. I removed the protective paper from the adhesive, added a thin layer of strong liquid adhesive and than carefully aligned and adhered the second strip of card on the back. I made sure the hold the edges together to ensure they were fully adhered. 

I am very happy how these have turned out. My daughter Kat, who came home from University on Saturday, has taken possession of the teal bookmark, and I've given a couple to mum.

That's all from me today. See you again soon.

signature photo Signature.png
Related Posts Plugin for WordPress, Blogger...