Showing posts with label WMS - Half Pint Heroes. Show all posts

Wednesday, 9 May 2018

TMR - Theme .....


... Hello again! I'm back (a little late because of my earlier post) with my card for our new challenge at The Male Room - TMR#85. We had some really fun non-card projects for our last challenge, and we thought we'd make it a bit easier for you this time. We have a theme - CARS - this should be a breeze for your masculine projects. I made a very simple card:

Driving by - photo by Deborah Frings - Deborah's Gems

Stamps: Waltzingmouse - Half Pint Heroes; Stampin' Up! - Sheltering Tree, Butterfly Basics, Beautiful Ride
Inks: Versafine - Onyx Black; Gina K - Moonlit Fog, Warm Cocoa, Dark Chocolate, Jelly Bean Green, Grass Green, Black Onyx
Accessories: White Lustre Card; Gina K Card - Moonlit Fog; Copic Markers; Shimmer Spritz - Frost; Clear Embossing Powder


I had lots of fun creating the scene on this card. I mixed together stamps from several different companies (something that I really like to do). I stamped the car, using the mirror image technique from Jennifer McGuire, on to white card and coloured it with Copics. I then repeated the stamping with Versafine black ink and heat embossed with clear powder, and cut out the car. I stamped a dashed line to create the road, added a tree in the background, a puff of exhaust from the car, and a simple greeting. I finished the front by adding the car which I attached with dimensional pads. On the inside, I cut a mat layer of grey card and on the white panel added the dashed line and a greeting.

Driving by inside - photo by Deborah Frings - Deborah's Gems

I'm submitting this card to Cardz 4 Guyz - C4G#194 where they want to see Men's Hobbies. I think driving counts!!

For more inspiration with our CARS theme, do visit our blog to see more from the Design Team and also from our guest designer, Pirjo. You've got until midnight (BST) on Tuesday 22nd May to play along - have fun!!

signature

Wednesday, 14 September 2016

TMR - Theme ...

.... Hello, good morning! I'm here with my card for our new challenge at The Male Room - TMR#44. We have a theme for you to play along with:

STAR TREK 
(or any other space series)

Why have I picked Star Trek? Well, I absolutely love the programme. I watched it as a kid when we were in Singapore and then again when it finally came to the UK in 1969 and through the early 70s. And this year the franchise celebrated its 50th Anniversary - it was a ground breaking show and inspired many other series. So that's the theme. However, you don't have to base your masculine project on Star Trek - you can pick any of a huge number of space series from TV or the cinema - just tell us which you've picked. Now here's my card:

to boldly go - photo by Deborah Frings - Deborah's Gems

Stamps: Waltzingmouse - Half Pint Heros; Digital Clip Art - from the Internet
Inks: Memento - Tuxedo Black
Dies: Lil Inkers - Dual Stitched Rectangles #2
Accessories: White Lustre Card; Gold Mirri Card; Stampin' Up! - Basic Black; Copic Markers; Wink of Stella - Clear


I found this fabulous Star Trek logo on the Internet and added the words in white. The words come from the opening sequence spoken by William Shatner at the start of each programme (see clip at the end of the post). I printed the image on card, cut it out and layered it on to gold mirri card. I stamped a little rocket ship in the corner of the card, but kept it really simple by not adding any colour. I did, however, add some sparkle with a clear Wink of Stella brush. I then added the panel on top. On the inside of the card I cut a mat layer of black card, and on the white panel added the little rocket ship again and this time I coloured it. I finished by adding a sentiment. This one will be on its way to my son Ben shortly!

to boldly go inside - photo by Deborah Frings - Deborah's Gems

Do visit our blog to see more inspirational projects from the rest of the design team. You've got plenty of time to join in with our challenge - have fun!!


signature

Wednesday, 17 September 2014

TMR - Metal ....

...  Good morning everyone!!  It's time for our new challenge at The Male Room - we'd like you to use METAL on your project.  Here's what I made:

Dude - photo by Deborah Frings - Deborah's Gems

Stamps: Waltzingmouse - Half Pint Heroes, Free Spirit Sentiments; Winnie & Walter - Bubble Talk
Inks: Memento - Tuxedo Black; Stampin' Up! - Blackberry Bliss
Accessories: White Lustre Card; SU Card - Always Artichoke; Self Adhesive Metal Sheet; Cuttlebug EF - Diamond Plate; Copic Markers; SU Marker; Adirondack Alcohol Inks - Ginger, Butterscotch, Cranberry, Lime


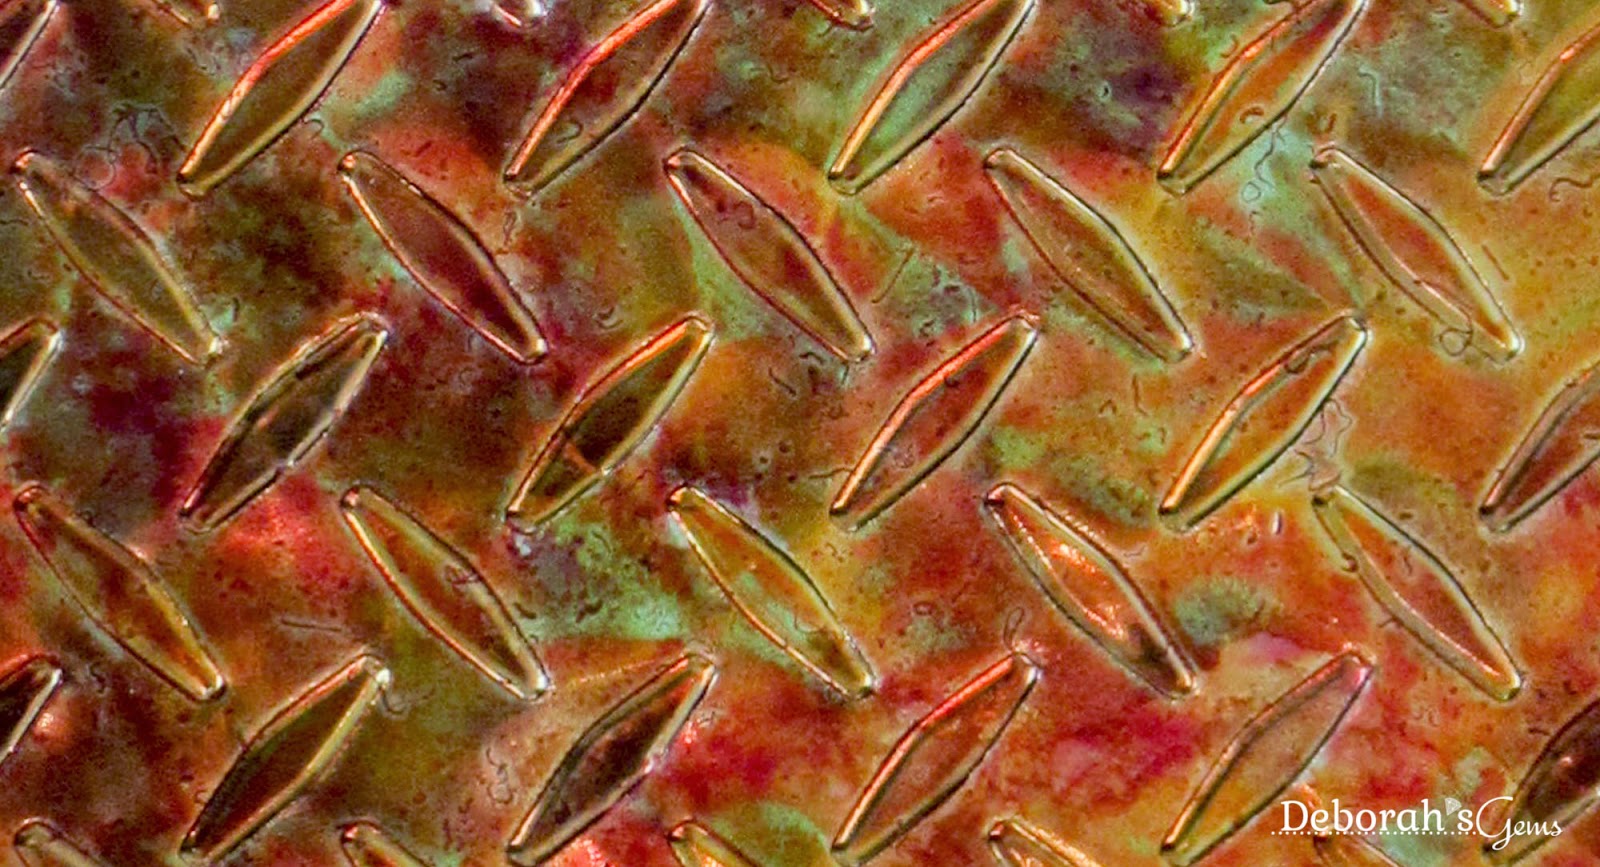
I used a couple of challenges to make this card.  I used the sketch from the current Fusion challenge - FUSION#18 and the colours are from this week's Paper Players - PP#213.  I turned the sketch to make a landscape style card, I also used the idea of a car, but made it masculine.  I made the central panel from a self-adhesive metal sheet.  I embossed the metal and then added colour with alcohol inks (matching them as closely as possible to the Paper Players challenge colours).  I layered the panel onto a piece of green card.  I stamped the little car on white card and coloured it with Copic and Stampin' Up! markers.  I made the sentiment banner from white card, stamped the sentiment and attached it to the card with dimensional tape.  I glued the car directly to the sentiment panel.  On the inside I cut a mat layer of green card and on the white panel stamped a simple sentiment and another car.  I've also included a detail shot of the metal panel where you can really see the colours!

Dude inside - photo by Deborah Frings - Deborah's Gems

Dude detail - photo by Deborah Frings - Deborah's Gems

For more inspiration using metal on your masculine projects - check out The Male Room blog and see what my team mates have made!  Before I go, I'd like to thank everyone for the fabulous submission for our last challenge - so many wonderful projects!!  That's all for now!

Edited:  Just realised that this is my 1,500 post!!! Blimey!

signature

Wednesday, 2 April 2014

TMR - Science-Fiction ....

...  Hello, post number two today!!  It's time for our new challenge at The Male Room.  This time our theme is "Science Fiction", which gives you so much scope!!!  You can go for fun, cute, vintage, clean & simple, and inspiration can come from movies, books, comics or TV!    I actually made a couple of cards, here's the first one - an ultra clean and simple design:

Bow Ties are Cool - photo by Deborah Frings - Deborah's Gems

Stamps: Waltzingmouse - Zig-Zag Background; My Favourite Things - Gift Card Greetings
Inks: Stampin' Up! - Early Espresso; Versamark
Dies: Die-namics - Beautiful Bows
Accessories: White Lustre Card; SU Card - Early Espresso; SU DP - Early Espresso; Copics

If you're a fan of Dr Who, then this reference will be obvious, if not, it refers to the fact that the 11th Doctor (Matt Smith) wears a bow tie and thinks they are cool!  Before cutting out the pieces, I stamped a zig-zag pattern on the card using Versamark.  I used the  large Die-namic bow die to cut out the pieces.  The resulting bow has a rounded end, so I simply made the bow more triangular by cutting off the bits I didn't need.  I created the sentiment on the computer using the Arial font and added the subtle glow.  I finished the inside with a piece of brown design paper and a bold, fun greeting.

Bow Ties are Cool inside - photo by Deborah Frings - Deborah's Gems

My next card is for a little boy on his birthday:

Happy Birthday - photo by Deborah Frings - Deborah's Gems

Stamps: Winnie & Walter - Big Bang Confetti; Waltzingmouse - Half Pint Heroes
Inks: Kaleidacolour - Blue Breeeze; Stazon - Jet Black; Memento - London Fog; Versamark
Accessories: White Lustre Card; Stampin' Up! Card - Real Red; Glossy White Card; Copics

The little rocket comes from one of my favourite WMS sets - I've used it a few times!  And it just had to come out for a science fiction theme.  To create the background I punched a small circle from post-it note and placed it on the card, then I stamped lots of stars in Versamark.  I used a brayer to colour the background using Blue Breeze which gave this lovely gradient of colour.  After I removed the post-it circle I ran the brayer across the "moon"" to blend it with the background.  I stamped the rocket twice and colour the images with Copics.  I cut them and adhered them to the card with dimensional tape.  I finished with a simple greeting stamped in Stazon.  For the inside I cut a mat of red card and on the white card repeated the rocket image and added a birthday greeting.

Happy Birthday inside - photo by Deborah Frings - Deborah's Gems

For more inspiration with our Science Fiction theme, check out the cards from the rest of the design team.  I'm really looking forward to seeing what you make.  I have to admit to science fiction in all its forms is one of my favourite genres!  See you soon.

signature

Sunday, 30 March 2014

Birthday card ....

... Hello!  I hope you're all enjoying your weekend!  I've been having a great time.  Kathryn has had her friend over for the weekend, which is lots of fun for her and me - I get to play in my craft room as they don't want me around!!  A win-win situation.  Sadly, Jonathan is full of cold and not feeling great.

I've been very busy working on various design team cards - you'll get to see them soon, but I did get chance to make a sweet birthday card.

Owl Birthday - photo by Deborah Frings - Deborah's Gems

Stamps: Dare 2B Artzy - Owl Miss You; Waltzingmouse - Half Pint Heroes, Crackle Background
Inks: Memento - Tuxedo Black, Rich Cocoa; Stampin' Up! - Sahara Sand
Dies: Dare 2B Artzy - Owl Die
Accessories: White Lustre Card; Copics; Stardust Pens


I think I've mentioned that I love owls!!  Recently I got some Dare 2B Artzy stamps from my local shop, and I found a few more on their website.  This sweet little lady was one of them!  I've used the colours from The Colour Throwdown - CTD#285 and the layout from Freshly Made Sketches - FMS#129.  I made the vertical panel by stamping the crackle pattern in sand and cutting to fit the card.  I stamped the branch across the horizontal piece of card, coloured the leaves with Copics and added a touch of sparkle from a Stardust pen.  I coloured the owl with Copics, adding a touch of sparkle to the centre of the flowers and to the edge of her eyes, she has been attached with dimensional tape.  I finished the front with a simple sentiment which I bent slightly to follow the line of the branch.  The inside has been left blank for my own message.  This one is going into my stash.

That's all for now!  See you soon.

signature
Related Posts Plugin for WordPress, Blogger...