Monday, 16 December 2013

What a difference a day makes ....

.....  Afternoon all!  Back with a few more photos - not in the least card related!  I've got our Christmas tree up and put up a few decorations around the house!  Yea!!!

Christmas 2013 - photo by Deborah Frings - Deborah's Gems

Christmas 2013 2 - photo by Deborah Frings - Deborah's Gems

Christmas 2013 3 - photo by Deborah Frings - Deborah's Gems

Christmas 2013 4 - photo by Deborah Frings - Deborah's Gems

My newest Christmas ornament - Michigan!  From a local shop.

Christmas 2013  5 - photo by Deborah Frings - Deborah's Gems


What did I mean by the post title?  Well, today is gorgeous - very cold, but brilliant blue skies and sunshine - this is the kind of winter day that I really like.  And here's the drive - after we cleared it off!

Drive Cleared 2013 - photo by Deborah Frings - Deborah's Gems

Before I go, one more photo - I took one of my favourite Christmas baubles and placed it in the snow - then took a few photos.  This is the best of the bunch!  This photo is based on one I saw on Flickr yesterday from one of the guys who goes to our camera group.

Christmas 2013 6 - photo by Deborah Frings - Deborah's Gems

I'd better get on with some house work now that I've had fun putting up the tree and decorations!  I hope to manage to get into my craft room later too!  See you soon.

signature

Aching all over ...

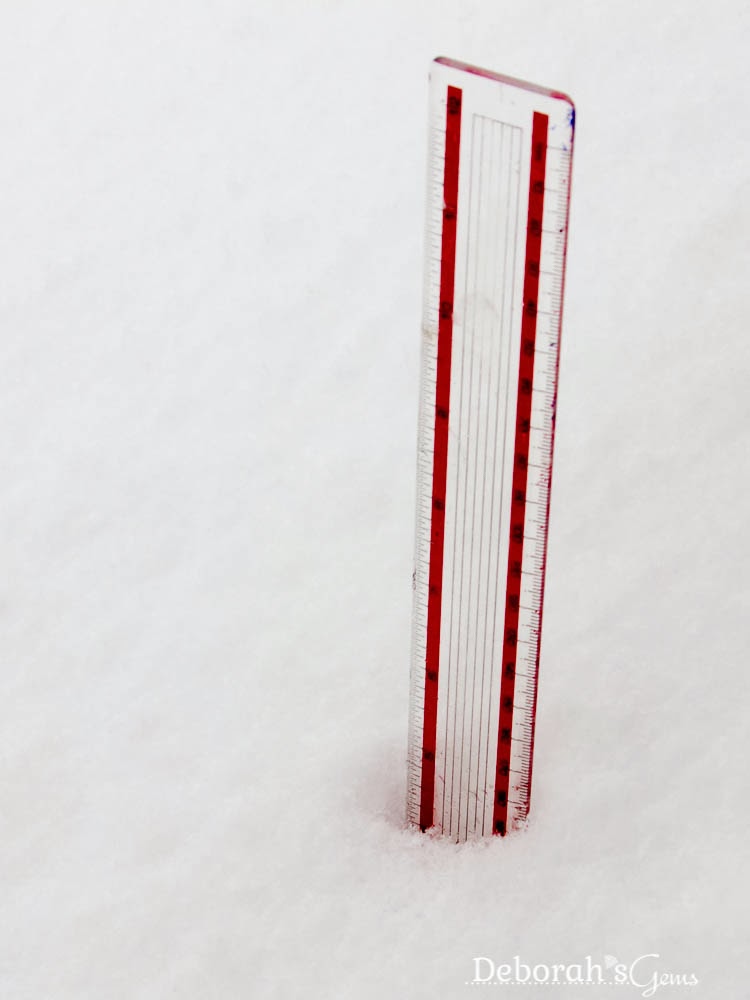
... Morning all!  No posts yesterday, I was rather busy shovelling snow!!  Okay, to be fair, we were all busy shovelling.  I went shopping on Friday and decided that buying a snow blower was an extravagance we could do without.  I was regretting that decision yesterday.  I know that many places in the US have had much, much more snow than us, but it was a lot to us!!!  I took a few photos - it was just over 4" deep on one side of the drive and nearly 9" on the other!!  It took a while to clear.

Snow 4" - photo by Deborah Frings - Deborah's GemsSnow 9" - photo by Deborah Frings - Deborah's Gems

We did go back to Home Depot on yesterday after we'd cleared the drive to get a snow blower but they'd sold out!  Who would have guessed?  Oh, yes - I would!  I think I'm going to have to go back and check to see if they have some more delivered this week.

I think I've said before that the best place for snowflakes is on a card, but they do look really pretty outside the house!  Here are a few more photos from yesterday!

Snow photos 1 - photo by Deborah Frings - Deborah's Gems

Snow photos 2 - photo by Deborah Frings - Deborah's Gems

Snow photos 3 - photo by Deborah Frings - Deborah's Gems

Snow photos 4 - photo by Deborah Frings - Deborah's Gems

Snow photos 5 - photo by Deborah Frings - Deborah's Gems

So you can see why I didn't get into my craft room, which was the original plan, I was taking photos and shovelling.  No snow overnight so all that hard work was worth it!  Even the roads on the estate are reasonably clear.  There's no snow for the day, so I'm going to get some shopping done!  See you soon.

signature

Saturday, 14 December 2013

Folk Art Christmas ....

.... Good morning everyone!  I hope that all your Christmas preparations are well in hand, it's only 11 days away now!  This morning I've a folk art style Christmas card to share with you:

Happy Christmas - photo by Deborah Frings - Deborah's Gems

Stamps: Waltzingmouse - Yonder Star Background, Folk Art Christmas Additions, Alpine Christmas; Woodware - Christmas Borders & Vertical Words
Inks: Stampin' Up! - Real Red, Soft Suede, Crumb Cake; Versamark
Dies: Lil Inkers - Stitched Circles # 4; Waltzingmouse - Folk Art Christmas
Accessories: White Lustre Card; SU Card - Real Red; Promarkers - Crimson, Berry Red; WMS - Natural Twine; Clear and White Embossing Powder

I used a couple of challenges to make this card.  I don't whether you've noticed, but Fusion Card Challenge is coming back and while I didn't manage to play along often, I always liked the challenges, so I'm joining in with the current challenge.  The layout is based on the current Mojo Monday sketch - MOJO323. 


The photo on the Fusion graphic caught my eye with the lovely colours and that sweet reindeer cushion.  I created the red panel by stamping Yonder Star background in Versamark and heat embossing with white powder.  I then wrapped some natural twine around the panel and adhered it to the base with dimensional tape.  I stamped the reindeer onto white card, first inking the image with Versamark and then Soft Suede, which enabled me to heat emboss the image with clear powder.  I used the coordinating die from Waltzingmouse to cut it out and coloured the little flowers with Promarkers.  I adhered the deer to the diecut circle and attached with more dimensional tape.  I finished the front with a vertical sentiment and a couple of border strips.  On the inside I cut a mat layer in red and on the white panel stamped a lovely sentiment and added a few snowflakes.

Happy Christmas inside - photo by Deborah Frings - Deborah's Gems

I'd like to remind you that you still have time to join in with our current challenge at 52 {Christmas} Card Throwdown where you can pick any of our past 2013 challenges - colour, sketch, theme, etc.  We are also looking for a few new crafters to join our team - so if you're interested add "DT" after your name.

Over at Waltzingmouse Fanatics you might be surprised to find no challenge this week - we decided that it was quite a busy time, so we'd take a break and come back after Christmas with a new challenge for you then.

That's all for now - I've got a busy day today.  I'm taking Kathryn to the hairdresser to get her hair done and then in the afternoon I've a craft class with Amy Flowers.  Have a good weekend - be safe.  See you tomorrow.

signature

Friday, 13 December 2013

Let it snow ....

.....  seems an entirely appropriate title with all the snow that's been falling in the US this week.  We've been incredibly lucky in Northville to have only had very small amounts.  I maintain my position that the only good place to see snow is on a card.  So here's one I made to share with you today:

Snowflake Butterflies - photo by Deborah Frings - Deborah's Gems

Stamps: Uniko Studio - Stunning Snowflakes; Stampin' Up! - Christmas Messages
Inks: SU - Smoky Slate, Soft Sky; Memento - Grey Flannel
Dies: Spellbinders - Create-a-Flake 1 (S4-222), Create-a-Flake 3 (S4-340), Snowflake Wonder (S4-085); Uniko Studio - Snowflakes
Accessories: White Lustre Card; SU Card - Smoky Slate; Blue and White Glitter Paper

I used a few challenges for this card:


I saved the sketch when it was posted and put it in my challenge book and came back to it when I saw the challenges for CASology and ATCAS.  I've managed to CASE Natasha's card without actually realising it!!  I used a number of dies to make snowflakes from different papers and card, stamped a few directly on the card and finished the front with this fabulous sentiment.  Inside I have two mat layers, one grey and one in the soft blue glitter paper.  On the white panel I stamped lots of snowflakes and a simple sentiment.


Snowflake Butterflies inside - photo by Deborah Frings - Deborah's Gems

That's all for now.  I've managed to avoid the ironing all week by the simple expedient of doing other jobs, but I can't put it off any longer!  See you tomorrow!

signature

Thursday, 12 December 2013

Christmas tree ....

... Hi!  I'm back today with another Christmas card; a very clean and simple card:

Tree - photo by Deborah Frings - Deborah's Gems

Stamps: Woodware - Christmas Greenery; Stampin' Up! - Sassy Salutations
Inks: Versamark; Versafine - Onyx Black; SU - Garden Green
Accessories: White Lustre Card: Twinkling H2Os - Green Tea, Egyptian Gold; Gold Embossing Powder; Gold Marker Pen; Black Fine Liner

This card has been made using a couple of challenges:

I've gone for a very classic look.  I stamped the Christmas tree in Versamark, embossed with Gold powder and coloured with Twinkling H2Os - there's a really lovely shimmer in real life, sadly you can't see it in the photo!   I used the H2Os to make the mat layer; this shade of green has a really subtle shimmer of gold in it!  I cut out the tree and adhered it to the white panel, drew a frame and stamped the word "tree".  For the inside I cut a panel of white card and edged it with a gold marker and stamped a bold, funky sentiment.

Tree inside - photo by Deborah Frings - Deborah's Gems

I've had the most awful night!  Woke up at 2.30am feeling rough, then again at 4.00am and beat the alarm too!  Sore throat, aches and pains - I really don't need this today.  I made a good start on altering Kathryn's dress, but I still need to finish the hem, press it, well steam it, so that it's ready for tonight's performance!!  Oh yes, it's also really silly cold!!!  Roll on spring.  See you soon.!!

signature

Wednesday, 11 December 2013

Gingerbread man ...

.... Hello!  Where is this week going?  Can't believe it's already Wednesday.  I've another Christmas card to share with you this morning:

Warm Winter Wishes - photo by Deborah Frings - Deborah's Gems

Stamps: Waltzingmouse - Half Baked Gingerbread Joy, Basket Additions: Stampin' Up! - Christmas Messages
Inks: SU - Real Red, Always Artichoke, Crumb Cake, White Craft; Distress - Forest Moss; Versamark
Dies: Spellbinders - Circles Lg (S4-114) # 5&7; Waltzingmouse - Gingerbread Family
Accessories: White Lustre Card; DP - Cosy Christmas (Free with Quick Cards Made Easy); SU Card - Real Red, Always Artichoke; SU Markers - Chocolate Chip, Real Red, Always Artichoke; Copics; Clear Embossing Powder


I had fun with this card.  I used the layout from Retro Sketches - RS#93 and the colours from Colour Q - cQc219.  I stamped the gingerbread guy onto some scrap white card and used my die to cut him out.  I stamped his jacket, hat and cane onto white card and embossed them all with clear powder and cut them out.  I inked over the gingerbread backing paper with distress Forest Moss to darken the green and cut a red circle to go on top.  I wrote the sentiment by hand - couldn't get the sentiment stamp to bend quite this much!!  I adhered the gingerbread guy on top of the circles, and used dimensional gel for his hat.  I finished the front by drawing some faux stitching all round the card.  For the inside I cut a mat of dark green card and on the white panel I stamped a few gingerbread kids and candy canes.

Warm Winter Wishes inside - photo by Deborah Frings - Deborah's Gems

That's all for today.  I've got a busy morning lined up.  Kathryn is in the school choir and they have a beautiful long dress as the uniform.  Kathryn's dress was rather delayed and we only got it yesterday, and it's much too long, so I'm going to be spending the morning taking up the hem and doing a few small alterations to make sure it fits properly.  I have to get it done today and the school concert is tomorrow night!!

signature

Tuesday, 10 December 2013

ASM - Photo inspiration ....

... Good evening all!  This week our challenge at Addicted to Stamps and More! is a Photo Inspiration.  Our sponsor this week is Sami Stamps and the winner of the challenge will receive a $12 gift voucher to her store!  Here's my take:

Birthday Girl - Photo by Deborah Frings - Deborah's Gems

Stamps: Sami Stamps Digi - Zombie Beauty; Christmas Lights (don't know who made them); Stampin' Up! - Gorgeous Grunge, Sassy Salutations
Inks: Distress - Antique Linen, Peeled Paint, Wild Honey; SU - Real Red
Dies: Spellbinders - Mega Ovals Lg (S5-023) #4, Mega Oval Scalloped Lg (S5-024) #4; Die-namics - High Rise Numbers
Accessories: White Lustre Card; Gold Foil Card; Copics


So you're trying to figure out how I got this card from the inspiration photo!  I took the colours and the Christmas lights.  I saw this digi image - a tall, young lady - so pretty (albeit a zombie) and decided to make a birthday card.    I used the gold in the mat layers. I created a bokeh effect background paper on my computer by blurring a photo of Christmas lights and ornaments and then adding a subtle repeating text.  I stamped a row of Christmas lights at the top which I coloured with Copics and then adhere it to the gold mat.  I printed off the digi image and cut out one using the oval die and while still in the die I added some colour to create depth.  I coloured one of the other images and then very, very carefully cut it out and adhered it to the card.  I finished the front with a simple number!  For the inside (which I forgot to photograph) I used the grunge image and a bold funky birthday greeting in red.

Hopefully this card will have reached my niece by now - I can't believe she's 13 - they grow up so fast!!!


Don't forget to check out the inspiration cards from the rest of the team - we all took something very different from the inspiration photo!  Bye for now.

signature

Christmas card ....

... Morning!  I've discovered that I need a few more Christmas cards - my comments about being organised were a bit premature!!!  So here's one I made this morning:

Deck the Halls - Photo by Deborah Frings - Deborah's Gems

Stamps: Uniko Studio - Background Builders: Christmas; Stampin' Up! - Christmas Messages
Inks: SU - Gumball Green; Primrose Petals
Accessories: White Lustre Card; SU Card - Gumball Green; SU DP - Print Poetry; SU Marker - Gumball Green; Wool from stash

I've used a few challenges to make this card:

I've not found the sketch easy this week.  I masked off a triangle on the card and stamped some Christmas trees in the space - sort of like a forest - and edged it with a marker to define the area. I drew the mittens by hand onto some card, cut it out and adhered them to the design paper and cut them out again.  I added some green card for the mitten cuffs and some wool as decoration and also to hold the mittens together.  I attached the completed mittens with dimensional gel and added a bold, fun sentiment.  On the inside I cut a mat layer in green and stamped a verse in pink, and added a row of Christmas trees.

Deck the Halls inside - photo by Deborah Frings - Deborah's Gems

I have to say that mittens and gloves, as well as hats, scarfs and nice warm coats, are very much the order of the day in Northville.  At the time of writing, the temperature outside is -11°C (12°F) but with the wind chill factored in it feels more like -19°C (-2°F) - and it's coming up to 11.00am.  It's what, in England, we'd call "Brass Monkey" weather.  Fortunately, I have no need to go outside and am going to craft all day!  I had planned to do the ironing, but Jonathan's not feeling well and is in bed - so the ironing will have to wait.  As you can tell, I'm absolutely heart-broken ;) :)  See you later.

signature

Monday, 9 December 2013

Christmas bright .....

....  Good afternoon all!  Winter has arrived in the US big time!  So many places have had huge amounts of snow, and, as a consequence, there have been quite a few accidents too.  Here in Northville, while it is extremely cold - still below freezing - we only had a light snowfall and the roads here aren't too bad.  I did go out this morning to get some air in my tyres, some petrol in the tank and a bit of shopping too.  Glad I don't have to go out again today.

I've managed to get a little time in my craft room to make another Christmas card.  Yes, I know I said that I'd made them all and that I was done for the year, but apparently I can't count!!!

Joy - Photo by Deborah Frings - Deborah's Gems

Stamps: Stampin' Up! - Delightful Decorations, Sassy Salutations
Inks: SU - Crushed Curry, Gumball Green
Dies: Spellbinders - Pinked Circles Lg (S4-172) #4
Accessories: SU Card - Real Red, Gumball Green; Cuttlebug EF - Christmas Countdown; Perfect Pearls; SU Punch - Christmas Decoration (discontinued)

I used a few challenges in the making of this card:

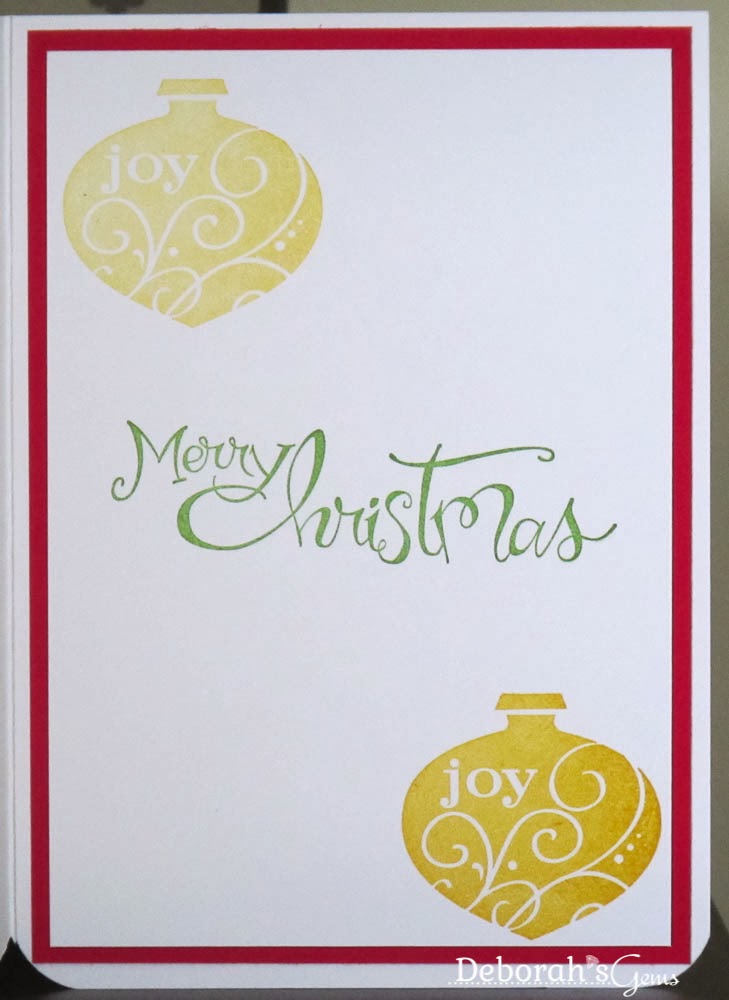
I have an embossing folder entitled Christmas Countdown so I decided to use it to emboss the red panel.  Once embossed I rubbed the green pad over the top to bring up the numbers.  I cut a panel of green card and adhered it to the card.  I die cut a circle which I embossed using the same folder and I finished the front of the card with a simple and bold Christmas ornament.  For the inside I cut a mat layer of red and on the white panel I stamped a couple more ornaments and a bold sentiment.

Joy inside - Photo by Deborah Frings - Deborah's Gems

That's all for today - I'm going to make good use of the time indoors and get that big pile of ironing done.  It never seems to get any smaller!!!  See you tomorrow.  Be safe.

signature
Related Posts Plugin for WordPress, Blogger...