Showing posts with label Clean and Simple Challenge. Show all posts

Tuesday, 17 March 2015

ASM - Anything Goes ....

... Hello, good evening!  It's time for our new challenge at Addicted to Stamps and More!  This week it's the ever popular ANYTHING GOES challenge - whatever takes your fancy - clean, simple, layered, shabby - anything!  Our sponsor for this week's challenge is Lawn Fawn and the winner will get one set of stamps and one 6" × 6" pad of paper - both of the winner's choice.  So I had to make a card using my Lawn Fawn stamps:

Great Chemistry - photo by Deborah Frings - Deborah's Gems

Stamps: Lawn Fawn - Science of Love
Inks: Kaleidacolour - Fresh Greens; Versafine - Onyx Black, Olympia Green; Memento - Tuxedo Black
Dies: Lawn Fawn - Science of Love Dies
Accessories: White Lustre Card; Kaisercraft DP - Limelight; Copic Markers; Wink of Stella - Clear


I had such fun making this card.  I used the colour from the current Addicted to CAS challenge - ATCAS#59 where the cue word is GREEN.  I had to play along as greens/teals are my favourite colours.  I used the layout from Clean & Simple Stamping - FTL#3, they have gone back to the beginning and this is take two of the sketch.

I cut some design paper to cover the bottom third of the card - I really like this piece with lots of different patterns, shades of green and texture too.  I then stamped the chemistry glassware on white card, coloured each piece a different shade of green, cut them out with the matching die and adhered them to the card.  I added some sweet little hearts in all shades of green and finished the front with a greeting - love this one.  My degree is chemistry, so this set really appeals to the chemistry nerd in me :)  On the inside I cut a mat layer from another sheet of design paper and added a sentiment.  It's our wedding anniversary next month and I think this might be the card for Jonathan!

Great Chemistry inside - photo by Deborah Frings - Deborah's GemsGreat Chemistry sq - photo by Deborah Frings - Deborah's Gems

I really like the effect you get when using Wink of Stella - it's a subtle shimmer, but most photos don't really capture the shimmer, so I take close-ups, which are out of focus, as this seems to work.  Check out the glassware:

Great Chemistry detail - photo by Deborah Frings - Deborah's Gems

The team have some fabulous inspiration cards to share with you this week.  You've got plenty of time to play along with us - have fun!!

signature

Thursday, 11 September 2014

Halloween wishes ....

....  Good afternoon from a rather grey Northville!  It's beginning to look like autumn really has arrived.  We had more storms and high winds yesterday and today, it's dull and much cooler than lately!  Still, that's a good excuse to play in my craft room and I've been busy, but can't share them just yet!!!

I had fun making a Halloween card this morning.  I found a new challenge blog last week - A Step in the Dark - ASID#10 Anything Goes.  It is a bit different from other challenges; they are appealing to our darker side - emo, punk, goth, steampunk and just plain creepy, but I rather like it!  Here's my card:

Halloween Wishes - photo by Deborah Frings - Deborah's Gems

Stamps: Rick St Dennis Digi - Strange Doll; Waltzingmouse - Hocus Pocus, Halloween Party, Ciecly at Halloween
Inks: Archival - Jet Black; Distress - Antique Linen
Accessories: Cream Lustre Card; Graphic 45 DP - Steampunk Spells; EK Success - Cobweb Punch; Copic Markers; Ribbon


I love this digi by Rick St Dennis - not too creepy, but definitely not cute!!  I printed her onto white card, coloured with Copic marker and then cut her out.  It doesn't show very well in the photo, but I soften the white by shading with Antique Linen.  I used the sketch from Clean & Simple Stamping - FTL#306, but I turned the sentiment panel so that the sentiment is at the top.  I covered the card with the texty paper, cut a panel of cream card and punched a cobweb edge.  I cut a smaller piece of patterned paper to go on top.  I edged the paper before adhering it to the punched panel.  I stamped the sentiment in black and finished the panel with some black ribbon.  I attached Strange Doll with dimensional tape.  On the inside I cut another panel of design paper.  I added a touch of colour to the cream panel, stamped the verse and added a few bats!

Halloween Wishes inside - photo by Deborah Frings - Deborah's Gems

That's all for now.  See you soon.

signature

Saturday, 22 March 2014

WMSFC - Colours ....

.... Hello again!  I'm back with my card for our new colour challenge at Waltzingmouse Fanatics.  I love the shades of teal and gold, Tara has called it mustard, but I think gold is prettier!  You must use at least three of the colours on your project; I used two shades of teal and two shades of gold.  You must also use at least one Waltzingmouse image, digi or sentiment. 

Mother's Day - photo by Deborah Frings - Deborah's Gems

Stamps: Waltzingmouse - Two Step Sprig; Winnie & Walter - The Big, The Bold & The Happy, The Write Stuff: Leave it to Mom; CAS-ual Friday Stamps - Wallflower
Inks: Stampin' Up! - Soft Sky, Pool Party; Memento - Potter's Clay, Cantaloupe
Accessories: White Lustre Card; SU Card - Soft Sky


I used the sketch from Clean & Simple Stamping - FTL#285, although I've turned the sketch through 90° to make a landscape style card.   I made the base from Soft Sky and cut a panel of white card to go on top.  I stamped the leaves directly onto the panel and the flowers onto white card.  The flowers are really easy to make, simply stamp the base colour (pale gold) and the detail in a darker colour (dark gold) add the centre and then I fussy cut the flowers.  I attached the smaller flowers directly to the card and used dimensional gel for the larger flowers.  I finished the front with a bold sentiment - I love the font used in the word happy.  For the inside I cut another panel of white card, stamped some flowers down the sides and added a sentiment in the middle.

Mother's Day inside - photo by Deborah Frings - Deborah's Gems

Don't forget to check out Tara's card.  I hope you find these pretty colours inspiring - you have plenty of time to join in with the challenge, deadline is Thursday 3rd April, 5.00pm BST (that's Noon EDT).

I hope you all have a fun weekend planned.  Mine is full of crafty stuff.  Today I'm off to Stampeddler for a class to make a scrapbook page - I'll share photos soon.  And on Sunday, it's another photo shoot.  That's all for now, take care.

signature

Tuesday, 4 March 2014

ASM - Photo inspiration ....

....  Good evening - despite all the snow around my house, I know that spring is on the way because it's still light as this post goes live!!!! Yea!  Our challenge at Addicted to Stamps and More! this week is photo inspiration, and here's my take:

Be Brave - photo by Deborah Frings - Deborah's Gems

Stamps: Impression Obsession - You Are Amazing
Inks: Memento - Tuxedo Black; Stampin' Up! - Melon Mambo
Dies: Spellbinders - Squares Lg (S4-126) #6, Squares Sm (S4-128) #6
Accessories: White Lustre Card; SU Card - Basic Black; Cosmo Cricket DP - DeLovely; SU DP - Basic Black; Copics


International Women's Day is celebrated globally on 8th March each year.  This year the UN has designated the theme "Equality for Women is Progress for All".  While there has been considerable progress in achieving equality for women in the West, in many parts of the the world little has changed.  Women have to be very brave, very courageous to stand up for their rights, such as Mala Yousafazi who was shot by the Taliban for standing up for the rights of girls to be educated.  Our challenge graphic shows a Women's Day logo - to unite and support each other.  I've taken the colours from the graphic to make this card.  I used the layout from Clean & Simple Stamping - FTL#282 and the theme of shades of grey at CAS-ual Fridays - CFC#129

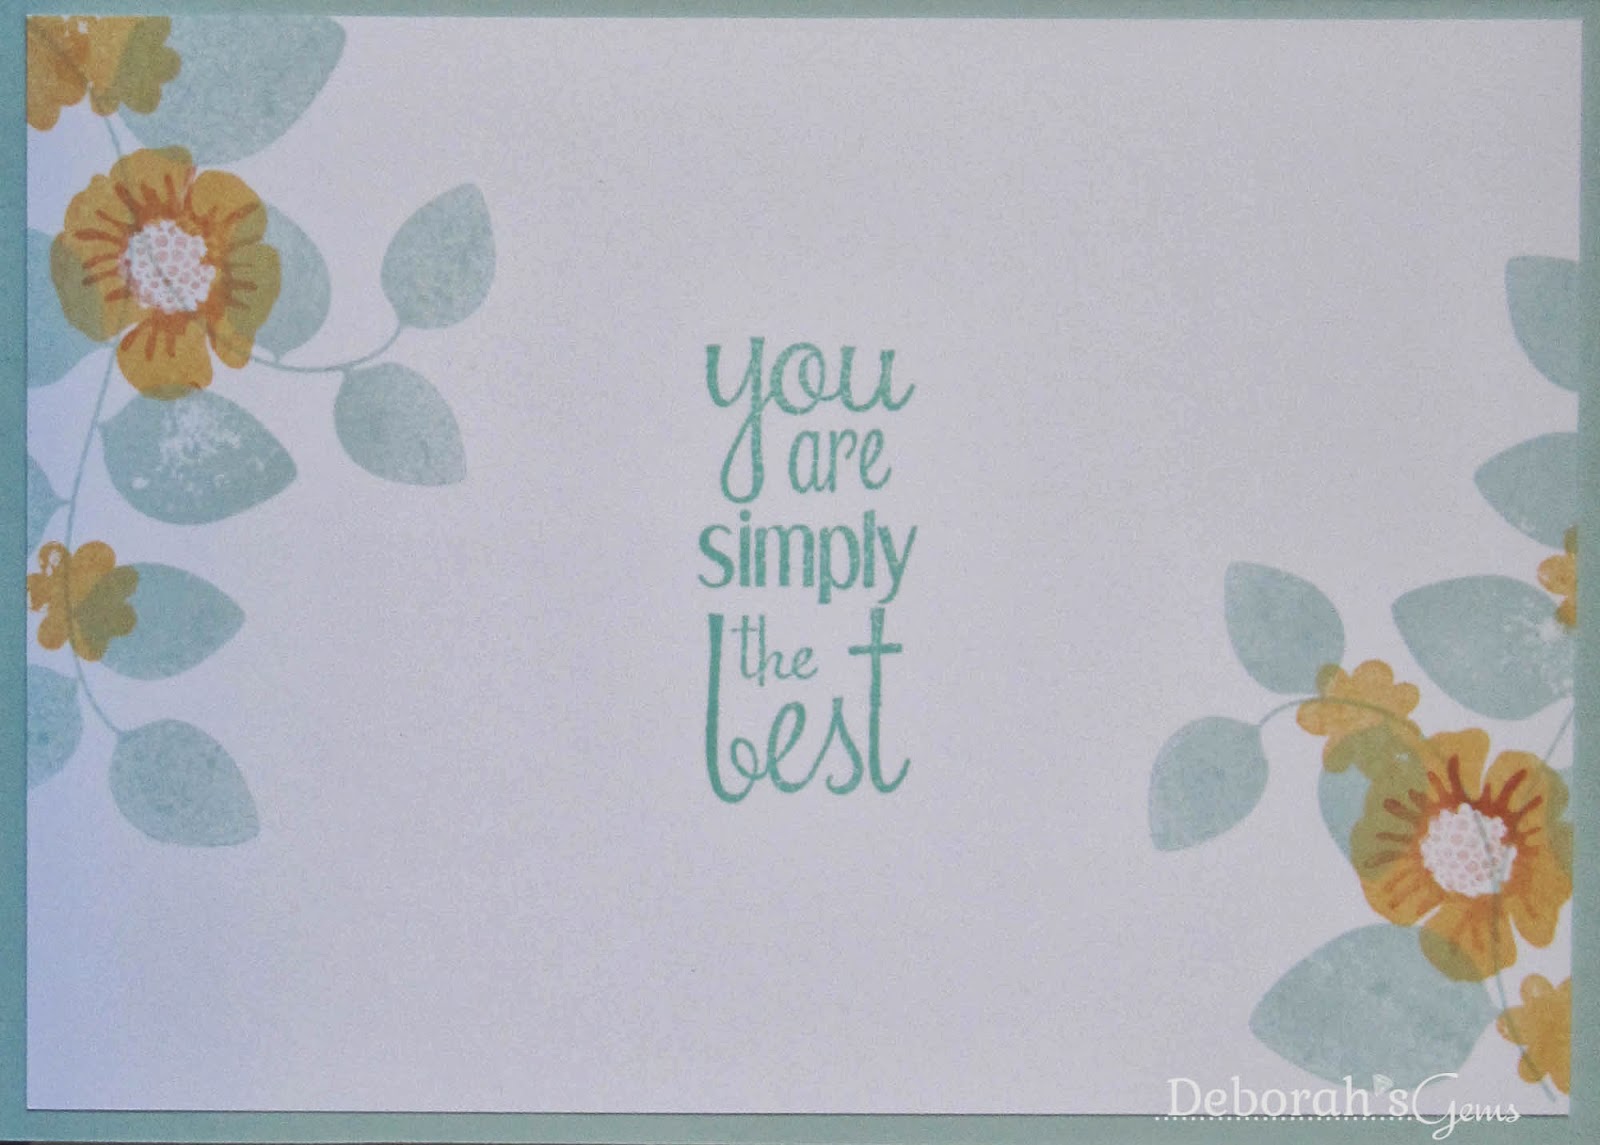
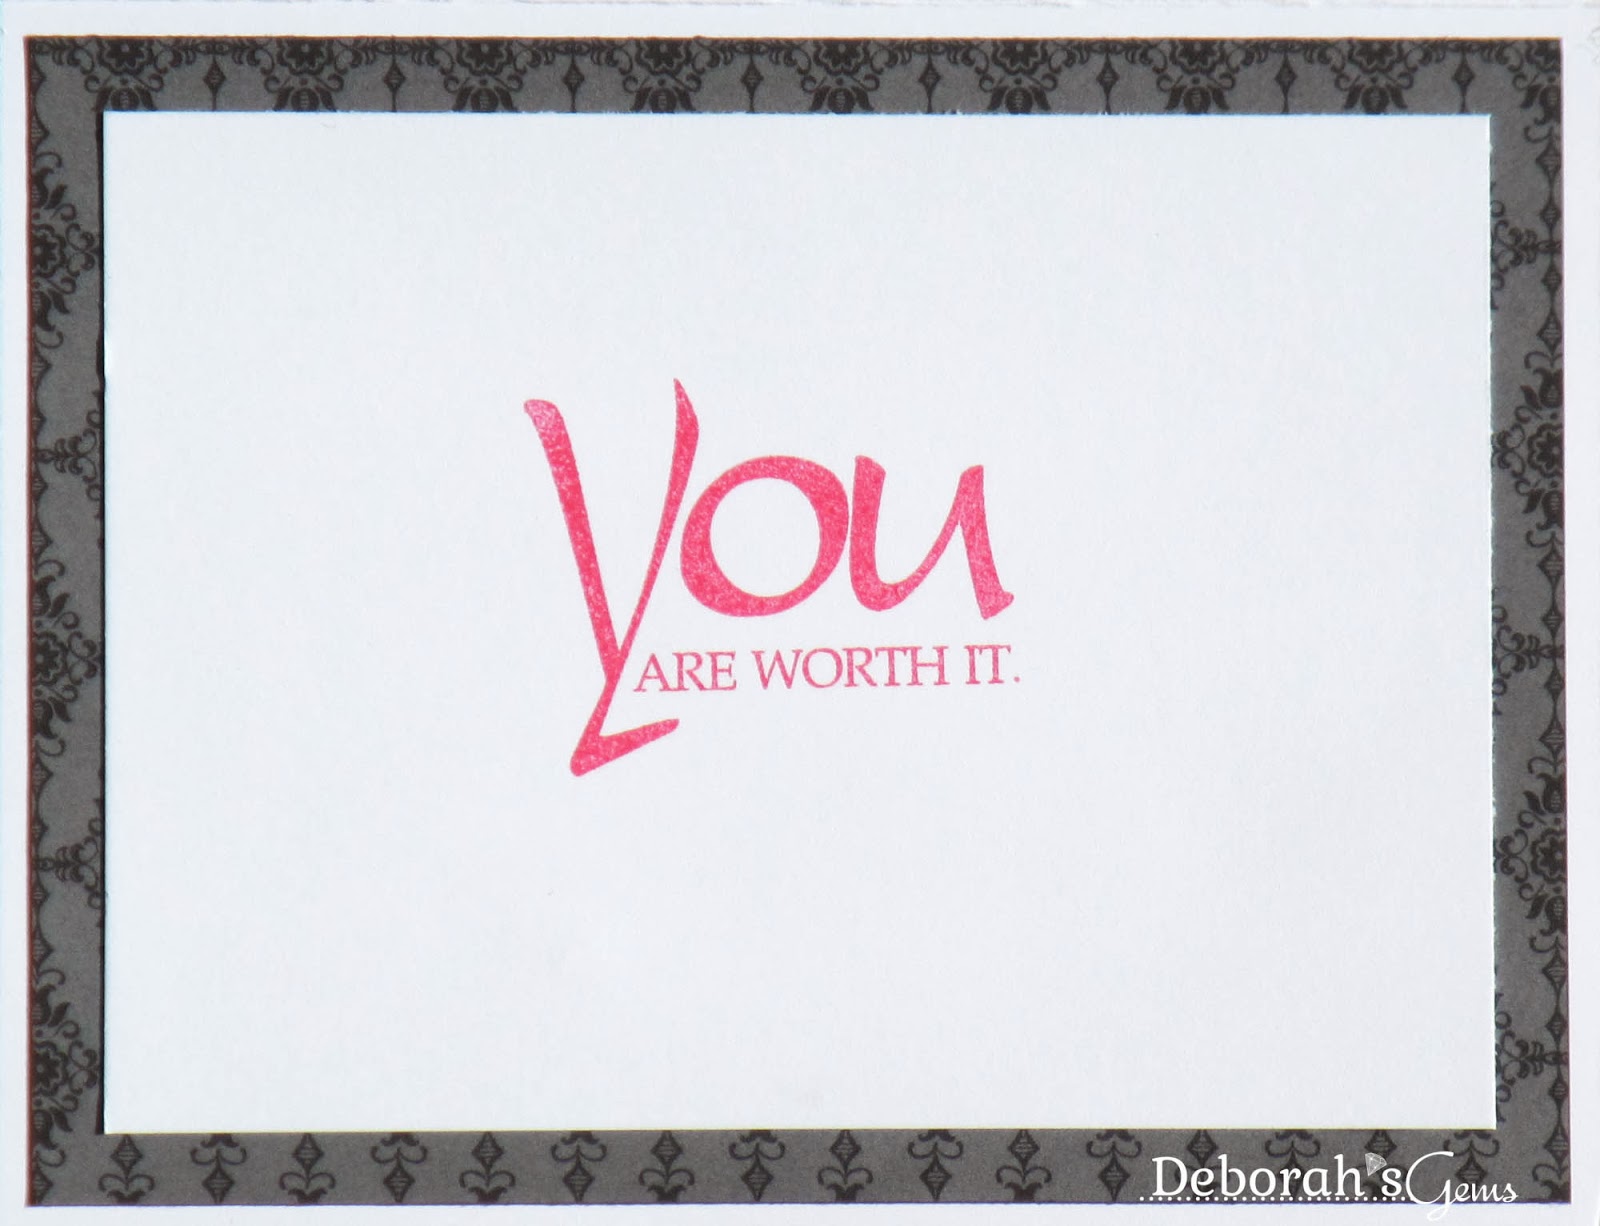
I turned the sketch to make a horizontal card.  I die cut the square and stamped the sentiment three times, then used Copics to colour going from black, through shades of grey to pink and then mounted it onto a black mat layer.  I used strips of design paper to make the backing panel.  On the inside I cut a mat layer of black/grey design paper and on the white panel stamped the bold sentiment - "You are worth it".

Be Brave inside - photo by Deborah Frings - Deborah's Gems

Our Guest Designer this week is Darnell if you haven't visited her blog - it is worth a trip.  Not only does Darnell make great cards, she is also one of the kindest and funniest ladies I've met in blogland!  As well as Darnell's card, the rest of the team have some fabulous inspiration cards to share with you. 


Our sponsor is StampArt Designs and the winner of the challenge will receive 5 digi images.  That's all for now!  See you soon.

signature

Saturday, 8 February 2014

WMSFC - Colours ....

... Hello again!  I'm back with our new challenge at Waltzingmouse Fanatics.  This time we have a colour challenge - there are six colours in the palette and you have to use at least three of them.  I think these are all my favourite colours.  Don't forget you can make anything for the challenge, a card, scrapbook layout, 3D project - but you MUST include at least one Waltzingmouse stamps, digi or sentiment.  Here's my card:

Amazing - photo by Deborah Frings - Deborah's Gems

Stamps: WMS - Free Spirit Boy; Impression Obsession - You are Amazing
Inks: Stampin' Up! - Wild Wisteria; Memento - Tuxedo Black
Accessories: SU Card - Naturals Ivory; Copics; Promarkers


Do you ever have an idea of a card in your head and then end up with something completely different?  Well, that's what happened with this card.

I used the sketch from Clean and Simple Stamping - FTL279 for the layout and the theme is from this week's Keep it Simple - KIS#33 where the key word is "TROPICAL" and, obviously, the colours are from our challenge.  From the graphic I took the two shades of purple, the dark teal and ivory.  I made the card from Naturals Ivory (lovely card which I don't use often enough).  The card has a subtle texture which you can see in the stamped sentiment!  I actually like the slightly distressed look.  I used my all time favourite set from Waltzingmouse - Free Spirit Boy - and stamped the hibiscus flowers several times onto white card and then coloured them with Promarkers and Copics.  I cut them out and attached them to the card.  I know that hibiscus don't appear in nature in rich teal (sort of wish they did), but they certainly come in all shades of purple.  For the inside, I kept it ultra simple with just a stamp of the hibiscus flowers.

Amazing inside - photo by Deborah Frings - Deborah's Gems

Don't forget Tara has an inspiration card to share with you too.  You have plenty of time to play along with our fabulous colours, the deadline for submission is Thursday 20th February, 5.00pm GMT (that's Noon EDT).  Oh, were you wondering what my original idea was?  Well I had planned on using the surf boards from Free Spirit and making a guy card!  That's all for now!  Whatever you plan on doing this weekend, keep safe and warm.  Bye for now!

signature

Wednesday, 22 January 2014

Floral birthday ...

... Good morning everyone!  Winter is back in full force here in North America.  We've been very lucky in Northville, while it is extremely cold, we don't have any snow, just lots of blue skies and sunshine, and I'm happy to take that!  I hope all my US buddies who are in snowy areas are taking lots of care.  I'm so fed up of snow that I decided to make a floral birthday card. 

Happy Birthday - photo by Deborah Frings - Deborah's Gems

Stamps: Hero Arts - Large Flower Background CG403; CAS-ual Friday Stamps - Casual Elegance, Bold Wishes
Inks: Versafine - Onyx Black; Stampin' Up! - Pool Party, Pink Pirouette; Memento - Tuxedo Black
Accessories: White Lustre Card; SU Card - Basic Black; Copics - G0000, RV000; Clear and Black Embossing Powder; Vellum; Gems


I used the soft, subtle colours from this week's Dynamic Duos - DD#86, and the layout is based on the sketch from Clean & Simple Stamping - FTL276.  

I stamped the image onto white card in pale aqua and then again in black Versafine which I heat embossed with clear powder.  I coloured the flowers and stems using Copic markers.  Then I spent quite some time cutting out the coloured flowers and stems and adhering them to the aqua image.  I love the way this gives a soft subtle background with the coloured images being more defined.  I cut a mat layer of black card and attached the flower panel.  I decided to stamp the sentiment on vellum as I didn't want to cover the pretty flowers.  I finished the front with some gems scattered about.  For the inside I cut mat layer in black and on the white panel stamped some flowers and vines, and a very bold sentiment.

Happy Birthday inside - photo by Deborah Frings - Deborah's Gems

Before I go, I have some new followers who I would like to welcome.  Join me in say Hello and Welcome to Gemma and Asha - thank you ladies for joining me!  I always appreciate the fact that so many people have decided to follow me and see my cards and read my ramblings, and all your comments are a delight - I do like to read them.  Thanks to you all!  That's all for now - I really do have to get the ironing done - I've been putting it off for a while now!

signature

Friday, 13 December 2013

Let it snow ....

.....  seems an entirely appropriate title with all the snow that's been falling in the US this week.  We've been incredibly lucky in Northville to have only had very small amounts.  I maintain my position that the only good place to see snow is on a card.  So here's one I made to share with you today:

Snowflake Butterflies - photo by Deborah Frings - Deborah's Gems

Stamps: Uniko Studio - Stunning Snowflakes; Stampin' Up! - Christmas Messages
Inks: SU - Smoky Slate, Soft Sky; Memento - Grey Flannel
Dies: Spellbinders - Create-a-Flake 1 (S4-222), Create-a-Flake 3 (S4-340), Snowflake Wonder (S4-085); Uniko Studio - Snowflakes
Accessories: White Lustre Card; SU Card - Smoky Slate; Blue and White Glitter Paper

I used a few challenges for this card:


I saved the sketch when it was posted and put it in my challenge book and came back to it when I saw the challenges for CASology and ATCAS.  I've managed to CASE Natasha's card without actually realising it!!  I used a number of dies to make snowflakes from different papers and card, stamped a few directly on the card and finished the front with this fabulous sentiment.  Inside I have two mat layers, one grey and one in the soft blue glitter paper.  On the white panel I stamped lots of snowflakes and a simple sentiment.


Snowflake Butterflies inside - photo by Deborah Frings - Deborah's Gems

That's all for now.  I've managed to avoid the ironing all week by the simple expedient of doing other jobs, but I can't put it off any longer!  See you tomorrow!

signature

Saturday, 23 November 2013

Peace and plenty ....

.... Good evening , I'm back again.  This time I've a Thanksgiving card to share with you:

Peace and Plenty - Photo by Deborah Frings - Deborah's Gems

Stamps: Waltzingmouse - Peace and Plenty, Blessed by You, Seasonal Flourish; Stampin' Up! - Dictionary
Inks: SU - More Mustard, Bashful Blue, Pumpkin Pie
Accessories: White Lustre Card; SU Card - Crumb Cake, Bashful Blue

It's time for the Waltzingmouse Pajama Party and when Claire sent out the invitation she gave us four categories to play with!  This card has been made for the first category where the theme is thanks/thanksgiving.  I used a couple of other challenges to make the card, the layout is based on the current sketch from Clean and Simple Stamping - FTL267.  I used the colours from Colour Q - cQc216.


I stamped the words directly onto the card base and over stamped the words with this lovely tree.  I made the sentiment panel by cutting a mat layer in Crumb Cake and stamped the sentiment in the centre of the white panel.  I added a couple of little blue acorns (inspiration from the cQc graphic).  The inside is very simple with a mat in pale blue and an elegant sentiment.

Peace and Plenty inside - Photo by Deborah Frings - Deborah's Gems


That's all for now, you should know that this post has been scheduled!  Kathryn, Jonathan and I are at the cinema watching The Hunger Games - Catching Fire.

Wednesday, 13 November 2013

Thanksgiving ....

.... Morning from a very cold (current -6°C or 21°F) and frosty Northville.  It is, however, a lovely day with bright blue skies and sunshine - but the wind cuts right through you!  So, I'm staying indoors to do housework like stuff - but later!  In the meantime, I've a Thanksgiving card to share with you this morning:

Gratitude - Photo by Deborah Frings - Deborah's Gems

Stamps: Stampin' Up! - Day of Gratitude
Inks: Versamark; SU - Soft Suede, Soft Sky
Accessories: SU Card - Soft Suede, Soft Sky; Cream Lustre Card; SU Marker - Soft Sky; SU Candy Dots; Clear Embossing Powder


I made this card using two challenges - the current layout from Clean & Simple Stamping - FTL265 and the colours from CAS - Colours & Sketches - CASC&S50.  I really like these colours but have struggled a bit to come up with a card until last night.  I made the base from Soft Suede card, cut a panel in Soft Sky (such a pretty colour) and on cream card I stamped this wonderful medallion image.  I inked up the image with Versamark first and then with the colour, stamped and heat embossed with clear powder.  I then cut the image out and added just a touch of colour to the central flower and the dots at the edges.  I finished the centre with a little candy dot.  The sentiment comes from the same set and is perfect for a Thanksgiving card.  For the inside I cut a panel of cream card and stamped the medallion again, only this time in Soft Sky - there's no other sentiment, just as space for me to write my message.  I also decorated the envelope.

Gratitude inside - Photo by Deborah Frings - Deborah's GemsGratitude envelope - Photo by Deborah Frings - Deborah's Gems

I can't believe just how fast the time is going - it's already the middle of the week!!!  I don't want to worry anyone, but it's six weeks to the day until Christmas!!!  Oh my goodness!  On that happy note - I'll say bye for now!

Related Posts Plugin for WordPress, Blogger...