Sunday, 14 April 2013

Are we there yet? ....

.... Hi - back again!!  I'm sure that if you've got children that phrase "are we there yet?" will be so familiar!!  This card has been made with a couple of challenges in mind:


Stamps: Sweet Stamp Shop - Across the Miles; Stampers Anonymous Tim Holtz - Travel Blueprints
Inks: Stampin' Up! - Night of Navy, Poppy Parade, Crumb Cake; Versamark
Accessories: SU Card - Crumb Cake, Night of Navy; SU Markers - Real Red; Promarkers - Poppy, Baby Pink, Soft Green; White Lustre Card; Clear embossing powder


I got these fabulous blueprint style stamps a few weeks ago and this is the first time they've seen ink!!  I really like the aeroplane blueprint image and thought it would be perfect for the travel theme at CASology.  I started by cutting a mat layer in Crumb Cake and stamping the image directly on the card.  Then I stamped the image again on Night of Navy card - I used Versamark, embossed with clear powder and cut out the plane.  I stamped the image again onto white card and cut out the stamp part of the image.  I used Promarkers to colour the number and stripes.  I finished the front with that phrase we all know so well and a compass, spotlighting the N for north.

For the inside I made a mat layer in Crumb Cake and a white layer onto which I stamped a map of the United States and used the little arrow and "I'm here" phrase to mark where I live in Michigan.


That's all for today.  We have a busy afternoon lined up - Jonathan is out at at shoot in Pontiac, and Kathryn and I are joining a photography group to do a walk around Historic Northville.  I'll take lots of  photos and share them during the week.  See you tomorrow.


100 Years old .....

... Hello!  On Friday I showed you the card I'd made for my Mum to send to her "adopted" Dad.  Well, this morning I'm showing you the one I've made to send to "Granddad".  Sadly, all my grandparents have passed on, but my Aunt's father was very happy to take on my Mum and me.  So this is for him - I used a few challenges to make it:


Stamps: Stampin' Up! - The Open Sea, Memorable Moments, Layered Labels
Inks: SU - Midnight Muse, Rich Razzleberry, More Mustard, Sahara Sand
Dies: PTI - Tag Sale #3
Accessories: SU Card - Midnight Muse, More Mustard; SU DP - More Mustard; SU Ribbon - Rich Razzleberry; SU Markers - Midnight Muse, Rich Razzleberry; Cream Lustre Card, Button, twine and ribbon from stash;


I think the colours for this week's Just Add Ink challenge are perfect for a masculine card.  I layered Midnight Muse card and More Mustard design paper together, added some Rich Razzleberry ribbon and adhered the panel to the card base with dimensional tape.  I die cut the tag from cream card and stamped a number of travel related images randomly over it - I used the second impression to give a softer look.  I carefully pencilled in lines to ensure that the sentiment and numbers were straight!  I finished off the tag with some blue ribbon from my stash that is an almost exact match to Midnight Muse and tied it with some twine.  The final touch on the front was a button tied with twine.


For the inside, I kept it really simple with a mat layer in More Mustard and a simple greeting which I coloured with SU markers.  This will be going in the post tomorrow morning - and should get to "Granddad" in plenty of time for his 100th birthday.

You know, last week I thought that spring had finally arrived, but I was wrong.  I went for a walk yesterday afternoon - it started out reasonably nice with a bit of sunshine.  But as I walked around the estate, it got greyer and greyer and colder and colder.  Then it started to snow - just little flakes at first.  Just after I got in it started to snow - coming in horizontally!!!!  I know that we've had it really easy by comparison with some areas - but I think it's past time for spring to really show up!!

Sorry about the moan - but I feel better now ;))  See you soon.

Saturday, 13 April 2013

Clean, simple, non-traditional Christmas ....

... Hi - it's time for our new challenge at 52 {Christmas} Card Throwdown.  It's the second week of the month and that means we have a colour challenge for you - shades of blue!  Here's my card:


Stamps: Waltzingmouse - Festive Foliage, Off Beat Backgrounds, Yonder Star
Inks: Stampin' Up! - Night of Navy, Bashful Blue; Versamark
Accessories: White Lustre card; Cameo - cut shapes; Glossy Accents; SU Card - Night of Navy; Clear Embossing Powder


For the layout I followed this week's challenge at CAS(E) this Sketch - CTS23 and I got the idea for a non-seasonal stamp from the current Waltzingmouse Christmas Card Challenge - WMSCCC04-13 .   I was also inspired by Julia's cards for the March WMS Christmas challenge.

I think this chevron stamp is one of my all time favourites.  I stamped the Night of Navy image first and immediately inked the stamp again with Bashful Blue and stamped, giving this lovely mid-blue shade.  I cleaned the stamp and then inked again with Bashful Blue and stamped.  In order to get placement of the stripes correct, I stamped them onto a separate sheet of card and cut out the panel - very easy!  This allowed me to move the panel around before adhering to the card base.  I used my Cameo to cut out a number of the WMS cut files that Claire has made for us - so much quicker then cutting by hand!!  I stamped the holly leaf trio in Night of Navy and attached them to the card with dimensional tape.  I finished the holly with some berries, stamped in Bashful Blue and covered with Glossy Accents. 

I didn't want to put a sentiment on the front as I didn't think it would work.  So I moved my sentiment to the inside.  I cut a mat layer in Night of Navy and one in White Lustre.  I stamped the sentiment in Versamark on the little dicut, heat embossed with clear powder and then inked over with Bashful Blue to reveal the sentiment.

I was having such fun with this card - and I had lots of holly leaf trios cut that I decided to make another card using the same design, but this time with traditional colours of green and red.


Stamps: Waltzingmouse - Festive Foliage, Off Beat Backgrounds, Compliments of the Season II
Inks: Stampin' Up! - Old Olive, Real Red; Versamark
Accessories: White Lustre card; Cameo - cut shapes; Glossy Accents; SU Card - Real Red; Clear Embossing Powder
This is one of those occasions when the second card works just that bit better than the original idea!!!  I love the blue holly, but the green and red really pop! 

Anyway, I can't wait to see your Christmas creations with our fabulous shades of blue.


That's all for now - see you soon.


Friday, 12 April 2013

Centenarian ....

.... Good morning!  Hope you're all keeping well.  I had a lovely long chat to my Mum yesterday, and as the conversation was finishing she had a special request.  She asked me to make a birthday card for my Aunt's father.  He has a very special birthday coming up - he'll be 100 years old on 24th April.  He's seen so much change in his life - and it will be a day of celebration.  I used a couple of challenges to make this card:


Stamps: Stampin' Up! - Memorable Moments, Sassy Salutations; My Favourite Things - Birthday Sentiments
Inks: SU - Night of Navy, Cajan Craze
Dies: SU/Sizzix - Framelits - Labels Collection # 2 & 3
Accessories: SU Card - Night of Navy, Pool Party; SU Design Paper - Cajan Craze; White Lustre card; Brads; Martha Stewart Border punch


The FMS layout really works for this type of card - it showcases the central image so well!  And the colours couldn't have been better!  Just right for a masculine card.

I had just the right set of stamps to make the 100th birthday label - Memorable Moments.  I started by stamping the number onto white card and then diecut the label positioning the number in the centre.  To position the words I used my stamp-a-ma-jig and finished by stamping the dotty outline.  I cut a mat layer in Pool Party and adhered the birthday label to it.  I made the card base from Night of Navy.  I cut the Pool Party mat to size, then cut the design paper to the same width and punched the border decoration.  Next I stamped the word Congratulations (using my stamp-a-ma-jig for alignment) and cut the design paper to fit above the word.  I finished the front by added three copper brads.  I mounted the whole panel to the front of the card with dimensional tape.  The inside is very clean and simple - a mat in Pool Party and white onto which I stamped a greeting.


This card will be going in the post shortly - as it needs to reach Mum in time for her to sign it and post it!

That's all for now.  It's still very wet here in Michigan, but I think we've had it easy by comparison to those experiencing snowstorms and tornadoes.  Keep safe wherever you are!  I don't know about you, but I'm more than ready for spring to arrive.  See you soon.

Wednesday, 10 April 2013

More and more ...

.... Morning all - it's very wet here this morning.  We were woken by the rain hammering down on the roof this morning and we've been promised rain for the next three days!  Heyho!!  That's the way it goes.

I have a card to share with you this morning - at last I seem to be getting back into my groove!  I've used a few challenges to make it:


Stamps: CAS-ual Fridays Stamps - Only You, Beanstalks; Sweet Stamp Shop - Distressed Chevrons
Inks: Versamark; Memento - Tuxedo Black; Stampin' Up! - Cherry Cobbler
Accessories: SU Card - Pool Party, Cherry Cobbler; SU Markers - Pool Party, Cherry Cobbler; Clear and Black embossing powder; White Lustre card; Glossy Accents


I was having trouble with the CAS-ual Friday and Dynamic Duo challenges, but last night I had an idea and I'm pleased that the card has turned out pretty much as I imagined.  I stamped the distressed chevrons in Versamark and embossed them with clear powder giving a lovely tone-on-tone pattern.  Stamping the flower and cutting it out was a bit tough!  I stamped the image in Versamark and embossed with black powder, than I ran it through my Xyron for two reasons; it made it self-adhesive and it strengthened it.  I coloured the image with SU markers and then carefully cut it out with my scalpel.  I layered the patterned panel onto some Pool Party and adhered it to the card.  I stamped the sentiment onto white card, cut it out and added the flag detail.  After attaching the flower to the card I applied Glossy Accents to the flower to give a little more definition.  For the inside I made a very simply mat in Cherry Cobbler and White card on which I stamped a sentiment.


In hindsight, I think I should have left a white border around the flower as it's a bit hard to see the flower head!  It's my wedding anniversary on 22nd April and this is for Jonathan.  I don't have to worry about him seeing it early - he doesn't often look at my blog!!  Well, he does if I make him :)

I've got a busy day lined up - but fortunately no gardening as it's raining :) :)  Oh joy!  See, there is a plus side to rain.  That's all for now - see you soon.

Tuesday, 9 April 2013

Christmas limeade .....

... Good afternoon.  Hope you're all having a good day.  I've been busy here - I did some gardening this morning - a job that I really don't like much.  I love a beautiful garden, but I don't much enjoy doing the work to get it that way :)  I got a lot done - pruned the roses, cut back the perennial plants to allow for the new growth and a general tidy at the front.  However, I still have the back yard to do and there's quite a bit of weeding out there - the thistles are back!!!!

I have managed to get into my craft room and play this afternoon.  I've made a Christmas card for this year's stash and used a couple of challenges to make it:

Stamps: Waltzingmouse - Compliments of the Season I and II; Woodware - Christmas Bubble Tree
Inks: Versamark; Stampin' Up! - Lucky Limeade
Accessories:  SU Card - Lucky Limeade; SU Marker - Lucky Limeade; White Lustre Card; Black embossing powder; Copics; Gems, pearls, glitter; Sakura Stardust and Metallic Pens

This bubble Christmas tree is perfect to bling up; I started by stamping it in Versamark and heat embossing with black powder and then colouring the bubbles different shades of lime green.  I did the same for the sentiment.  I layered the white panel onto a mat layer of Lucky Limeade.  Then I used a variety of methods to add some bling to the tree - Sakura Stardust and Metallic pens, glitter, gems and some pearls.  On the inside I cut a mat layer of Lucky Limeade onto which I adhered white card and stamped the sentiment in Lucky Limeade.  A clean and simple, but blinged up, Christmas card.  I've also included a close up of the tree showing the blinged up sparkle!


It's been ages since I've played along with either of these challenges, and I'm so pleased that I'm getting back into my normal routine - I've missed making cards!!

That's all for now - see you tomorrow.

Sunday, 7 April 2013

Freshly made card ...

... good afternoon - hope your day is going well.  Mine's been going very well - got some washing in, some dried and also managed to get an hour in my craft room to make another birthday card for my father-in-law.  This one is from Kathryn - she particularly wanted a card with a moustache!  I've made this card for the current challenge at Freshly Made Sketches - FMS80.


Stamps: Kaisercraft - Sears & Son; Stampin' Up! - Happiest Birthday Wishes (Hostess set)
Inks: SU - Early Espresso
Accessories: Kaisercraft Design Paper - Sears & Son; SU Punch - Decorative Label; East of India - Tape Measure; White Lustre card


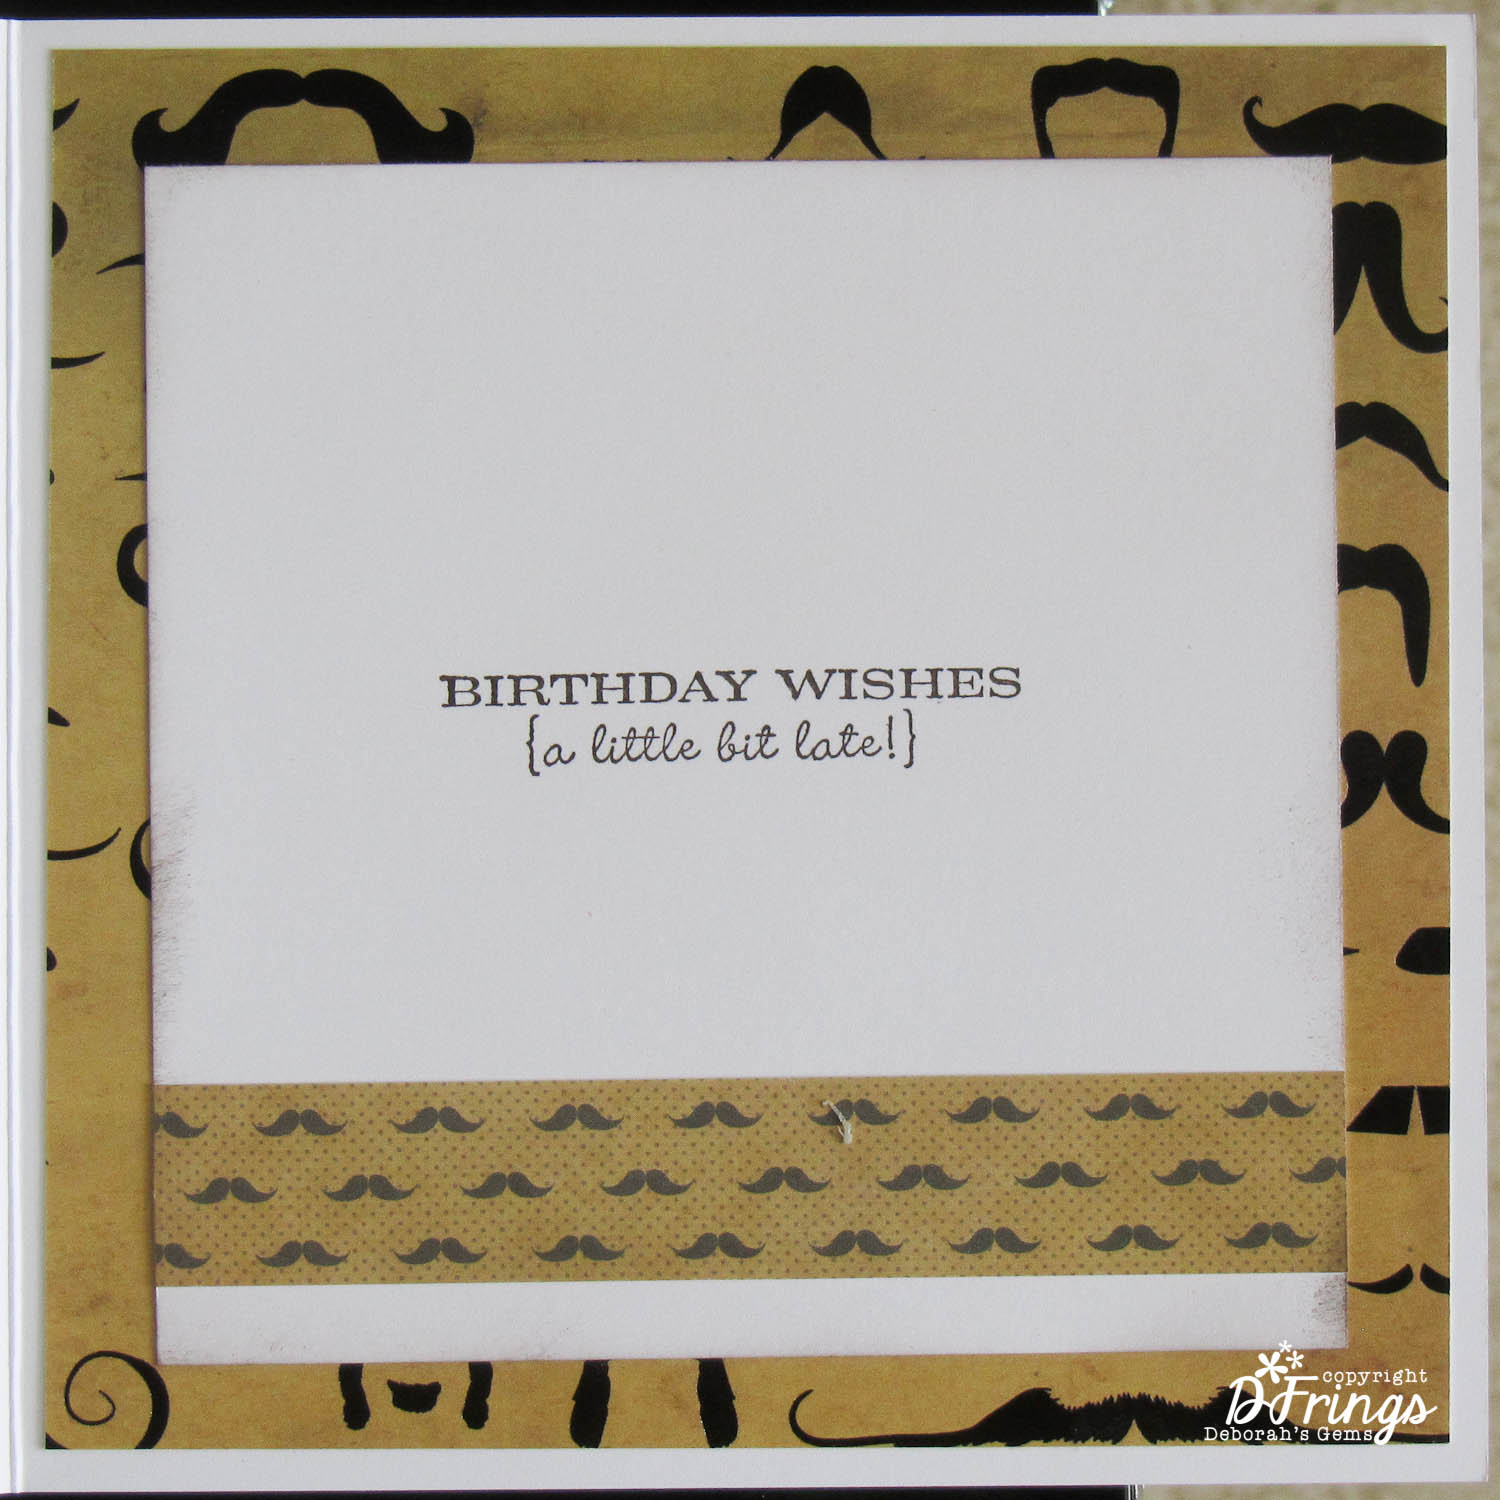
I really like this set of papers - they have a very vintage feel - more importantly they have papers with lots of moustaches!  Just what Kathryn ordered.  I completely covered the card base with one sheet of paper.  I cut a mat layer in white card, sponged the edges with Early Espresso and adhered another sheet of the paper to it.  Prior to attaching the paper to the mat, I randomly stamped some of the Sears & Son images.  I found this tape measure at a local shop - love the texture and colour - still got 54" left!  After attaching the tape measure ribbon I adhered the whole panel to the front of the card with dimensional tape. I stamped the moustache onto white card, fussy cut it out and adhered to the ribbon with gel glue.  I finished the front with a birthday sentiment - the font has a great vintage feel.  I carried the moustache theme through to the inside of the card with some more paper for the mat layer.  On the white panel I stamped a simple sentiment (this card is going to be a bit late).

One of the things I've discovered about the States, and Michigan in particular, is just how popular sports are.  We've watched American Football (I prefer rugby), Baseball (can't work that one out), Ice Hockey (love it) and Basketball (was always a fan).  Last night we watched the Michigan v Syracuse semi-final; it was fantastic, keeping us on the edge of our seats until the final whistle.  Delighted to say that Michigan won.  The final will be on Monday - go Michigan!!!

That's all for now - we're off out for a meal now - a late lunch or early dinner!!  See you tomorrow.

Saturday, 6 April 2013

Birthday card ....

......  Hi - hope you're all having a good day.  I've finally made it into my craft room and I've made a card for a few challenges:


Stamps: Hot Air Balloon (got it in a bargain bin and don't know who made it); My Favourite Things - Western Sentiments
Inks: Stampin' Up! - Early Espresso; Memento - Grey Flannel
Accessories:  Cuttlebug EF - Chicken Wire; Promarkers - Ice Grey 1 - 4; SU Card - Early Espresso; Cream lustre card; Ribbon


I made this card for my father-in-law; it's his birthday next week and hopefully he'll get it on time or just a bit late!  I embossed the card base with my new Cuttlebug embossing folder and used the coordinating border folder to emboss the brown strip of card.  I made the tag from cream card and coloured it with Promarkers shading from the darkest to the lightest.  I know that a hot air balloon is not original for the cue word "UP!", but it's just perfect for this card!  I found this ribbon in my stash, cut it in half and attached it to the card with a staple.  For the inside I made a mat in brown and stamped a number of balloons around a simple greeting.

It does feel good to get back to making some cards for my favourite challenges!!


That's all for now - off to make dinner.  And then this evening we sit down to watch Dr Who - our favourite family viewing.  See you tomorrow.


Vintage Christmas ....

... Good morning!  It's time for our new challenge at 52 {Christmas}Card Throwdown.  I am absolutely thrilled to be hosting this month's challenges.  As it's the first week of the month we have a sketch challenge and here's my take on it:


Stamps: See-D's - Traditional Christmas; Waltzingmouse - Compliments of the Season II
Inks: Memento - Elderberry
Dies: Spellbinders - On the Edge (S5-168)
Accessories: Stampin' Up! Card - Elegant Eggplant; Kaisercraft Design Paper - Christmas set free with Simply Cards and Papercraft; Copics - various; Cream lustre card, Gems; Lace ribbon

I really like this Christmas paper (free with a UK magazine); it has a super vintage feel and soft, subtle colours.  I layered the papers onto deep purple which coordinates nicely with the colours in the DP.  I stamped the image of Santa and his reindeer onto cream card and coloured the image with Copics (just got them and they're fab).  I decided to colour Santa's suit green as it goes better with the colours in the paper and also because Santa is often depicted with a green suit.  I finished off the front of the card with some cream lace ribbon and a few purple stars and a big purple heart.  I went for a very clean and simple look for the inside of the card, stamping the large outline stamp from Compliments of the Season II and colouring the sentiment with two shades of purple.


Here's our sketch for this week and I'm really looking forward to seeing all your creations.
 

Have a wonderful weekend and see you soon.

Related Posts Plugin for WordPress, Blogger...