Showing posts with label US - All Occasion Sentiments #3. Show all posts

Tuesday, 27 February 2018

Uniko - Kindness Blooms and Fun Flowers Stencil ...

.... Good morning! It's the last day of Uniko Introductions, we have one more stamp set and another stencil - I really think you're going to like them both. I'm going to start with the stamp set:

Thanks Friend - photo by Deborah Frings - Deborah's Gems

Stamps: Uniko - Kindness Blooms, All Occasion Sentiments # 3 and #6
Inks: Versafine - Onyx Black; Stampin' Up! - Marina Mist, Sweet Sugarplum, Peekaboo Peach
Accessories: White Lustre Card; SU Card - Peekaboo Peach; Vellum; Clear Embossing Powder; Copics; Nuvo - Aqua Shimmer Brush; Studio Katia - Silver Foil Crystals


I've made a really clean, simple card to showcase the large scribble flower in this stamp set. I used my MISTI to position and stamp the greeting. I stamped the flower on vellum, heat embossed with clear powder, coloured the reverse of the image with Copic markers, and added lots of shimmer to the front of the flower, then I fussy cut it out. I added some shimmer to the open letter of the word 'thanks' and finished the front by adding some silver foil crystals. On the inside, I cut a mat layer of peach card and on the white panel added a message and more flowers. I used the sketch from this week's CAS(E) this Sketch! - CTS#260 for the layout and the colours are from last week's CAS Colours & Sketches - CASC&S#260. I've also taken a close-up photo of the flower to show all the lovely shimmer - I find it best to make the image darker than normal so that you can really see the shimmer!

Thanks Friend inside - photo by Deborah Frings - Deborah's GemsThanks Friend sq - photo by Deborah Frings - Deborah's Gems


Thanks Friend det - photo by Deborah Frings - Deborah's Gems

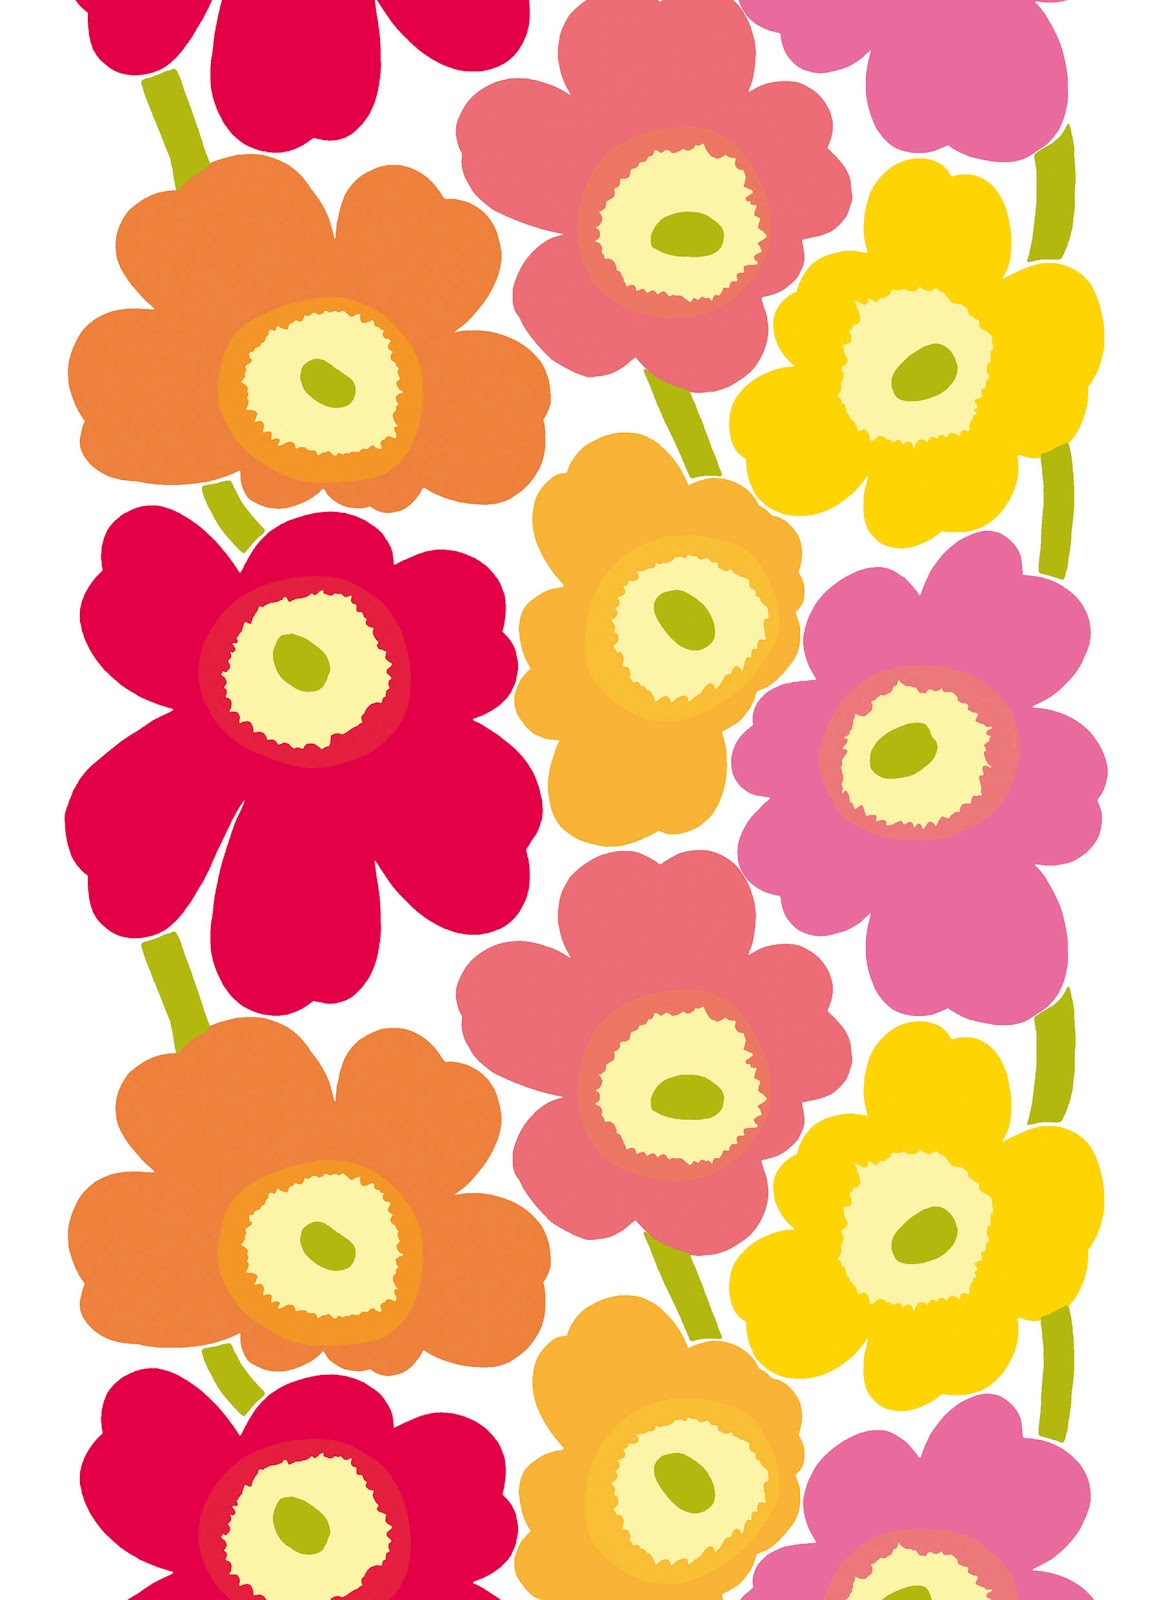
There are a lot more flowers on this next card where I use the Fun Flowers stencil, and matching stamps too:

Happy Birthday - photo by Deborah Frings - Deborah's Gems

Stamps: Uniko - Fun Flowers, Simply Said Blocks, Birthday Sentiments
Inks: Versafine - Onyx Black; Distress - Worn Lipstick, Picked Raspberry, Blueprint Sketch; Gina K - Jelly Bean Green
Accessories: White Lustre Card; SU Card - Melon Mambo; Clear Embossing Powder; Nuvo - Aqua Shimmer Brush; Studio Katia - Silver Foil Crystals


The layout of this card is based on the sketch from Freshly Made Sketches - FMS#325, although it's going live too late to join in!! I taped the stencil to white card and used pink and blue inks. I tried to keep the blue to the scallop edges of the flowers. I cut the panel to size, edged it with a black marker and adhered it to the card. I stamped some leaves in green and the matching flowers from the Fun Flowers set, and added colour to two of the images with the stencil - I went for more depth of colour on these colours. Once finished, I cut them out using my Scan'N'Cut. I attached the plain flower flat to the card and used dimensional pads to attach the coloured flowers. I finished the front with a simple, bold sentiment. On the inside, I cut a mat layer of bright pink card. I used the stencil and inked a pale pink background all over the white card and added a greeting.

Happy Birthday inside - photo by Deborah Frings - Deborah's GemsHappy Birthday sq - photo by Deborah Frings - Deborah's Gems

Well, that's it! We've finished all the introductions and I hope you have enjoyed seeing all the wonderful projects from the Design Team. Tomorrow is RELEASE DAY at 9.00am GMT (that's 4.00am EDT) and all the products will be available for purchase from the Uniko shop.

Do pop back again tomorrow and join us for our traditional Design Team Blog Hop and Giveaway! See you then!

signature

Sunday, 25 February 2018

Uniko - Seeing Stars and Chrysanthemum Stencils ....

Hello! I hope you've been enjoying our introductions; today is the midpoint of Uniko February Introductions and we're showcasing two new stencils - one if a huge flower and the other lots of stars. Here's my card made with the Chrysanthemum stencil:

Thank You - photo by Deborah Frings - Deborah's Gems

Stamps: Uniko - All Occasion Sentiments #3, Pure Florals Chrysanthemum
Inks: Distress - Spun Sugar, Worn Lipstick, Picked Raspberry; Distress Oxide - Worn Lipstick; Memento - Grey Flannel
Accessories: White Lustre Card; Stampin' Up! Card - Strawberry Slush


I kept this card super simple as I wanted to showcase the beauty of the chrysanthemum. I taped the stencil to a large card and inked up the image with three shades of pink distress ink. I added a very simple sentiment across the centre of the flower in a coordinating pink distress oxide ink. On the inside, I cut a mat layer of pink card and on the white panel added the small solid flower from Pure Florals Chrysanthemum and the word 'friend'. I used the colours from this month's House of Cards challenge - HOC#02.

Thank You inside  - photo by Deborah Frings - Deborah's GemsThank You sq - photo by Deborah Frings - Deborah's Gems

I went for another clean, simple card to showcase the Seeing Stars stencil:

Reach for the Stars - photo by Deborah Frings - Deborah's Gems

Stamps: Uniko - Reach for the Stars. Simply Said
Inks: Distress - Salty Ocean, Blueprint Sketch, Chipped Sapphire, Black Soot; Versamark; Versafine - Onyx Black
Accessories: White Lustre Card; Stampin' Up! Card - Pacific Point; Kaleidoscope Embossing Powder

I masked off a one-inch border all the way around the card, taped on the Seeing Stars stencil, and inked through the stencil with Versamark. After removing the stencil, I applied iridescent embossing powder, heat set it and then applied several shades of blue to create a starry sky. I removed the masking tape and added a greeting. Ont he inside, I cut a mat layer of blue card and on the white panel added a simple greeting and some more stars.

Reach for the Stars inside - photo by Deborah Frings - Deborah's GemsReach for the Stars sq - photo by Deborah Frings - Deborah's Gems

That's all from me for today - do visit the Uniko blog to see lots more inspiration projects from the rest of the Design Team. Here's a quick reminder of the release schedule:

Introductions: 24th - 27th February

RELEASE DAY: Wednesday 28th February, 9.00am GMT (that's 4.00am EDT). Join us for our Design Team Blog Hop and Giveaway!

See you soon!

signature

Wednesday, 6 September 2017

Uniko - Polka Dots and Word Blocks ....

... Good morning! You've seen the sneak peeks, and now it's time to introduce the new stamps from Uniko. Today we are introducing two new sets. The first is an addition to the Background Blocks series and it features POLKA DOTS - just love them!! The second set is an addition to the Simply Said series - this time the words are in blocks. I've combined them both on this card:

Inspire Me - photo by Deborah Frings - Deborah's Gems

Stamps: Uniko - Background Blocks Polka Dots, Pure Florals Gerbera, Simply Said Blocks, All Occasion Sentiments #3
Inks: Gina K - Onyx Black; Delicata - Silvery Shimmer
Accessories: White Lustre Card; Stampin' Up! - Basic Black; Copics; Wink of Stella - Clear; Silver Shimmer Washi Tape


When I made this card, I hadn't received the actual stamps - Bev kindly sent me the digital images and I was able to print them off to size. I used the sketch from Sunday Stamps Challenge - SSC#160 for the layout. I cut the polka dot panel to size and layered it on some black card and attached it to the card base. I forgot to add some silver string, so used a strip of silver shimmer washi and and thin strip of the polka dot panel to make my own. I stamped the gerbera image on white card and used Copics to create a rainbow coloured flower, cut it out and added some sparkle all over with a clear Wink of Stella brush. I attached the flower with some dimensional tape on the side that over hangs the dotty panel. I finished the front with a simple sentiment - I think there are some super words in this set. On the inside I cut a mat layer of black card. On the white panel I stamped the polka dots in silver shimmer ink and added a bold word in the centre, I finished the panel by adding a couple of rainbow gerbera daisies. I wish you could get daisies like this for real!!!

Inspire Me inside - photo by Deborah Frings - Deborah's GemsInspire Me sq - photo by Deborah Frings - Deborah's Gems

You've seen the peeks, and you've used seen how I've used the stamps. Do visit the Uniko blog to see how the rest of the team have used these sets - they're fabulous!!! Before I go, here's a quick reminder of the release schedule:

Introductions: 6th - 8th August - your chance to see how these stamps are in action

RELEASE DAY: Saturday 9th August, 9.00am BST. You get to see the whole release and see how the Design Team have used them on their projects. As is traditional, there will be a DT Blog Hop - do leave comments as you go along as there's a GIVEAWAY too! You can get the stamps at the Uniko Shop.

That's all from me today - do come back tomorrow to see more introduction cards! Bye for now.

signature

Wednesday, 3 May 2017

Uniko - Doodle Flower and Horizontal Stripe ...

.... Hello! So pleased that you stopped by. We have seen sneak peeks of the four new stamps sets from Uniko and today I'm here to do an introduction to the two new additions to the Background Blocks series - Doodle Flower and Horizontal Stripe. There really are endless possibilities with these sets. I do have to state that sadly I haven't received the actual stamps from the UK, so Bev very kindly let me have the digital images. Having the digi images is great but it does mean that there are some techniques I can't do - but I can still be quite creative!!

I'll start off with a simple and pretty birthday card to introduce Background Block Doodle Flowers:

Happy Birthday - photo by Deborah Frings - Deborah's Gems

Stamps: Uniko - Background Blocks Doodle Flowers (Digi), Fontiments Birthday, All Occasion Sentiments #3, Uniko Style
Inks: Versafine - Onyx Black; Stampin' Up! - Pear Pizzazz, Regal Rose, Wisteria Wonder
Accessories: White Lustre Card; SU Card - Pear Pizzazz; Copic Markers; Spectrum Noir Sparkle - Clear


I set the image size to 7 x 9.5 cm (the same as Background Blocks Halftone) and made it dark pink. I printed it on white card and then added more colour using Copic markers and a clear sparkle brush. I layered the finished image on to a mat of green card. I attached it off to the side and added a simple birthday greeting at the foot of the card. On the inside I cut another mat of green card and on the white panel added a message and simple flower. I used the colours from this week's Cupcake Inspirations Challenge - CIC#405 as they're so pretty!

Happy Birthday inside - photo by Deborah Frings - Deborah's GemsHappy Birthday sq - photo by Deborah Frings - Deborah's Gems

Next up is an ultra simple sympathy card to introduce Background Blocks Horizontal Stripe:

With Sympathy - photo by Deborah Frings - Deborah's Gems

Stamps: Uniko - Background Blocks Horizontal Stripe (Digi), Natures Treasures II, Simply Said
Inks: Versafine - Onyx Black; Versamark
Accessories: White Lustre Card; SU Card - Basic Black; White Embossing Powder; Spectrum Noir Sparkle - Clear


Once again I sized the image to about 7 x 9.5 cm and printed at the best setting on to white card. Using my MISTI I positioned the sentiment and stamped it in Versamark and heat embossed with white powder - I was very careful to make sure that I removed any random specks of powder before heating. I attached the panel flat to the card. I stamped the leaves in Versamark on black card, heat embossed with clear powder and carefully cut out the leaves with a scalpel. I added a touch of sparkle to the centre of the leaves and then adhered them to the panel. On the inside I cut a mat layer of black card and on the white panel added a message and some tiny leaves. I'm submitting this card to Love to Craft Challenge Blog - LTCCB#10 where the theme is Anything Goes.

With Sympathy inside - photo by Deborah Frings - Deborah's GemsWith Sympathy sq - photo by Deborah Frings - Deborah's Gems

So you've seen the sneak peeks, and my introduction to these sets. Do visit Uniko to check out more introductions from the rest of the team. Do leave comments as you visit - there's always the chance of a random prize!! Before I go, here's a quick reminder of the release schedule:

Introductions: 3rd - 5th May - the team have some wonderful inspirations projects to share with you.

RELEASE DAY! - Saturday 6th May, 9.00am BST - more inspiration projects from the Design Team, your chance to purchase the stamps from the Uniko Store and, as usual, a Design Team Blog Hop and Giveaway!

signature

Friday, 24 February 2017

Uniko - Uniko Style ....

.... Hello! We've arrived at the last day of introductions to Uniko's new release - the big day is tomorrow. However, before that I want to share with you a bold, bright card using the last of our new sets - Uniko Style:

Thank You - photo by Deborah Frings - Deborah's Gems

Stamps: Uniko - Uniko Style; All Occasion Sentiments #3, Flower Power #5
Ink: Distress - Blueprint Sketch, Salty Ocean; Kaleidacolor - Blue Breeze; Versafine - Onyx Black
Accessories: White Lustre Card; Stampin' Up! Card - Basic Black; Clear Embossing Powder

This set has a bold, graphic look and is based on one of Bev's favourite designs - Marimekko. I'd not heard of this before, so I googled it. While browsing the fabulous images, I came across some examples of fabrics (see below) and I CASED the blue flowers. You'll see more of the others soon!

I started by punching a number of 1" and ½" circle masks for the centre of each flower. I used my MISTI so that I was able to repeat stamp the images. I did as Distress sometimes is a bit blotchy with polymer stamps. After stamping the flowers I removed the masks and then painted some water around the edge allowing the ink to fade a little. I inked up a contrasting colour and then stamped the centre of each flower. I finished the front of the card by adding the black accents. As this is such a dramatic card, I created a bold, but simple, greeting. On the inside I cut a mat layer of black card and on the white panel added another flower and finished the greeting.

 Thank You inside - photo by Deborah Frings - Deborah's Gems

I had lots of fun with this set - as you'll see tomorrow! So that's the introductions finished.

RELEASE DAY! Saturday 25th February - lots more inspiration from the Design Team, your chance to buy the stamps from Uniko's shop and, as always, a Design Team Blog Hop and Giveaway!

Here are the pictures I found while on Google - so pretty!


Bye for now! See you tomorrow.

signature

Sunday, 19 February 2017

Uniko - Sponsor AAA Cards ....

.... Good morning! Uniko is sponsoring AAA Cards - AAA#84 where the challenge is to use WATERCOLOUR. At first I wasn't quite sure what to do for this challenge as I've recently used my Brusho crystals a lot. I decided to colour the wonderful mandala from Marvellous Mehndi with my Zig Watercolour brushes:

Happy Mother's Day - photo by Deborah Frings - Deborah's Gems

Stamps: Uniko - Marvellous Mehndi, All Occasion Sentiments #3, Simply Said
Inks: Versamark; Versafine - Onyx Black; Stampin' Up! - Certainly Celery, Smoky Slate
Dies: Lil Inkers - Stitched Squares #6
Accessories: White Lustre Card; SU Card & DP - Certainly Celery; Tim Holtz Water Colour Card; Zig Clean Color Brushes; White Embossing Powder; Spectrum Noir Sparkle - Clear

I die cut a square of water colour card and used my MISTI to position the mandala in the centre of the panel. I stamped the image in Versamark and heat embossed it with white powder. Then I had lots of fun using my Zig brushes and an aqua brush to colour it. I got the inspiration for the pastel colours from the photo challenge at Inkspirational - INK#128. I'm also submitting to Happy Little Stampers Watercolour Challenge - HLSWC#02.  I finished the panel by adding a simple greeting in black ink. I layered the image on some pale green card and attached it all to a square card. On the inside I cut a mat layer of pale green design paper and on the white card I added a bold greeting along with a few more images from Marvellous Mehndi.

Happy Mother's Day inside - photo by Deborah Frings - Deborah's Gems

After I put the card together I decided that it needed a little sparkle. I used my clear Spectrum Noir brush to add some sparkle to the mandala - you can just about see it in the close-up photo below:

Happy Mother's Day detail - photo by Deborah Frings - Deborah's Gems

Do visit the Uniko blog to see more cards from the rest of the Design Team. And don't forget to pop back later to see a few more sneak peeks from the new Uniko release. See you soon!

signature

Thursday, 29 September 2016

Uniko - Marvellous Mehndi ....

... Morning! Today I'm introducing another set from the Uniko October release. This one is Marvellous Mehndi, and I think it's my favourite. I'm still waiting on my actual stamps to arrive here in the States, but Bev very kindly let me have the digital files. Oh my goodness I've had so much fun with them. I decided to create my own background paper using all the paisley images in the set. I used Publisher to create the paper. One of the things I really like about digital images is the ability to change the size of the image, which really worked well making this background. I actually made two cards today! Here's the first:

You are Awesome - photo by Deborah Frings - Deborah's Gems

Stamps: Uniko - Marvellous Mehndi, All Occasion Sentiments #1, All Occasion Sentiments #2, Simply Said
Inks: Versafine - Onyx Black
Accessories: White Lustre Card; Stampin' Up! Card - Basic Black; Gem; Wink of Stella - Clear


I cut the printed panel slightly smaller than the card, layered it on a black mat and adhered it flat to the card. I created the sentiment panel by stamping the greeting in black on white card, layering it on a black mat, adhering it to the front of the card and finishing off with a tiny gem. I add some sparkle to the areas of the paisley images with a clear Wink of Stella brush. On the inside I cut a mat layer of black card and on the white panel stamped a greeting and added a tiny paisley pattern that I fussy cut and adhered. I think black and white, with a touch of sparkle is very glamourous, very elegant, so I'm submitting this one to the current Inkspirational challenge - INK#118.

You are Awesome inside - photo by Deborah Frings - Deborah's GemsYou are Awesome sq - photo by Deborah Frings - Deborah's Gems

For my second card I used another sheet of the background paper. This time I used rainbow colours to selectively colour areas in the paisley pattern. I went for a lighter rainbow look:

Thank You - photo by Deborah Frings - Deborah's Gems

Stamps: Uniko - Marvellous Mehndi, All Occasion Sentiments #3
Inks: Versafine - Onyx Black
Accessories: White Lustre Card; Stampin' Up! Card - Pumpkin Pie; Vellum; Copic Markers; Wink of Stella - Clear; Clear Embossing Powder


I didn't want to hide the panel, so I stamped the sentiment on vellum and heat embossed it with clear powder. I attached the sentiment at an angle, and then layered the panel on some orange card. On the inside I cut another mat of orange card and on the white panel finished the greeting and added a tiny coloured paisley. As I've used rainbow colours on this card, I'm going to play along with Can You Case It? - CYCI#139.

Thank You inside - photo by Deborah Frings - Deborah's GemsThank You sq - photo by Deborah Frings - Deborah's Gems

Now, don't forget to visit the Uniko blog to see more from Bev and the rest of the team. This set is so versatile. Hopefully, I'll get my actual stamps soon! Before I go, here's a quick reminder of the release schedule:

Introducing: 28th - 30th September. Bev and the DT show off the sets.

RELEASE DAY: Saturday 1st October - your chance to see the full release and also to buy the stamps at the Uniko shop. There's also a Blog Hop with the Design Team and a Giveway too!

Bye for now!

signature
Related Posts Plugin for WordPress, Blogger...