Showing posts with label MFT - Bitty Birthday Wishes. Show all posts

Monday, 11 March 2024

Starry Birthday

... Good afternoon! It's another dull, dismal day here in Northop Hall, so I've spent the morning making a birthday card for my great-nephew. Here's the card:


Stamps: My Favorite Things - Stars Above, Bitty Birthday Wishes, Distressed Patterns; ME - Mixed Wishes Greetings
Inks: Gina K - Soft Stone; Versafine Clair - Nocturne
Dies: MFT Die-namics - Stars Above; Altenew - Featured Sentiments Dies
Accessories: White Card; Copic Markers

I'm submitting this card to Just Us Girls - JUGS#717 to use green and one other colour - I picked blue. I'm also playing along with AAA Cards - AAA#260 - a sketch, and to AAABirthday - AAAB#59 to use geometrics.


This is for Xander, my great-nephew, who will be 12 years old on Friday. I love making cards for guys and these geometric patterned stars are perfect for guys and tweens! The challenge at JUGS is to use green/lime green/one other colour - I picked blue for a boy. I used my MISTI to stamp the stars onto plain white white, took the card out and coloured the patterns with Copic markers. I returned the images to the MISTI and re-stamped with Versafine Clair black ink - this gives such a dark black line. I then used the matching dies to cut out the stars. I also cut out a number of plain white stars. I stamped a soft grey distressed panel down the side of an A2 white note card and adhered the stars. I adhered some stars flat and layered some stars to give depth. I finished the front with a simple birthday greeting in black ink, and edged the panel with green ink.


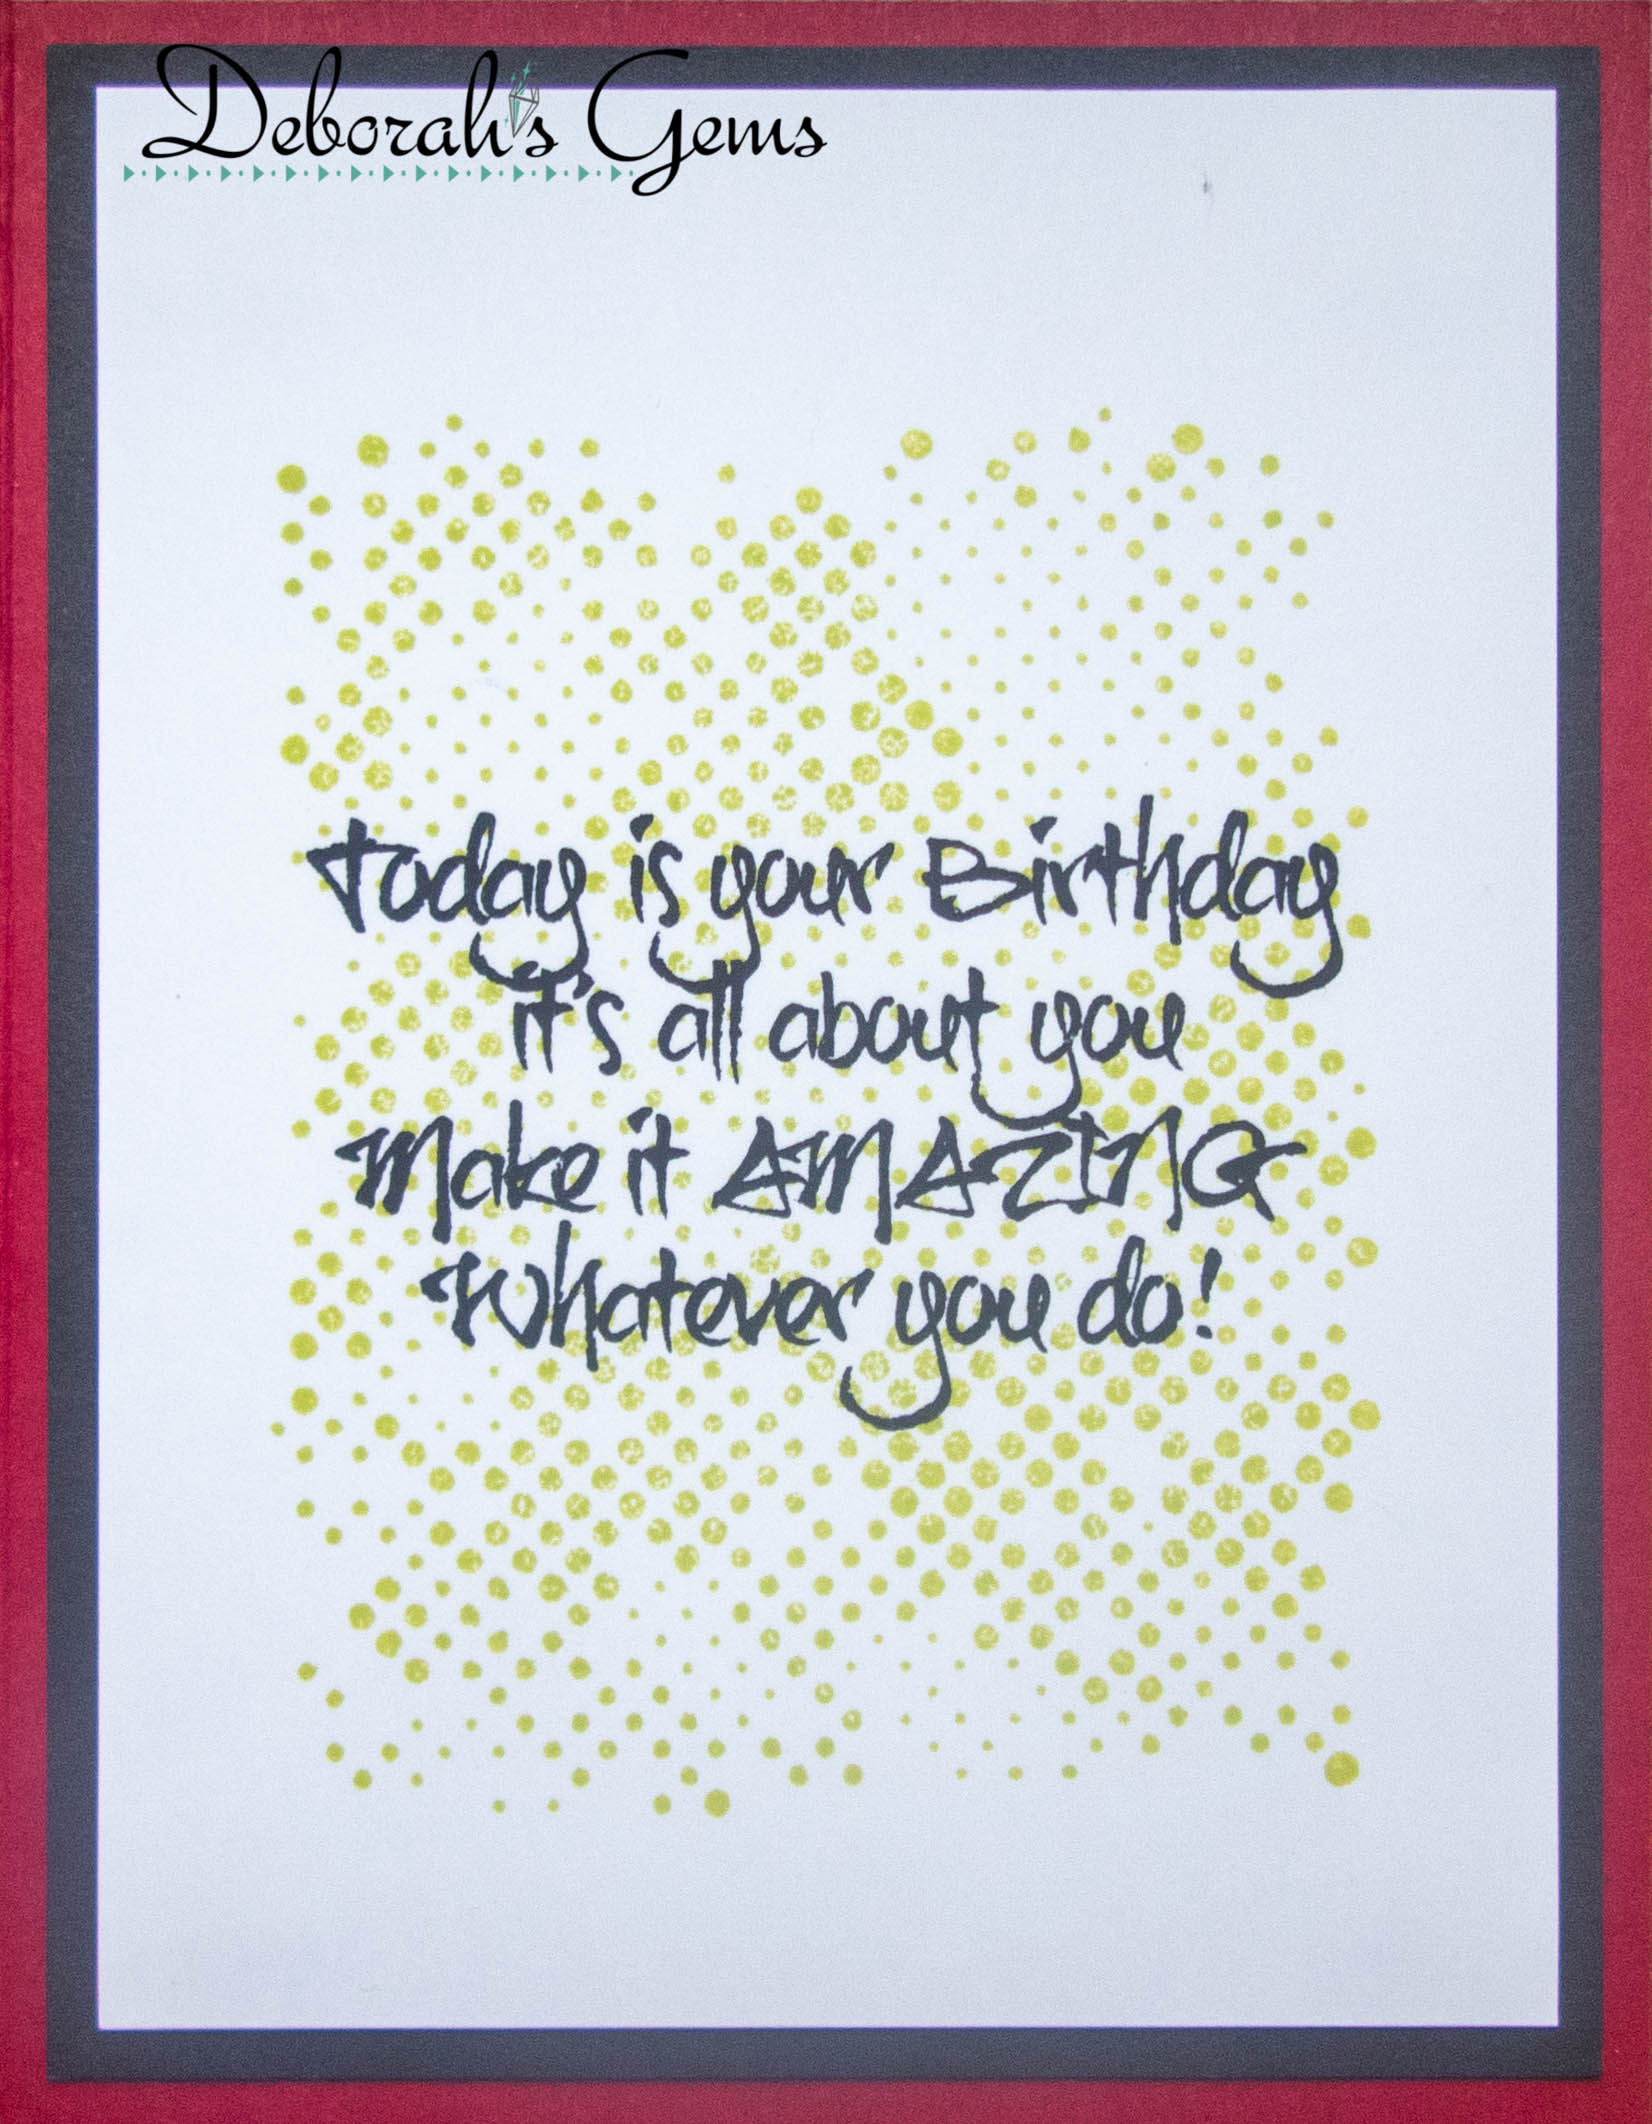
For the inside of the card, I cut two pieces of white card. I edged the larger panel with a green marker. On the other white panel I stamped a fun birthday greeting in black ink and stamped a couple more stars, which I coloured with Copic markers.


That's all for today - see you again soon.

signature photo Signature.png

Sunday, 15 January 2023

Grunge Birthday

.... Hello! It's a dull, wet and cold day here in Northop Hall, so I'm spending the day playing in my craft room. Last year, I wasn't able to make many cards - the various cancer treatments made me quite tired. However, I'm at last beginning to feel much more like myself!! And I intend to get back to making lots more cards. Here's the first:


Stamps: Visible Image - Nothing to Wear, Set the Tone, Happy Birthday; MFT - Bitty Birthday Wishes
Inks: Gina K - Plum Punch, Cherry Red, Keylime; Versafine - Onyx Black; Versafine Clair - Nocturne
Dies: Gina K - Master Layouts 1
Accessories: White & Black Card; SU Card - Cherry Cobbler; Visible Image - Count Me In Stencil; Copic Markers; Clear Embossing Powder

One of my favourite challenges is CAS Colours & Sketches - CASC&S#501, and I've used their colours on this card - however, I do realise that this is not entire clean and simple!!! I'm going to link to the challenge anyway and do better on my next card. I'm also playing along with Seize the Birthday - STB#253 where the topping is 'winged things', but I'm playing with the 'anything birthday goes'.


I'm continuing my intention to make more cards with coloured bases; I used Cherry Cobbler to make the note card. I placed the stencil over a piece of white card and brushed on purple and red ink, making sure to blend them well where they met in the middle. I used dies to cut out a mat layer of black card and the stencilled panel and glued them together. I put the piece into my MISTI and stamped a simple birthday greeting in the bottom of the panel. I used the MISTI to stampe the t-shirt image onto white card, removed it and coloured with Copic markers. I returned the coloured image to the MISTI and placed on the skull, and stamped the t-shirt and skull again in Onyx Black ink which I heat embossed with clear powder. I then carefully fussy cut out the t-shirt. I edged the image with a black marker and adhered it to the stencilled panel. I added the whole piece to the front of the note card. For the inside, I cut a mat layer in black. On the white panel, I stamped a dotty background in lime green ink and finished by adding a birthday greeting.


This card is for Kat's boyfriend, Kobie. He's a lovely young man - he loves green and purple, so I think this works perfectly for him. I safe to share it here as neither Kat nor Kobie look at my blog!! Gotta love your kids! Now that I've finished this card, I'm off to make another for Kobie - this one will be from my mum!!

That's all for now. See you again soon.

signature photo Signature.png

Monday, 18 January 2021

Snowy Birthday ....

... Hello! I've got into a bad habit of not making enough cards and then having to rush to make them when I need one. So today, I'm sharing a snowy birthday card - I've lots of birthdays in the months from November to February - so this is perfect for my stash.


Stamps: MFT - Simply Snowflakes, Sassy Pants Birthday Greetings 2, Bitty Birthday Wishes
Inks: Stampin' Up! - Balmy Blue; Gina K - Powder Blue; Memento - Summer Sky, Paris Dusk; Hero Arts - Unicorn
Dies: MFT - Stylish Snowflakes
Accessories: White Card; SU Card - Night of Navy, Balmy Blue; Holographic Card; Gem

I'm submitting this card to Just Us Girls - JUGS#567 (use blues), Fusion - FUSION#0121 (I used the sketch), and Cardz 4 Guyz - C4G#262 (where it's Let it Snow).


I randomly stamped some snowflake images on the background using three shades of blue ink. I cut two thin strips of blue card and stamped a birthday greeting in white on the navy strip. I adhered them flat to the card. I finished the front by die-cutting a silver holographic snowflake, adhered it to the blue strips and added a simple blue gem in the centre. I used the sketch from Fusion for the card. On the inside, I cut a panel of blue card for the mat layer and on the white layer added a fun birthday greeting in dark blue, along with several more blue snowflakes.


That was fun! I think I'm going to spend a bit more time today making a few more, much needed, birthday cards for my stash. That's all for now. See you again soon.

signature photo Signature.png

Friday, 18 September 2020

Happy Birthday Kat ....

... Hello again. Today I'm sharing the birthday card that Kat got from her Nanna. Mum asked me to make something special for her and I was only too happy to oblige!


Stamps: Visible Image - faerie Magic, Zodiac Virgo; MFT - Anything But Basic Birthday Wishes, Bitty Birthday Wishes
Inks: Gina K - Soft Stone; Kaleidacolor - Pastel; Versafine - Onyx Black
Dies: Altenew - Featured Sentiments Die Set
Accessories: White Card; Kaisercraft DP - Chase Rainbows; Copic Markers; Watercolour Pencils; Nuvo - Clear Aquashimmer Brush; Clear Embossing Powder; Vellum


I started by stamping the fairy onto the card, masked her off and then stamped the background with a mixture of smaller images and added the fairy wings using the Kaleidacolor pad. I stamped the fairy again onto white card, coloured her with Copic markers, restamped with Versafine black ink and embossed her with clear powder. I then carefully cut her out. I stamped the wings again on vellum and added sparkle with a clear aquashimmer brush. I adhered the wings to the card, then added the coloured fairy image. I finished the front of the card with a simple birthday sentiment at the top stamped on white card and layered on a piece of vellum. On the inside, I cut a mat background from design paper and on the white panel added a greeting and the zodiac constellation of Virgo and a girl's head.


Today is Kat's last full day at home. It's been a week full of 'last' events and it's been a week of excitement and tension. Kat packed all her goods for university earlier in the week, packed up the car yesterday, and had her birthday party with friends - all socially distanced in the garden - in the evening. Today, we're taking Kat out to dinner in Mold. It'll be fun. Tomorrow, Kat heads off to Nottingham with her Dad. Sadly, owing to Covid-19 restrictions, only one parent can accompany the freshers to their rooms and help them settle in - and they only have a short time slot too.

That's all for now - see you again soon.

signature photo Signature.png

Wednesday, 27 May 2020

SHC - Totally Tropical birthday ...

... Morning! It's time for my post for Seven Hills Craft blog. I've a bold, bright and very tropical birthday card to share with you today:


Stamps: Altenew - Parrot Paradise, Totally Tropical; MFT - Bitty Birthday Wishes, Sassy Pants Birthday Greetings 2
Inks: Gina K - Black Amalgam; Stampin' Up! - Blushing Bride, Flirty Flamingo, Granny Apple Green, Call Me Clover; Versafine - Onyx Black
Dies: Altenew - Parrot Paradise, Totally Tropical
Accessories: White Card; SU Card - Flirty Flamingo; Clear Embossing Powder; Copic Markers; SU Vellum - Botanical Garden; Nuvo - Clear Aqua Shimmer Brush

I'm submitting this card to Seize the Birthday - STB#191 where they want a Totally Tropical card, and to Fab Friday - FABF#190 where the colours are quite tropical!


I started by stamping the large parrot on white card, colouring with Copic markers, putting it back in the MISTI and restamping with Versafine and heat embossing with clear powder. I used the matching die to cut it out. I put some white card in my MISTI and did all the leaves at one go - so easy with this stamp positioner. I used a couple of shades of green ink and then cut out the leaves with the matching dies. I wanted a large tropical flower and used the layered hibiscus image. I cut a panel of peach card adhered it to the cardbase and added some matching tropical themed vellum over the top. I attached the leaves and flower directly to the card and used dimensional pads for the parrot. I did add some sparkle to the parrot. I finished the front with a clean, crisp and simple birthday greeting.


On the inside, I cut a mat layer of peach card and on the white panel I stamped a fun and sassy birthday greeting along with another hibiscus flower.

That's all from me today. I'm having a very busy week - I'm doing another online mixed media class with Dyan Reaveley in the evenings - it's so much fun! See you again soon.

signature photo Signature.png

Saturday, 16 May 2020

JUGS GD - Happy Birthday ...

.... Hi! I'm half-way through my time as Guest Designer at Just Us Girls and I'm having a great time with so many lovely cards to see. This week is colour week - JUGS#536 and we want to see bright colours - green, orange, yellow and pink. Here's my card:


Stamps: Concord & 9th - Butterfly Love Turnabout, Beautiful Butterfly; MFT - Bitty Birthday Wishes, Sassy Pants Birthday Greetings
Inks: Versafine Clair - Cheerful, Summertime, Charming Pink, Verdant; Gina K - Black Amalgam
Dies: Spellbinders - 5 x 7 Modern Stationary (S6-013) #4; Die-namics - Stitched Fishtail Flags STAX #1
Accessories: White Card; Black Card; Vellum; Copic Markers

I'm submitting this card to Fab Friday - FABF#189 where they have a lovely versatile sketch, and to AAA Birthday - AAAB#13 where they want to see things with wings.


I used my MISTI to stamp the butterfly turnabout image in bold, bright Versafine Clair inks. I stamped the large butterfly on the turnabout in black ink and coloured it with Copic markers, then fussy cut it out. I used a die to cut a panel of the butterfly image and a layer of vellum, adhered them together and put them on the front of the card. I stamped a simple birthday greeting, cut it out with a die and attached it to the card. I finished the front by adding the bold butterfly. On the inside, I cut a mat layer of black card and on the white panel stamped a sassy birthday message along with another smaller butterfly. I coloured the butterfly with softer tones on the inside of the card.


Do join in with this week's challenge at Just Us Girls - JUGS#536 - I can't wait to see your bold, bright cards! That's all from me for today - see you again soon.

signature photo Signature.png

Saturday, 9 May 2020

JUGS GD - Happy Birthday ....

.... Morning! I can't quite believe just how fast the days are passing - I guess it's because they are all so similar at the moment. I'm Guest Designer at Just Us Girls for the month of May - still so excited. I'm here with my card for our Trend week - JUGS#535, where the key word is MINI. Now, for me this immediately suggested the iconic British Mini! But this is what I made:


Stamps: Dawn Bibby - Flower Swirls DB026 (mini), Flower Swirl DB196 (lg); MFT - Bitty Birthday Wishes, Anything But Basic Birthday Wishes
Inks: Versamark; Distress Oxide - Tumbled Glass, Shaded Lilac; Distress - Tumbled Glass, Shaded Lilac, Broken China, Wilted Violet; Gina K - Black Amalgam, Soft Stone
Dies: Spellbinders - A2 Locking Loops (S5-175)
Accessories: White Card; Tim Holtz Water Colour Card; White Embossing Powder

I'm submitting this cad to Cupcake Inspirations Challenge - CIC#492, such pretty colours, and to Happy Little Stampers Watercolour Challenge - HLSWC#05, where it's Anything Goes with the option of Embossing.


So, as you can see this is not what I immediately thought of - I couldn't find a stamp or image of a Mini car!! So, I had a think and decided to use a large and mini image of the same flower. These are old stamps, so it's nice to get them out and play. Using the larger image I stamped the corners of the card in turquoise and lilac inks, then added some mini images in the same colours. For the focal point of the card, I die cut a panel of water colour card and stamped the mini flower image in Versamark, heat embossed it with White powder and then added distress inks to the panel to make the image and sentiment pop. Once the water colour panel was dry, I attached it to the cardbase with dimensional tape. On the inside, I cut a mat layer of deep lilac card and on the white panel stamped the large flower image in soft grey, added a fun birthday greeting, and finished by stamping two of the mini images in lilac and turquoise.


That's all from me today - do join in with this week's Just Us Girls challenge - JUGS#535 - I can't wait to see what you make that's Mini!! Take care and see you soon.

signature photo Signature.png

Friday, 28 February 2020

Happy Birthday ....

.... Good afternoon! It's another dull, dismal day in Northop Hall - we had some sleet this morning, but fortunately that didn't last. After doing some visits with Mum, I managed to get into my craft room and make a card - it's not Christmas today 😁. I've made a very clean, simple birthday card:


Stamps: Uniko - Background Builders Round in Circles; MFT - Bitty Birthday Wishes
Inks: Versafine - Onyx Black; Gina K - Amalgam Black
Accessories: Papermania - Tall Card Blank; Copic Markers; Clear Embossing Powder

I'm submitting this card to several challenges. The first is The Male Room - TMR#130 to use embossing, Perfectly CAS - PCAS#6 to use shapes, CASology - CAS#362 where they want tall, and CAS on Friday - CASOF#174 using their colours.

This is one of the most clean and simple cards I've made. I used my MISTI to stamp the row of little open circles and then filled the circles using Copic markers. On some scrap card I stamped the grungy circles twice in Versafine and heat embossed them with clear powder. I fussy cut the image and added a dot of colour in the centre of each circle. I stamped the clean, crisp greeting in black and then adhered the cut out image with dimensional pads.  On the inside, I added a simple greeting and some more of the circles.


I've been very literal with the CASology challenge, simply using a very tall card. The only embossing is on the grungy circles, but it really makes them pop and I took a close-up photo to show the detail:


This card will be in the post tomorrow - it's my cousin's 54th birthday - I still can't quite get my head around that, as I still see him as my baby cousin!!! That's all for now. See you again soon.

signature photo Signature.png
Related Posts Plugin for WordPress, Blogger...