Showing posts with label TSV - Happy Birthday. Show all posts

Tuesday, 5 March 2024

Rainbow Postage Birthday Card

.... Hello!! It's been a few days and somehow we're in March already! I'm here to share a birthday card that I've made:


Stamps: Waffle Flower - Postage Collage, Postage Collage Fall; Mama Elephant - Birthday Messages, Mixed Wishes Greetings; Lawn Fawn - Rain or Shine Before 'n' Afters; The Stamping Village - Birthday
Inks: Gina K - Red Hot, Tangerine Twist, Wild Dandelion, Lucky Clover, Ocean Mist, Blue Raspberry, Medium Lilac, Passionate Pink; Versafine Clair - Nocturne
Dies: Waffle Flower - Postage Collage Die A2
Accessories: White & Black Card; Waffle Flower Stencil - Postage Collage Colouring Stencil; Copic Markers; Glitter

I'm submitting this card to AAA Colourful - AAAC#01 where we can use the rainbow of colours - this is a new challenge and one I'm delighted to join. I'm also playing along with Seize the Birthday - STB#278 - I've skipping the colour and just joining the anything birthday goes.


The postage stamp style card is so popular and I just love it - it can be made to suit any and all themes. This is a rainbow birthday card. I used a mix of stamps and stencils and Copic markers to add colour to the candles and rainbow. I've also added glitter to the flames, the cake and the end of the rainbow. I layered the finished panel on black card and added the whole lot to the front of an A2 note card. 
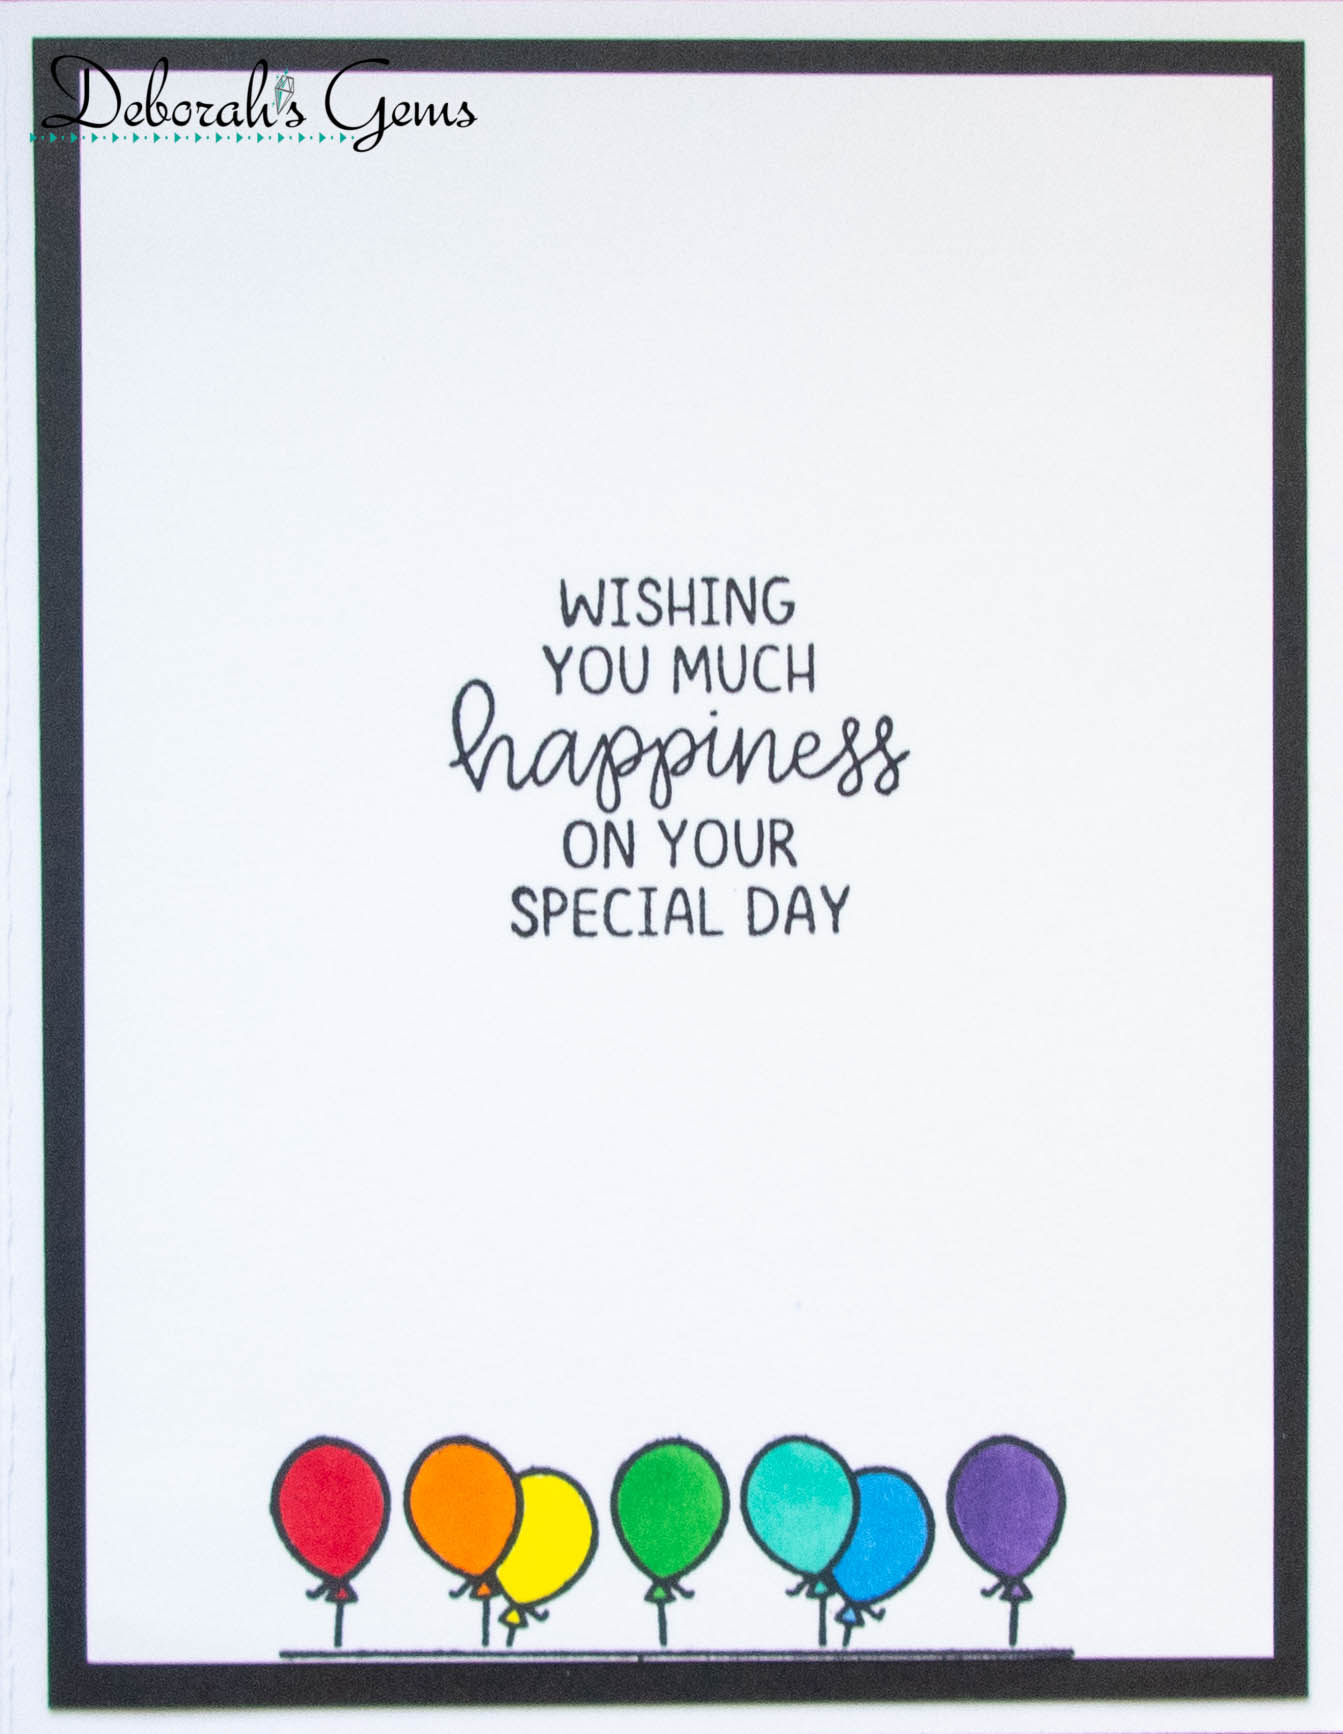

Inside the card, I cut a mat layer of black card. On the white panel, I added a fun birthday greeting along with a row of party balloons - coloured rainbow fashion.


This card is for my niece, Catherine, she has her birthday on Saturday - I'm getting it in the post today to make sure it arrives on time. That's all for today - see you again soon.

signature photo Signature.png

Friday, 16 December 2022

SHC - Happy Birthday

.... Hello! It's time for my Seven Hills Craft blog post. Today I'm sharing a birthday card:


Stamps: Stamping Village - Happy Birthday Greetings; Avery Elle - Inside Birthday Greetings
Inks: Gina K - Sea Glass, Turquoise Sea, Tranquil Teal; Versafine Clair - Nocturne
Dies: Concord & 9th - Stitched Polka Dot Card Front, Simply You; Altenew - Just a Number
Accessories: SU Card - Bermuda Bay; White Card; Silver Textured Mirri Card; Imagine - Sheer Sheer Frost; Copic Markers; Nuvo - Clear Aquashimmer Brush

I'm submitting this card to Happy Little Stampers Anything Goes with Dies - HLSAGD#12, and to AAA Cards - AAA#230 where they have a mood board - I've picked the teal colour from the board.


I used dark teal card from my stash to make an A2 US size note card. I cut a piece of white card to 4¼" x 5½" and put the stitched polka dot die plate on it and ran it through my Big Shot. I then used a scallop edge die to cut out the centre of the panel. I inked on several shades of teal ink to emphasise the scallop edge and define the polka dot pattern. I adhered the panel to the front of the note card. I used a die to create the birthday greeting - the shadow from dark teal card and the words from silver textured mirri card. Prior to adding the words to the card, I spritzed the front with a clear shimmer spray. Inside the card, I cut a piece of white card slightly smaller than the note card. I inked the edges of the white panel to match the front of the card. I used my MISTI to stamp the balloon greeting, removed it and used Copic markers to colour the balloons. I replaced it in the MISTI and stamped again in dark black ink and added a smaller birthday greeting below it.


This card is for my niece Georgia, she's 22 years old tomorrow. Fortunately, I don't have to post it to her. Her parents are coming to our place tomorrow for an early Christmas celebration. It's been so cold here, but we've been lucky and had no snow. It might even snow for our celebration!! That's all from me today. See you soon.

signature photo Signature.png

Wednesday, 16 June 2021

SHC - Happy Birthday ....

.... Morning! I'm here with my weekly Seven Hills Craft blog post. I've been watching lots of crafting videos recently, particularly Gina K and Jennifer McGuire. This card is inspired by some peek-a-boo door cards that Jennifer made in July last year. I decided to have a go and make a rainbow birthday card:


Stamps: MFT - Musical Notes Background; The Stamping Village - Happy Birthday; 
Inks: Gina K - Red Hot, Sweet Mango, Wild Dandelion, Lucky Clover, Turquoise Sea, Stormy Sky; Versafine Clair - Nocturne; Versamark
Dies: Hero Arts - Oval Peekaboo Doors Infinity Dies; MFT - A2 Rectangle Stax Set 1 #11, A2 Rectangle Stax Set 2 #11
Accessories: White & Black Card; Clear Embossing Powder; Nuvo - Aqua Shimmer Brush; Copic Markers

I'm submitting this card to Seize the Birthday - STB#216 - where I've skipped their toppings challenge and just gone for Anything Goes Birthday. I'm also playing along with Fab Friday - FABF#215 - this is based on their sketch.


I used my MISTI to stamp the images on this card. I used the largest of the peekaboo door dies to cut a piece of masking paper and placed that in the centre of my diecut white panel. I positioned it over the musical notes background, stamped the image with Versamark ink and heat embossed with clear powder. I then used rainbow dye inks to create the ink blended background. I removed the masking paper and used the die to cut out the door. I used the oval die to cut another door from white card. I stamped the musical notes on some scrap white paper which I left in the MISTI. I put the rainbow panel back in the MISTI and drew round the inside of the die cut door. After removing the panel, I positioned the white oval (with some temporary adhesive on the back) in the pencilled shape on the scrap paper. I then stamped the musical notes again in soft grey ink. I removed all the stamped pieces from the MISTI. I adhered the white panel behind the rainbow panel and then stamped the Happy Birthday balloon image on the front white door, and the Hip Hip Hooray image on the musical note panel inside the door.


I used Copic markers to colour the image. I also restamped the balloon image on white card, coloured the balloons, fussy cut them out and adhered them to the front of the card with dimensional pads. I adhered the whole of the rainbow panel to a piece of black card slightly bigger and then that to the front of an A2 note card. Inside the card, I cut a mat layer of black card. On the white panel I stamped another image from the birthday greeting set and that's it done. I like that when you open the door you get to see a cute message and then another inside the card!!


I've included Jennifer's video to show how she makes these pretty interactive peek-a-boo door cards.


That's all from me today - see you soon.

signature photo Signature.png

Monday, 10 February 2020

Sweet Birthday Wishes ....

.... Morning!  I hope everyone got through Storm Ciara safely.  We were quite lucky to only have heavy rain and strong winds yesterday morning; the afternoon and evening were much kinder to us.  Anyway, I got to play again in the evening and with some new stamps that I got yesterday from Seven Hills Crafts.  Here's my card - very clean and simple:


Stamps: The Stamping Village - Happy Birthday; Lil' Inkers - Rainbow & Clouds Sentiments; Waltzingmouse Stamps - Pinstripe Background
Inks: Gina K - Dusty Rose; Versafine - Onyx Black
Dies: Die-namics - Stitched Tag-Corner Rectangles #4
Accessories: White Lustre Card; SU Card - Poppy Parade; Sakura Stardust Pen; Clear Embossing Powder; Copic Marker

I'm submitting this card to MFT Wednesday Sketch Club - MFTWSC#475, Seize the Birthday - STB#182, The Paper Players - PP#477, and Just Us Girls - JUGS#522.


I used two of my oldest stamps and one of my newest stamps on this card.  The pinstripe background is from WMS and the sentiment inside from Lil' Inkers, both now sadly closed.  I stamped the background on a large panel and cut a piece for the bottom of this card (you'll see the other piece later this week). The image is from the Happy Birthday stamp set from The Stamping Village - love this cute bug! I stamped it in Versafine, clear heat embossed and then coloured the image with a glitter pen. I cut it out with a stitched edge die and adhered it to the card with dimensional tape.  On the inside I cut a mat layer of bright red card and on the white panel added a sentiment and another little ladybug.


Today I'm off to my local craft group - first time for a couple of weeks.  I'm taking the little scrapbook that I've been working on - hopefully, I'll get it finished this week and share photos later.  Have a good day and see you soon.

signature
Related Posts Plugin for WordPress, Blogger...