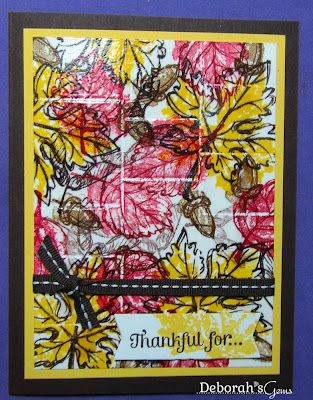
Stamps: Stampin' Up! - Gently Falling, Truly Grateful
Inks: SU - Daffodil Delight, Cherry Cobbler, Early Espresso, Soft Suede; Versamark
Accessories: SU Card - Early Espresso, Daffodil Delight, Whisper White; Card Thinlits Banner die; SU Ribbon; Clear Embossing Powder
This was such fun to make; I learnt a lovely new technique - faux tiles. I scored the white panel to create "tiles" and then stamped the images randomly over the card. Next I inked the panel with Versamark, covered with clear embossing powder and, before heating, I used an embossing tool to clear the powder from the scored lines. The embossing really brings the colours up so brightly. I finished the inside with a panel stamped with a leaf. This could be used for Thanksgiving or simply a general thanks card, it's gone into my stash.
Next I have another Thanks card - although I think this one is really more for Thanksgiving.
Stamps: SU - Wonderful Wreath, Seasonal Sayings, Take Care, Gorgeous Grunge
Inks: SU - Cajun Craze, Crushed Curry, Always Artichoke, Early Espresso, Crumb Cake; Versamark
Accessories: SU Card - Cajun Craze, Early Espresso, Very Vanilla, Naturals; SU EF - Baroque; Circle Framelits; Gold Embossing Powder; Burlap Ribbon threads
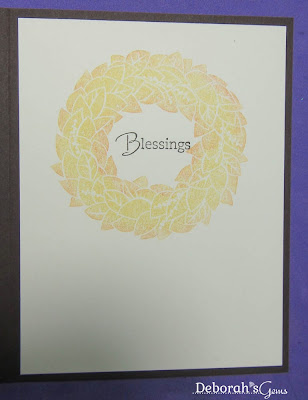
This was another really fun card to make. Julie demonstrated how to make the wonderful embossed background. We started with a piece of Very Vanilla card and inked the inside of the embossing folder with Crumb Cake so that there was some colour embossed into the paper. Next I sponged Early Espresso, Cajun Craze and Always Artichoke onto the card creating a real depth of colour. I then randomly stamped Gorgeous Grunge in Versamark and embossed with Gold powder. Such a lovely effect. The wreath was inked up with Crushed Curry and then I added Cajun Craze at the edges of the wreath. I stamped the sentiment and added a ribbon to the wreath and attached to the card with dimensional tape. The inside has another wreath, using the second generation impression, and a simple sentiment.
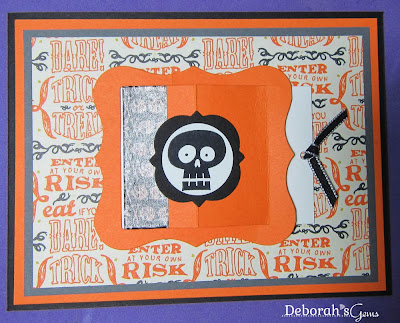
Our final card at this session was made for Halloween and is an inter-active card.
Stamps: SU - Halloween Hello, Halloween Bash
Inks: SU - Pumpkin Pie; Stazon - Jet Black
Accessories: SU Card - Basic Black, Pumpkin Pie, Basic Grey, Whisper White; SU DP - Witches Brew; Window Frames Framelits, Peek-a-boo Frames, SU Circle punch; SU Washi Tape; SU Ribbon
The panel on the front was made using the Peek-a-boo frame and attaching it carefully to a white panel, so that the panel can be pulled out using the ribbon. I forgot to take a photo of the stamped panel - it has images of candy and a witch on it!! This one is in my stash for next year.
That's all for this morning - I'm off to the hair dresser today to have my hair done - I really enjoy being pampered!! I hope to take photos of the cards I made at yesterday's session to share with you soon. Have a good day.


1 comment:
Wonderful techniques, Deborah! Love the assortment of cards - you'll be set for next year LOL - thank you for sharing! hugs, de
Post a Comment